


From this tutorial you’ll learn how to manage files moved to Trash Bin using WordPress Dashboard.

Moving to trash. Restoring Trash Items
Usually, when you delete one of the items it is moved temporarily to the trash bin for 30 days. After this period the file ceases to exist. Let’s learn how to move the files to trash, and how to restore the files moved to trash.
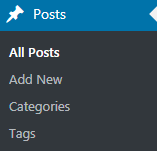
- Almost every tab where you can add some kind of content has Trash option. Let’s move an item to trash. To do it click on the tab where you have a post you’d like to delete. In our example we’ll navigate to Posts > All Posts tab.
- Hover on the post you want to delete. Here you’ll see the Trash option. Click on it.
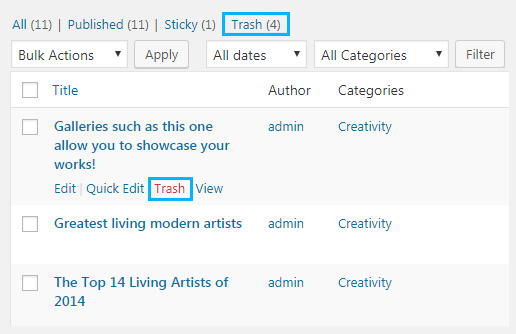 Note, that you can delete pages, comments, events, team members and projects the same way.
 - Now the item is in the Trash bin.
- Let’s restore one of the content items. First, locate Trash tab at the top of the posts list. Click on it to view all the posts in the Trash bin.
- Hover on one of the posts you want to restore. You’ll see two options available for the post:
- restore;
- delete permanently.
- Click on Restore option to restore the post from the Trash bin.


