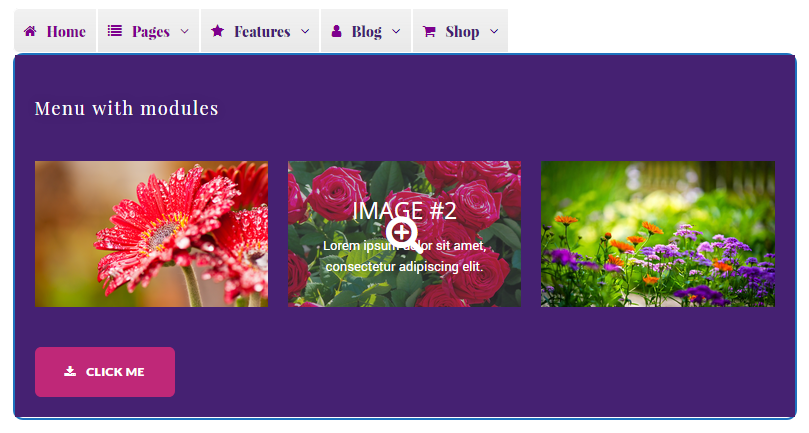
From this tutorial you’ll learn how to add Elementor modules using JetMenu plugin.
- First, let’s navigate to Appearance > Menus tab on the left of WordPress Dashboard.
Here you need to select the menu you want to edit from the menus dropdown list. Then click Select button.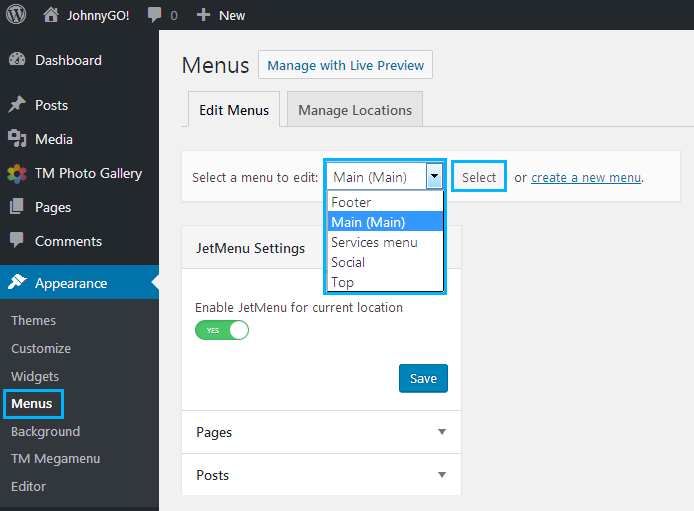
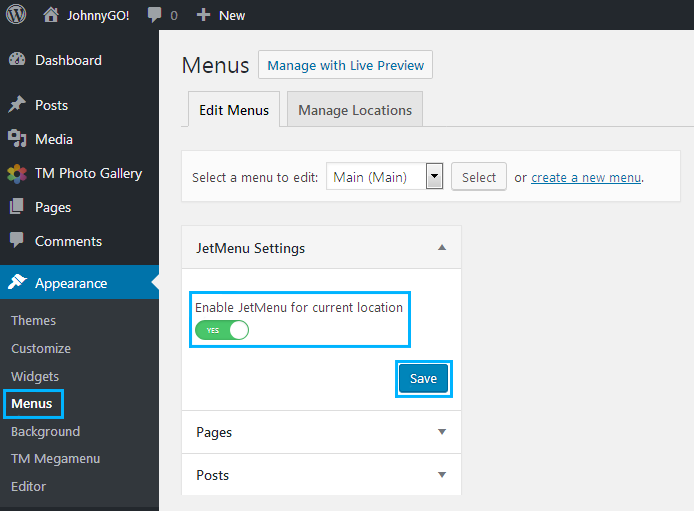
- Locate JetMenu Settings block. Here you should enable JetMenu for current menu location option. Then click Save button to save the changes.
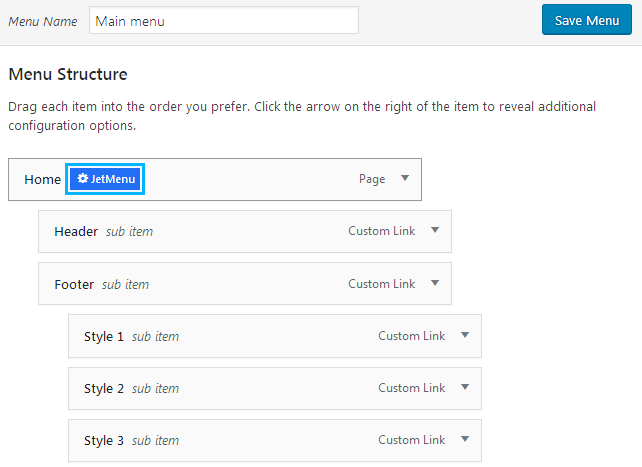
- Now let’s edit your existing menu with JetMenu plugin. Locate Menu Structure block and hover on one of the menu items. You’ll see JetMenu button on the right of the menu item title. Click on it to edit the item with JetMenu.
- A popup window will appear. It consists of several tabs: Content, Icon, Badges and Misc.

- We need to add Elementor modules to the menu, so let’s see what we can do in Content block.
Enable Mega Submenu option in order to create a submenu for the item. - After that click Edit Mega Menu Item Content button to open the JetMenu content editor.
- A new window will open. It is similar to the one you see when proceeding to edit with Elementor.
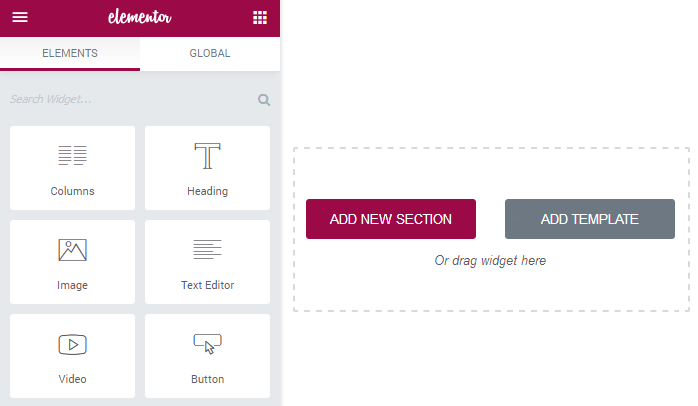
- Click on Add New Section button to create a new section for the menu.
- Select the preferable section structure.

- Drop the content modules you want to add to the menu item (image, video, button, text, icon, animated elements, etc.). You can add the default Elementor content modules as well as JetElements ones.

- You can customize the module’s content and style the same way you do it when creating content with Elementor. Please, feel free to check the Elementor documentation and JetElements documentation in order to learn how to do it.

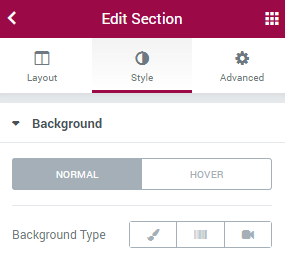
- If you want the background for the modules look like the background of the other menu items, please, feel free to change the sections background to the needed one.

- Save the changes and proceed to your website’s page to see the results.

Here you can see the example of how the menu can look like with Elementor modules inside it!
