


This tutorial will show you how to change columns count on categories/products listing page.
Let’s begin with changing columns count on products listing pages:

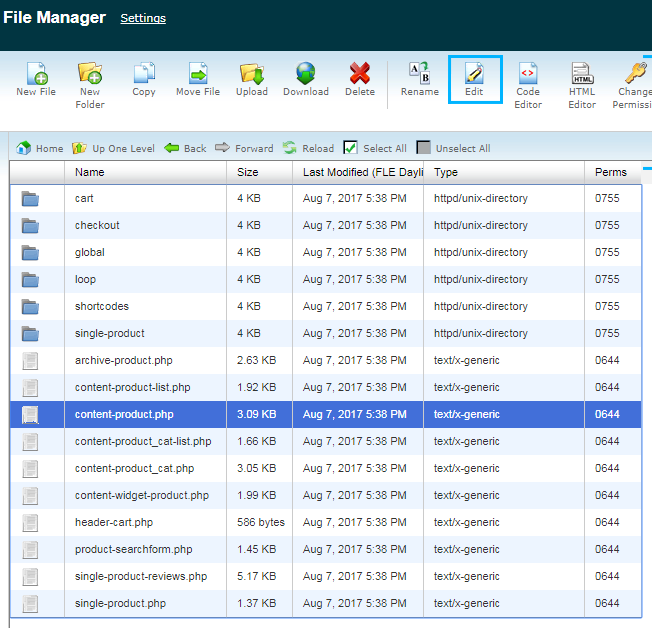
- Connect to your server via FTP or your hosting control panel and access your site files.
- Locate the content-product.php file.You can find it in the theme_name/woocommerce folder.
 Note, in case you are using a child theme, you should copy the file to the child theme folder first, saving the folders structure.
 - Find the following part of code to change the number of columns on products listing page:
- You will see that the number of columns is defined with the help of column classes for the pages with sidebar:
$classes[] = 'col-xs-12 col-sm-6 col-md-4 col-lg-4 col-xl-4';
And for the pages without sidebar:
$classes[] = 'col-xs-12 col-sm-6 col-md-4 col-lg-4 col-xl-3';
These are the values for mobile, tablet and desktop devices. You need to change them according to your needs. See more information on the available values and their meaning at the following link.
Note, “col-xl-” class is the custom class that applies to extra large screens with the minimum width of 1441px.
In case you need to change the number of columns for categories listing:
- Open the content-product_cat.php file in the same folder.

- Find this code:
- Again, you should change the columns classes for the pages with sidebar
$classes[] = 'col-xs-12 col-sm-6 col-md-4 col-lg-4 col-xl-4';
Or for those without sidebar
$classes[] = 'col-xs-12 col-sm-6 col-md-4 col-lg-4 col-xl-3';

