From this tutorial you’ll learn how to add widgets to your website pages.
Adding Widgets
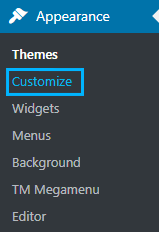
- First, let’s log in to WordPress Dashboard. Locate Appearance > Customize tab in the left column and click on Customize tab to open WordPress live customizer page.
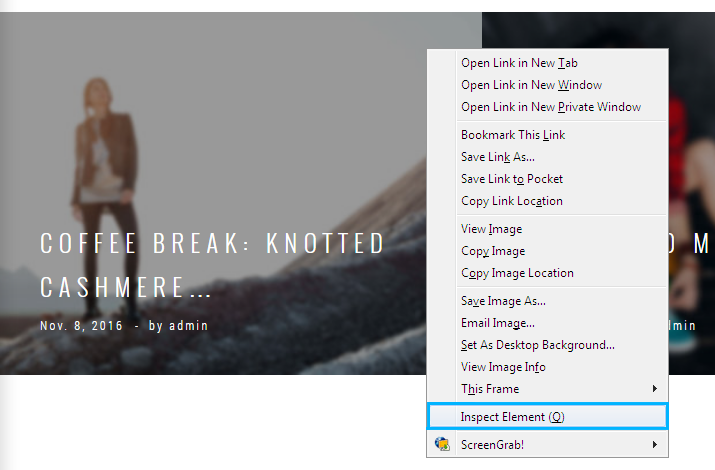
- Inspect your website’s page using Inspect Element option provided in your browser. Here you can see what widget areas are available for the current page you’re customizing.

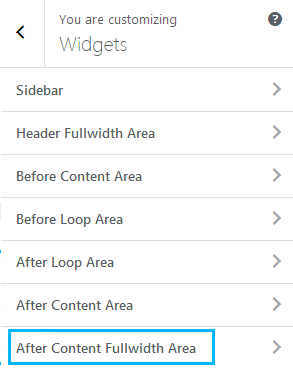
- Open Widgets tab in the left column of Customizer page and view the list of the widget areas. You need to select the area where you want to add a widget.
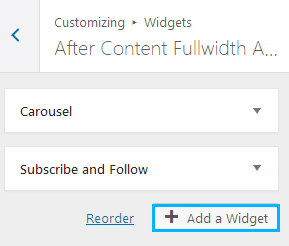
- Click on the Add a Widget button to view the list of widgets you can add. Here select the one you want to add.
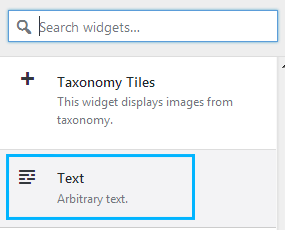
- Now you can see it added to your page, and there are versatile widget options on the left side of your screen. Feel free to fill in all the necessary fields and add content to the widget to make it work.
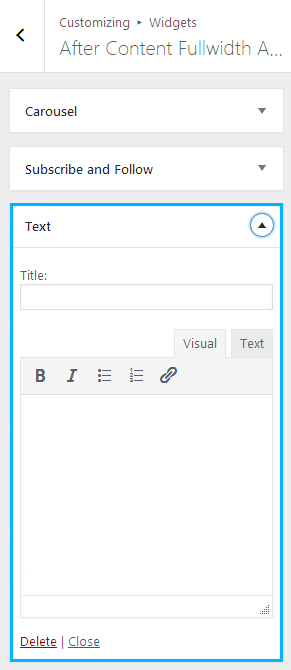
- If you’re not sure how to work with widgets, please, check your template documentation to learn about the capabilities of each widget.
- Hit Save and Publish button to save the changes.
This tutorial is based on MaxGadget Computer Maintenance & Electronics Repair WordPress theme.


