From this tutorial you’ll learn how to add SVG format support in Cherry Framework 5 Themes.
- First, to add your file to Live Customizer in SVG format, you need to install and activate SVG Support plugin.
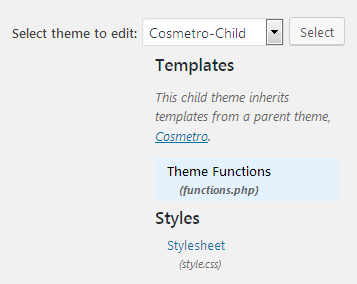
- To add SVG format support for Cherry Framework 5 navigate to Appearance tab in the left column of the Dashboard. Open Editor submenu and locate inc/hooks.php or functions.php file.

- Scroll the file to its bottom and add the following code lines to it.
- You have to define the file extension as the key in $mimes array, and specify its value in the mime type.
E.g., ‘svg’ => ‘image/svg+xml’. - You can find the list of file extensions and mime types here.
- Then, locate style.CSS file on the right side of editor and add the following code lines.
- or
[notice type=”warning”] CSS may vary depending on your template!


