When the updated WordPress admin panel appeared, not everyone was happy with its new design. The new minimalist style looks good but the only thing that is missing is visual separators for various sections of WordPress. From this tutorial, you’ll learn how to add WordPress menu separator to your admin panel.
Adding WordPress Menu Separator
- First of all, let’s log in to WordPress Dashboard. Navigate to Appearance > Menus tab in the left column of the Dashboard to access menus settings.

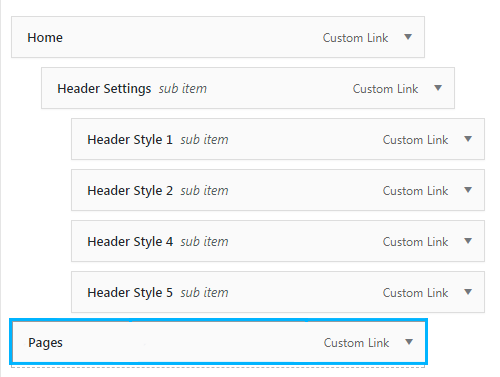
- Now you need to remove the previous parent menu item.
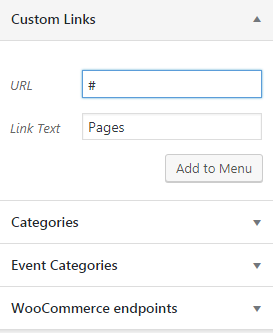
- In the Custom links block add a new menu item with the same name. Add # hash symbol.


- Add # hash symbol into the link field to create a non-clickable menu item.

- Click on Add to Menu button to add the non-clickable item (separator) to your existing menu.

- Click on Save Menu button to save the changes.


