


Beyond doubt creating products is one of the most important steps in building the success of your Shopify store. Fortunately, it is simply fair to add products from Shopify backend. So let’s learn how to do this!

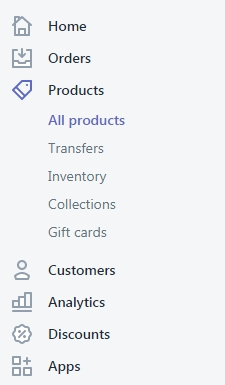
- From your Shopify admin panel navigate to Products tab.
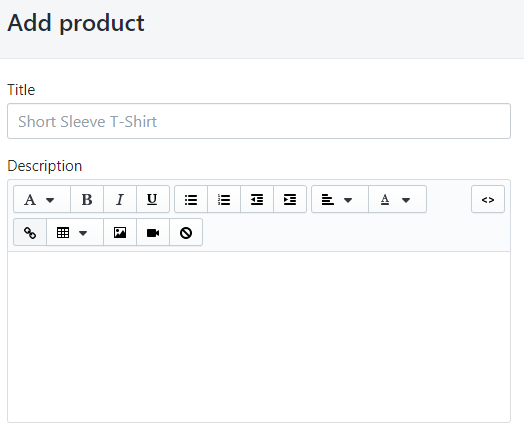
- Click Add a product to open a new product information page.
- On product configuration page you need to fill in the necessary information such as title, description, price, etc.
- You can set up your product be sold using one or more online Sales channels. Each place where you are selling is a channel that flows into your business, helping customers from a variety of audiences find your products. From Sales channels section on product configuration page, there is an option to set publication data and manage sales channels availability.
- In the Organization section you can set up such values as Product type, Vendor, Collections and Tag:
- Product type. This will be the label that categorizes your product grouping. Product types can be helpful to automate collections. For example, you can create a collection by includes all products labeled as “Shirts”. Any additional product entries with the “Shirts” label will automatically be added to that collection.
- In Vendor and Collection tabs you can assign the needed item to the product from the drop-down list.
- Tag. Every product in your store has some search terms and keywords known as tags. Tags will be useful if your customers are searching for any keyword in your store. For example, if you enter “shirts” as a tag, then your customer will see this product in their results when searching for the term “shirts”.
- In the Pricing section, there are two options: Price field and Compare at price. In order to set up the second one, please check here.
- You can also add images of your product in Images section:
- Click “Add images” to upload images from your computer. Alternatively, you can drag and drop the images from your computer’s directory to the images section.
- The first image you upload will become your featured image by default.
- Locate the Inventory section under Pricing tab and enter the SKU (Stock Keeping Unit) number of your product. The SKU is the identification number of your product to keep your product unique.
- We’re almost done. You may also need to set up Shipping, Variants and Search engine listing preview.
- When you’re done, click Save at the bottom of the page.
Now you’ve got the hang of how to add a new product! We wish you a good luck in reaching a ton of customers!
