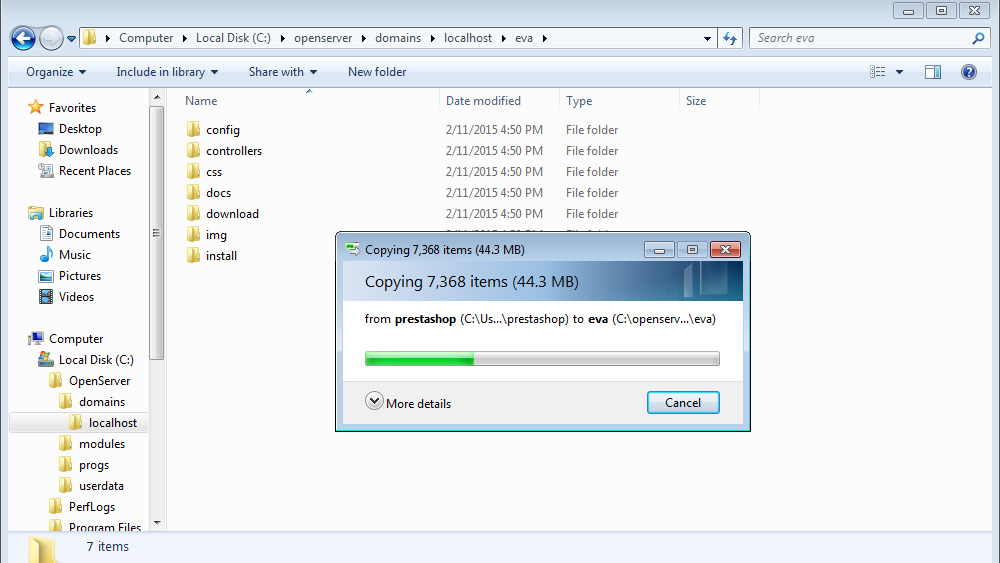
- Copy PrestaShop engine installation files and folders to the subfolder of the localhost www directory:
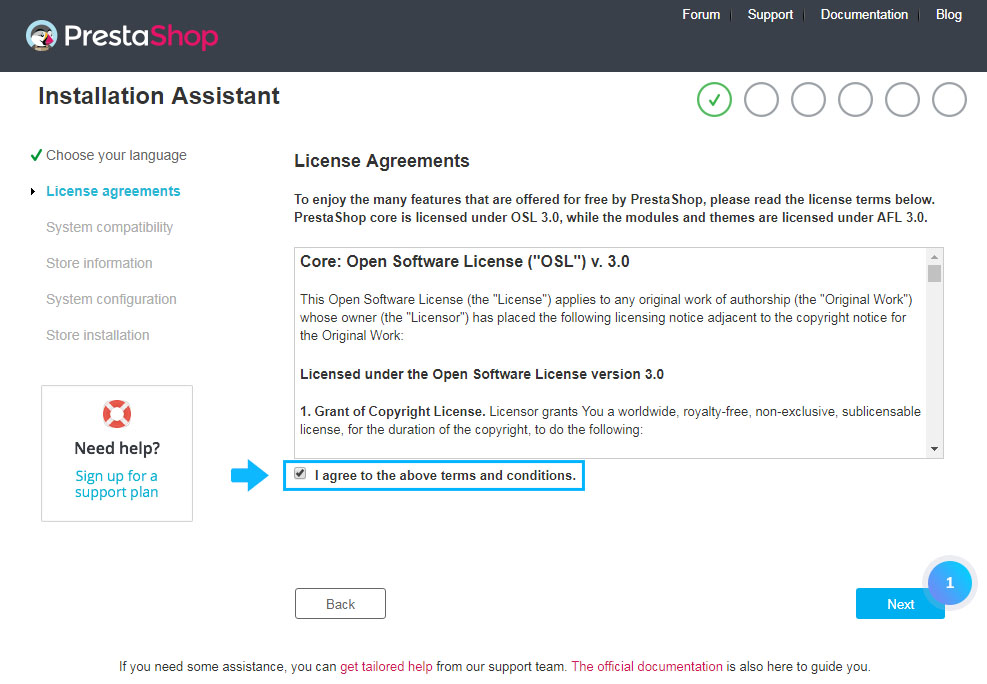
- Open the new tab in your browser and paste the link. Usually, it looks like http://localhost/. Choose the language of the installation. Accept the license agreement and click Next:
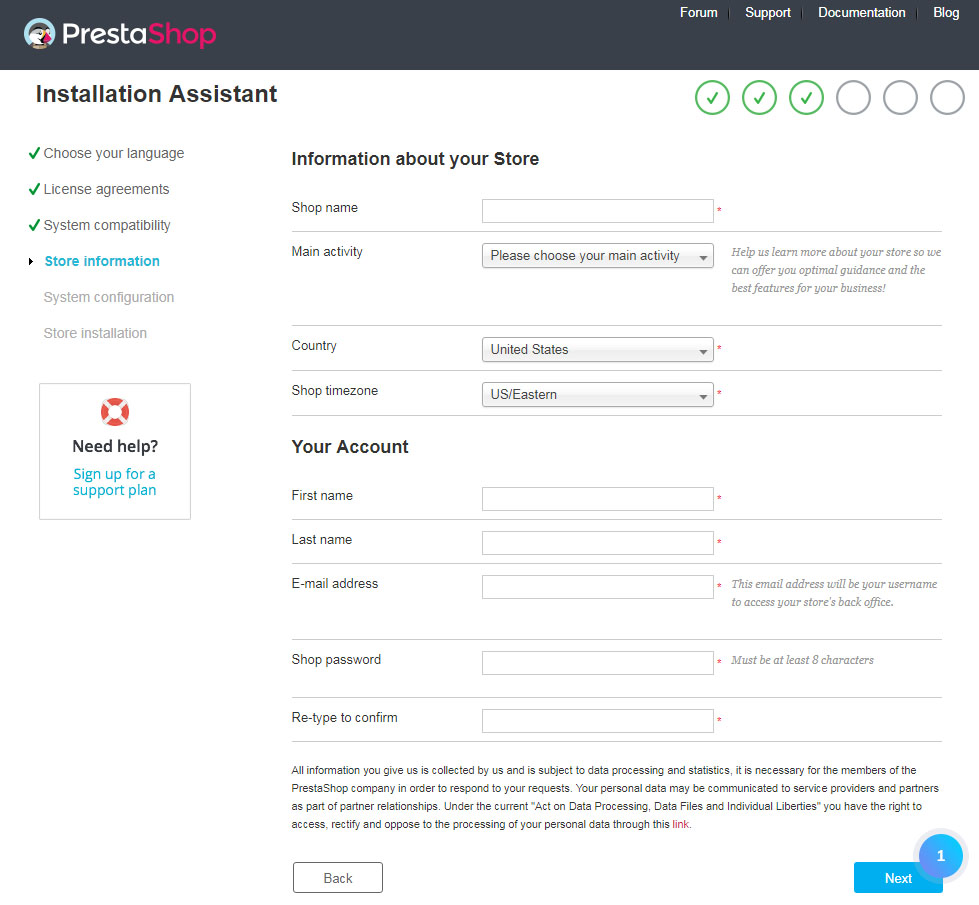
- Set shop settings, specify the E-mail address and password. Click Next button:
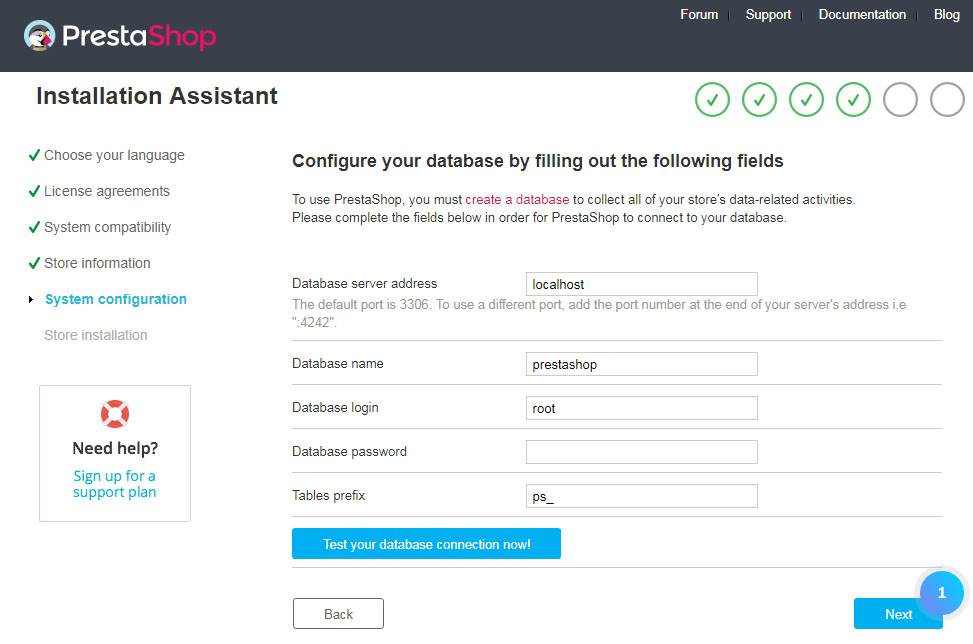
- Specify database access details. Create the database:
- open your phpMyAdmin management tool. The Database can be accessed using the following link: http://localhost/phpmyadmin/ (note that in your localhost software the link can be different):
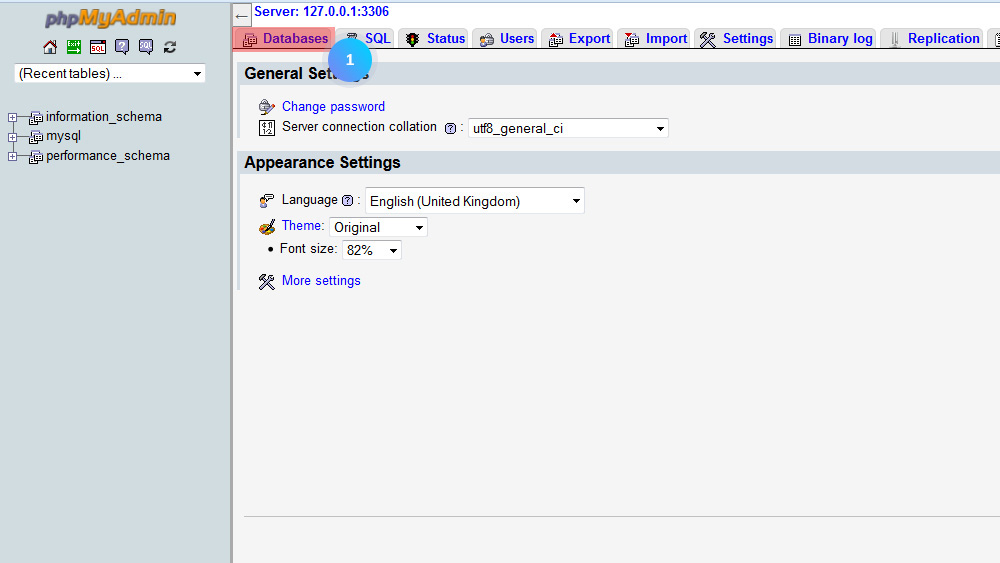
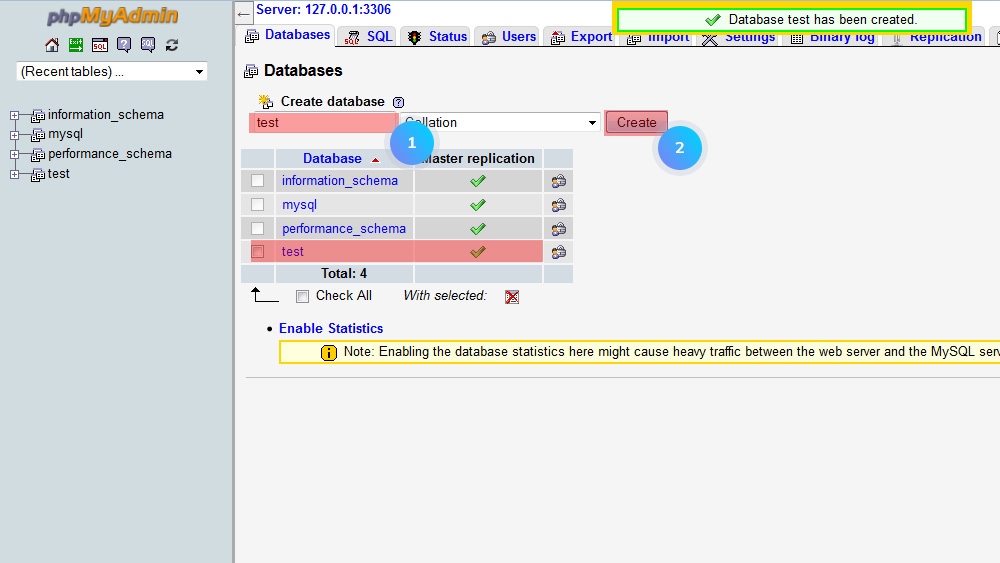
- create the database:
- specify the database access details. In the username field, you need to specify the database user. The password field is blank as the user doesn’t have the password. Click the Next button:
- open your phpMyAdmin management tool. The Database can be accessed using the following link: http://localhost/phpmyadmin/ (note that in your localhost software the link can be different):
- Delete or rename the Install folder to access the admin section.
Template installation
- Unzip the template package. Copy img/modules/themes folders from theme/manual_install/themeXXX (where XXX is the theme number) and paste them into the root folder of PrestaShop engine (in our case to localhost).
- Open your PrestaShop database. Go to the Import tab. Select from your sources folder .sql file and import it PrestaShop database.
- Now refresh the website and check your store.
Hopefully, this tutorial was helpful for you.


