TM Look Book Module is included in the latest PrestaShop templates.
This module allows to create lookbooks and combine them to collections. Lookbooks allow viewing the products directly on the model.
It is also possible to mark a product in the lookbook and have a lookbook link displayed on the product page.
- In your PrestaShop admin panel go to Modules and Services -> Modules and Services. In the search field type TM Look Book to find a module. Click the Configure button to manage it:

On the main page of the module, you can create/delete/edit module collections.
- If you want to create a new collection, click on the “+” symbol on the main module page:

- Fill in the following options: Status, Name, Description, Image, and Template:
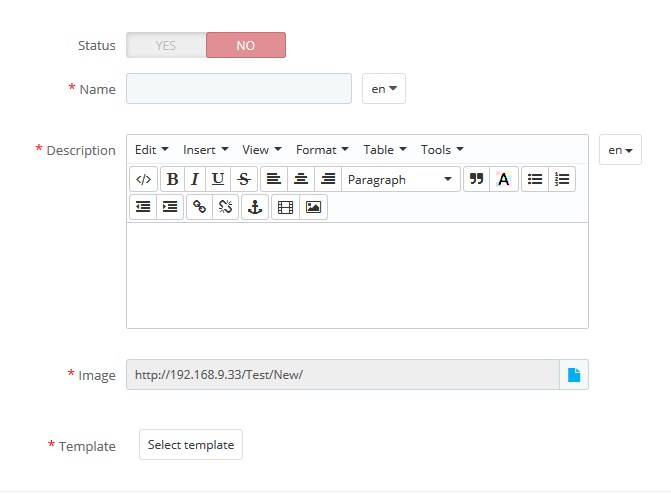
- Confirm the action by pressing the Save button in the bottom right corner.
The collection has been successfully added, now you can add new lookbooks to it.
- Click on the “View” button next to the newly created collection to open it for editing:

- To add a new lookbook click “+” symbol:
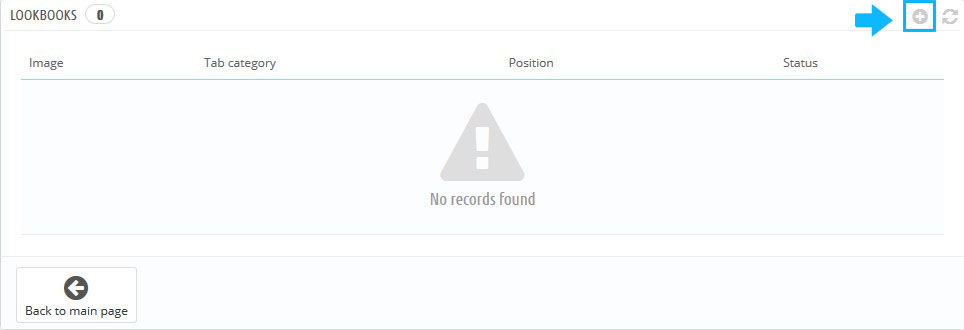
- It is necessary to fill in the following options: Status, Name, Description, and Image:
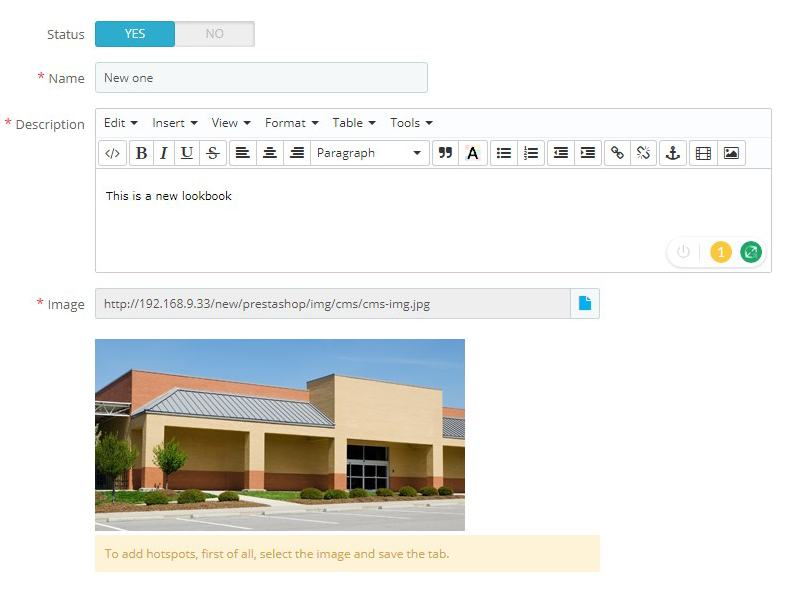
Also, it is important to add an image and then save changes using the Save and Stay button to add hotspots to your lookbook. Now you can add your own hotspots: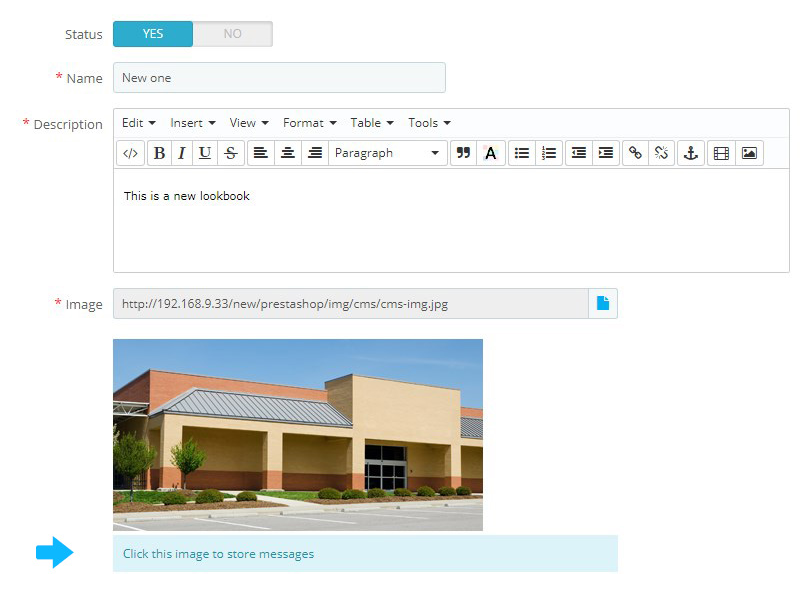
- Click on any section of the lookbook, so the hotspot popup will appear.
- In the Type section choose whether you want to have a product or just some content displayed in the hotspot:
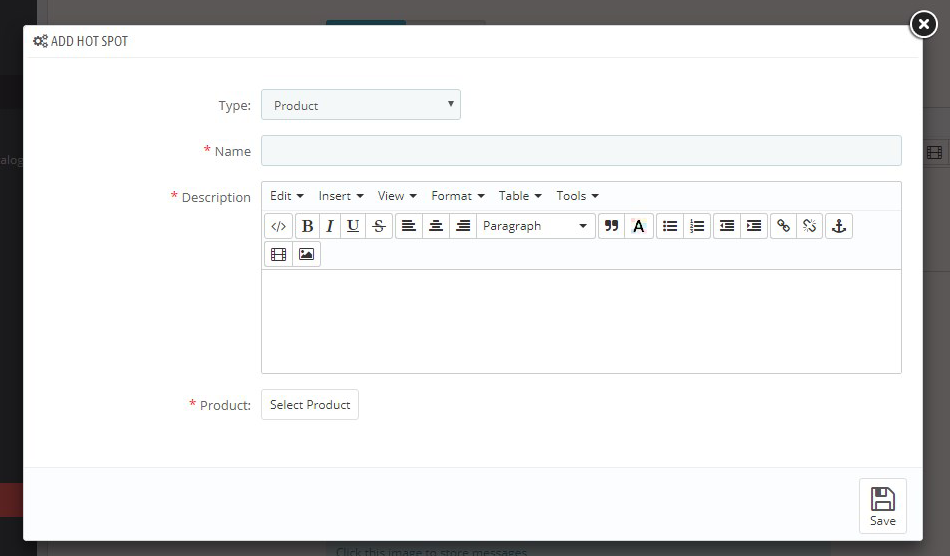 We suggest you add products to the hotspots.
 - Choose the appropriate product by clicking “Select Product” button.
- Confirm the action by pressing the Save button.
- Click on the “View” button next to the newly created collection to open it for editing:
When the hotspot is added, you can locate it on the lookbook image using drag-and-drop.
If you want to delete the hotspot simply hover it: 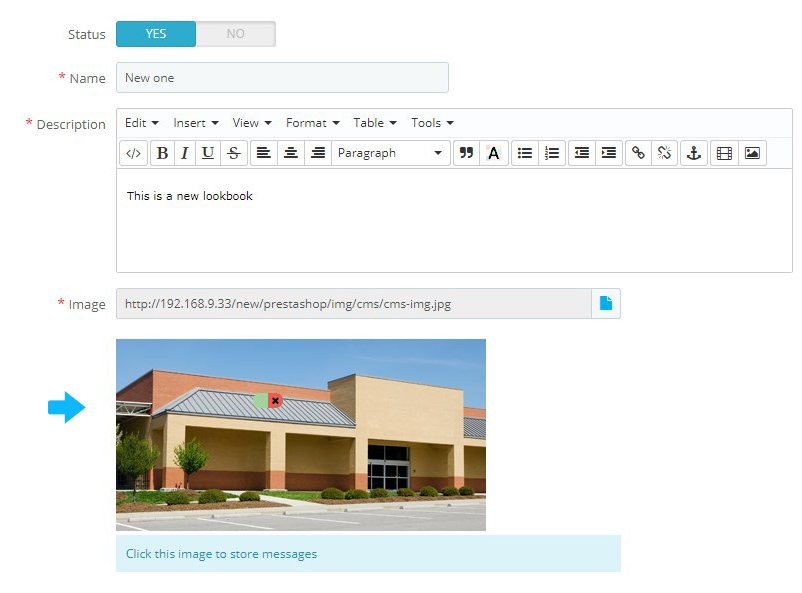
You can add one more hotspot.
Save changes, refresh your page where the TM Look Book module is assigned to and check the changes.
Hopefully, this tutorial was helpful for you.


