Creating a Logo
- We recommend changing your company name and logo using the Adobe Photoshop software. In this case, your logo and company name will have the same design as the company name and logo in the original template.
- Unzip the sources.zip folder and go to the psd folder. Open the .psd file in Adobe Photoshop. Activate the Text tool (T hotkey) and change the company name:

- To get a transparent logo, make layers with the logo background invisible. Enable the Move tool (V), hold Ctrl and click the background. The background layers will be highlighted and you will be able to hide them easily:

- Activate the Slice Select tool. Select the slice with your logo layers:

- Go to File -> Save for Web & Devices. Select the slice with the logo. Use the same options as on the screenshot below. Click Save and choose to save only the selected slices:

Creating a Favicon
- It is possible for you to create your own favicon for free at Favicon Generator.
- if you have an image you want to convert into a favicon, click Choose File in the Image tab and click the Create Favicon button:

- Download your favicon to your desktop.
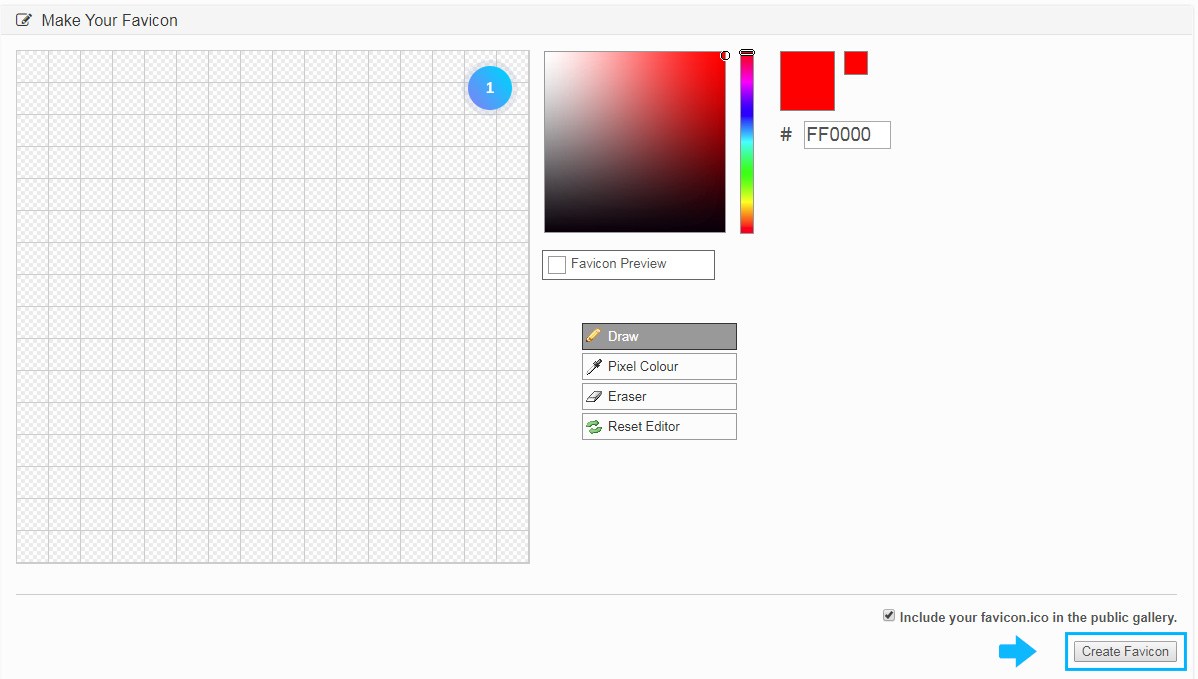
- To draw your own image, use Editor tab:

- In the opened window, draw your image and click Create Favicon button at the bottom. Download your favicon to your desktop:

Uploading the logo, favicon and the store icon
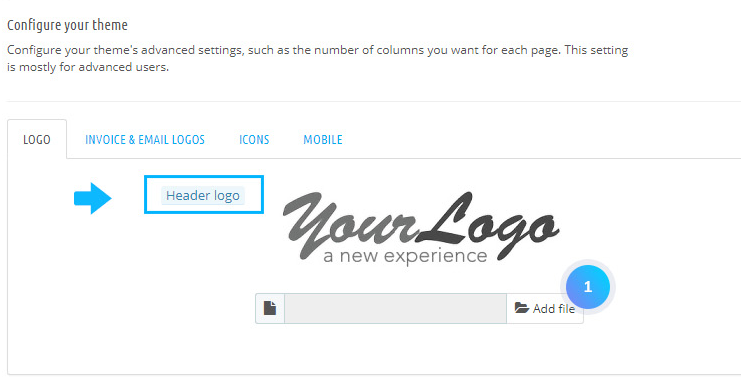
- In your PrestaShop admin panel go to Preferences -> Themes. For the Header Logo option-click the Add file button and browse your new logo:

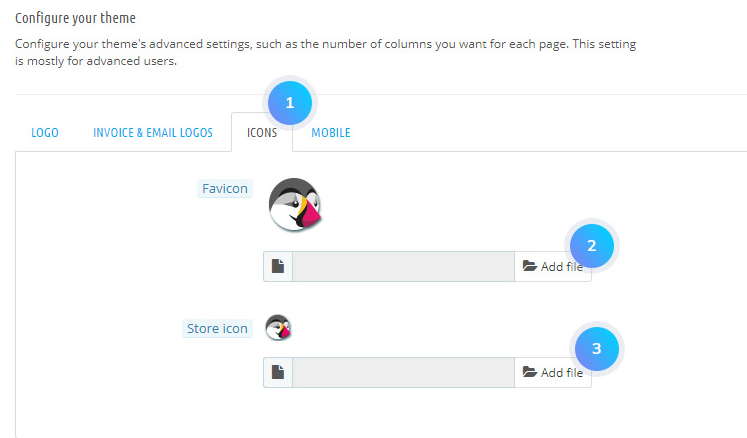
- To add a favicon, in the tab Icons click the Add file button and browse your new favicon. Here you can also add your Store icon. Confirm the action by clicking the Save button:

- Refresh your website to see the changes.
Hopefully, this tutorial was helpful for you.


