


NOTE: PrestaShop enables you to create content pages. They will appear to customers in the “Information” block on your homepage and in the site menu. You can add CMS pages to the top menu using the Top horizontal menu module (which you can configure from the Modules->Modules page.
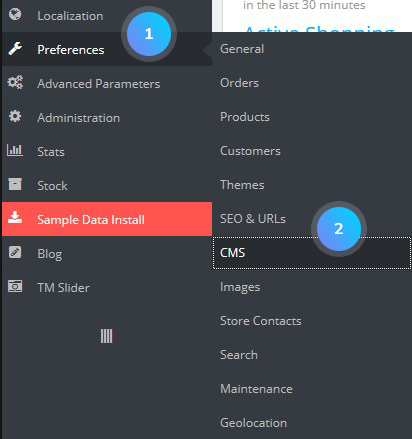
- In your PrestaShop admin panel go to Preferences -> CMS menu:
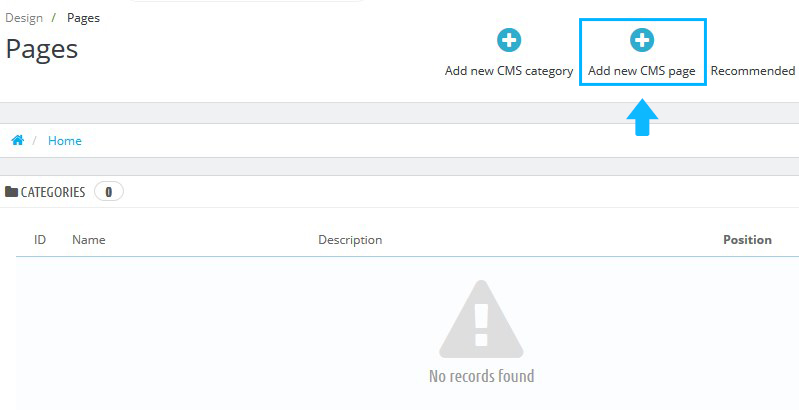
- Click Add new CMS page button at the top:
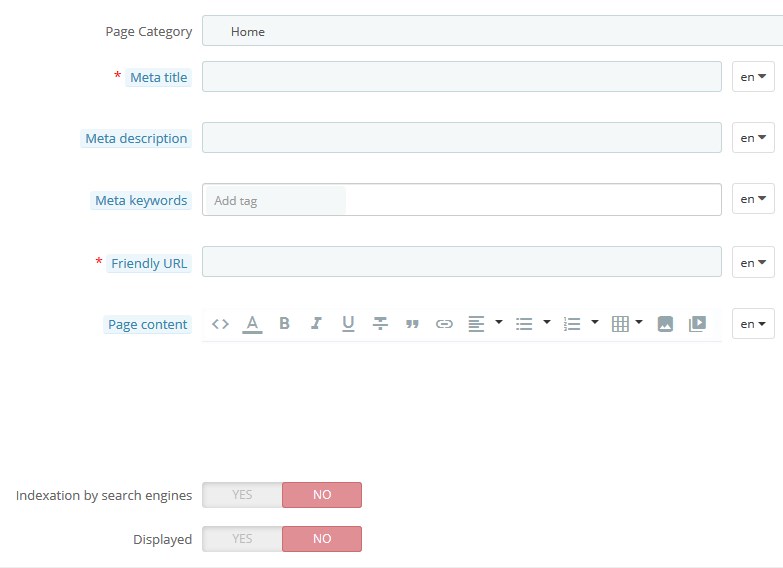
- Set the following fields:
- CMS Category -set the category to your CMS page. The default category is the home-page of your shop;
- Meta title – the name of the page displayed in the browser;
- Meta description – used to describe the content of this page for search engines;
- Meta Keywords – used by search engines to understand what kind of information the page has;
- Friendly URL – this field is automatically filled as you enter the category name, but you can still edit it manually;
- Page content -the main content of your page;
- Indexation by search engine – indicates whether search engines should register this page or not;
- Displayed – you can make your page public only once you are done proofreading it, and keep it as a draft for the moment. A draft is invisible to the public.
Click the Save button to confirm the action.
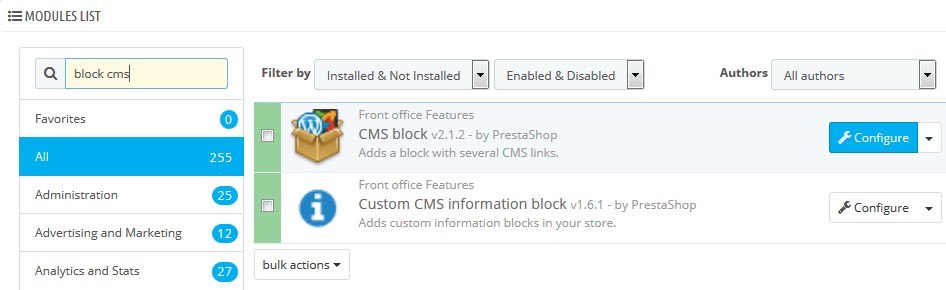
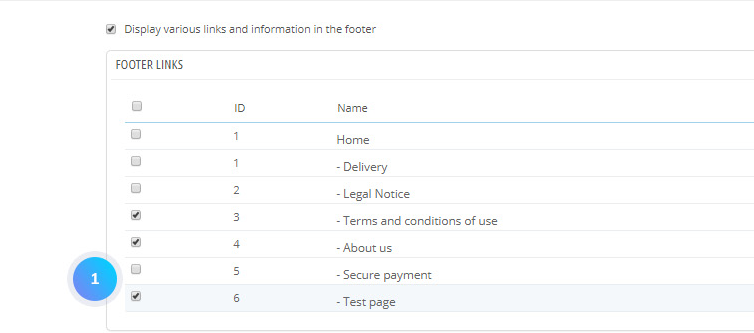
- Go to Modules and Services -> Modules and Services section. In the search field type Block CMS to find the module. Click the Configure button to manage it:
- Activate your new CMS page and click the Save button:
- Refresh your website to see the changes.
Hopefully, this tutorial was helpful for you.

