In Magento 2, the categories determine the way the products will be grouped and represented to your shoppers. In this tutorial you will lean how to add categories in Magento 2.
Add the Root Category
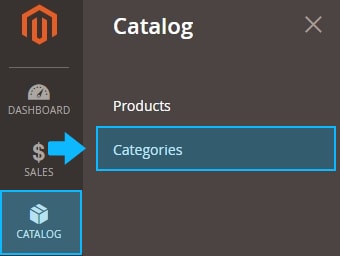
1. Click on the Products menu and select Categories.
2. Press on the Add Root Category button to add new one.
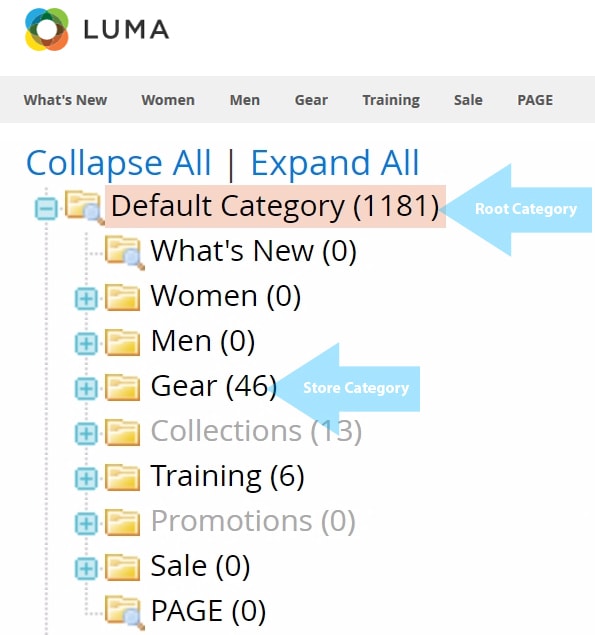
3. The root category contains the subcategories the shoppers can see in the Main Menu of your website.
4. So that, the root category is “the directory” to store your categories separately for each website(store) you manage.
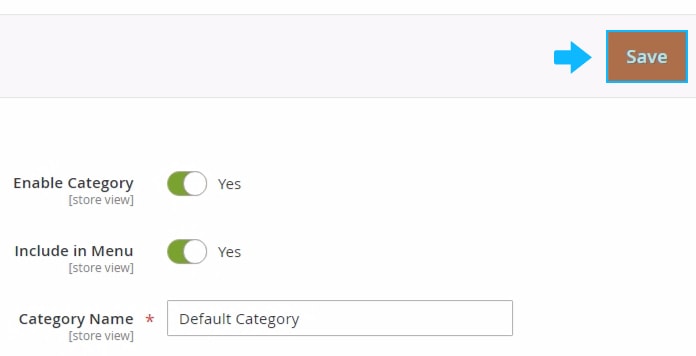
5. Then enter the Name for the root category and click Save.
Add Subcategories
To add the subcategory to the root category, do the following:
1. Tap on the root category to see it is highlighted.
2. Then press the Add Subcategory button.
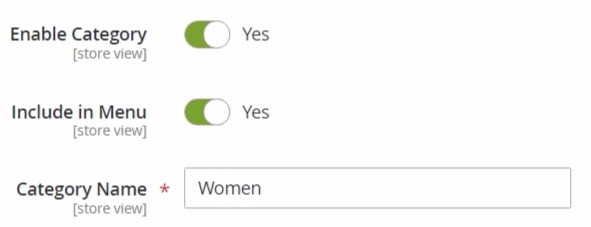
3. The Enable Category and Include in Menu options is enabled by default.
You can disable the subcategory or exclude in from the Main Menu any time.
4. Assign the Name to the new subcategories (the name will be visible on the Frontend).
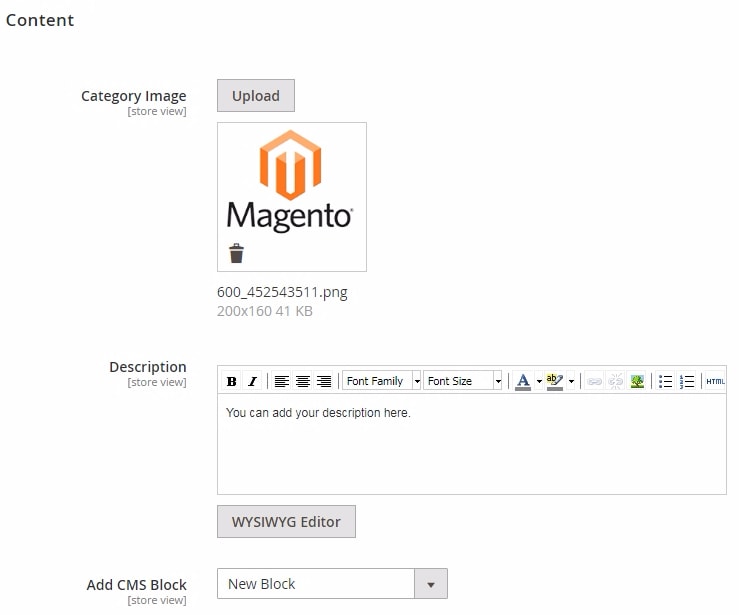
5. In the Content tab you can upload the Image for the category, add description for the category, and select some static block to display on the category page.
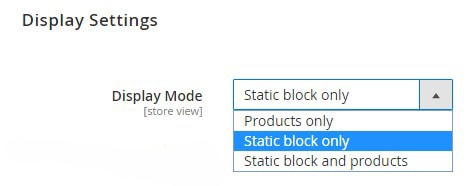
6. Choose if you want to display static block, products, or both on the category page.
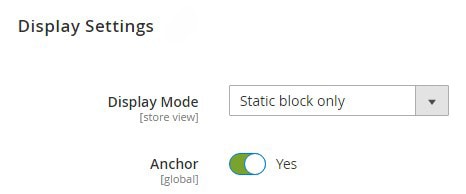
7. To use the layered navigation filter for the category, set Anchor option to “Yes”.
8. Move to the Search Engine Optimization.
9. Specify the URL Key, Meta Title, Meta Keyword and Meta Description for the category.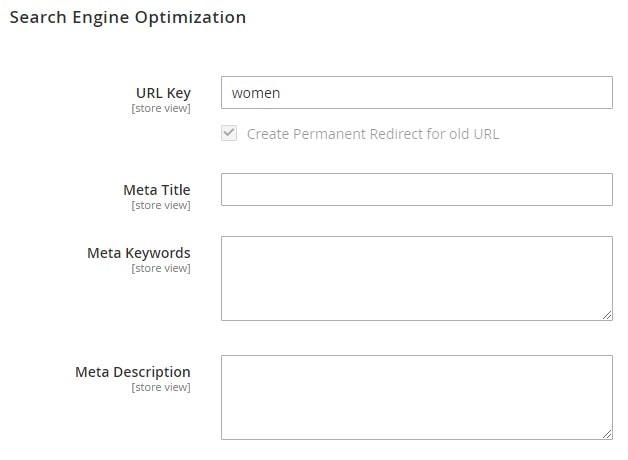
Add Products
Add products to the category.
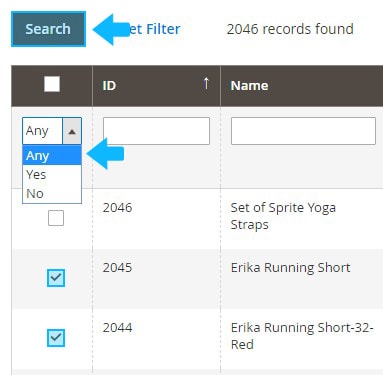
1. To show all products you have in your store, set the record chooser to “Any” .
2. Tick the product you want to add to the category.
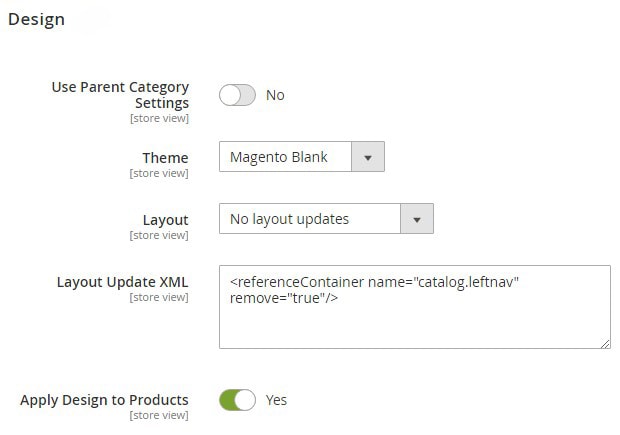
3. Expand the Design tab.
4. Choose the design Theme you want to apply to the category pages.
5. Select the column layout you want to use for the category pages.
6. Set Apply Design to Products to “Yes”, if you want to apply the same design for all product pages.
7. You can use the Parent Category Settings as well.


