Here you can find the instructions on how to manage the Social Login module.

General
In order to configure the module, navigate to the Stores > Settings > Configuration section.
Choose TEMPLATEMONSTER > Social login in the left side menu to go to the module settings interface.
Choose TEMPLATEMONSTER > Social login in the left side menu to go to the module settings interface.
The General section allows you to enable or disable the module whenever you need.

- Enabled — turn on to enable the module.
Social Providers
Here you can customize each social media platform separately. Just fill in several fields to make the login button appear on the site.
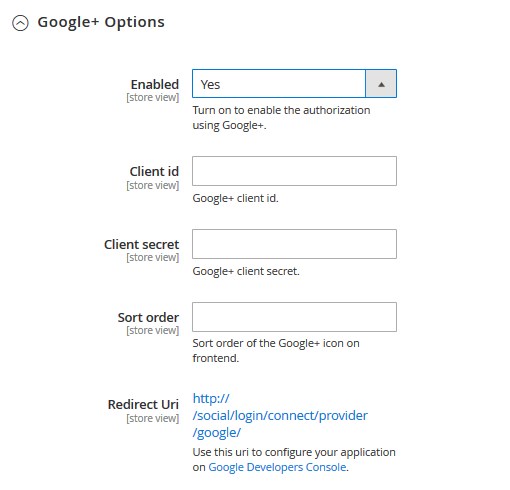
Google+
This section allows you to enable the Google+ login button.

- Enabled — turn on to enable the authorization using Google+ .
- Client id — enter the Google+ client id.
- Client secret — enter Google+ client secret.
- Redirect Uri — use this uri to configure your application on Google Developers Console.
- Sort order — set the sort order of the Google+ icon on frontend.
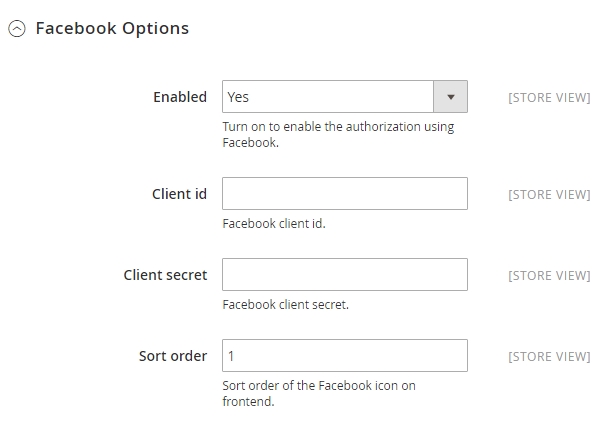
Facebook Options
This section allows you to enable the Facebook login button.

- Enabled — turn on to enable the authorization using Facebook.
- Client id — enter the Facebook client id.
- Client secret — enter the Facebook client secret.
- Sort order — set the sort order of the Facebook icon on frontend.
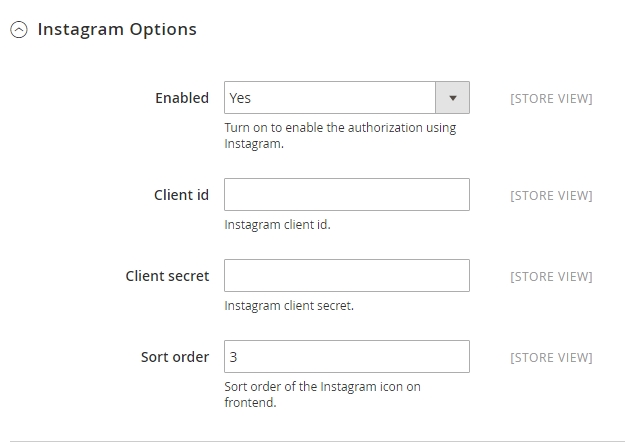
Instagram Options
This section allows you to enable the Instagram login button.

- Enabled — turn on to enable the authorization using Instagram.
- Client id — enter the Instagram client id.
- Client secret — enter the Instagram client secret.
- Sort order — set the sort order of the Instagram icon on frontend.
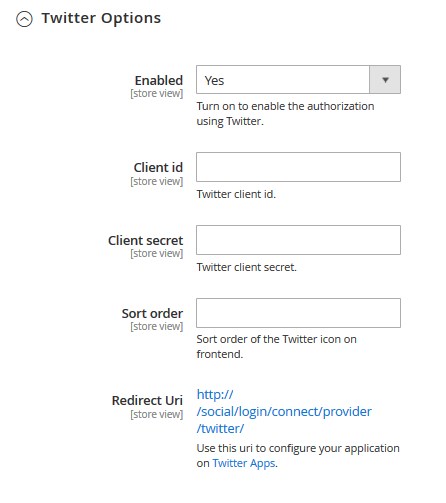
Twitter Options
This section allows you to enable the Twitter login button.

- Enabled — turn on to enable the authorization using
- Client id — Twitter client id.
- Client secret — Twitter client secret.
- Redirect Uri — use this uri to configure your application on Twitter Apps.
- Sort order — sort order of the Twitter icon on frontend.


