This tutorial will show you how to install sample data for the theme by importing SQL file to your database. This action should be done through the phpMyAdmin tool available in your hosting control panel. The template SQL file named “dump.sql” is located in the “sources” folder.
[notice type=”warning”]ATTENTION: your existing content and website settings will be overwritten after importing the SQL file.
Also, please be sure to make a backup of your database before performing any modifications.
If you already have a live website, please do not import SQL file to your database as it’ll replace your database content and your whole website data will be removed.
Make sure that your database table prefix matches the table prefix before importing. This information can be checked directly in SQL file.
You can check the table prefix in your database in database management tool. The prefix is a set of symbols before the table names. Another way of checking it is direct, in the “configuration.php” file located in the website root folder. Line 19 says:
Public$dsprefix = "jos_"
where the prefix is “jos_”.
If your database prefix is not the same:
- Please, open the “dump.sql” file with any code editor.
- Click on “Find and replace” button and replace the “jos_” table prefix (it’s used in the SQL file) with your database prefix (the prefix you’ve set, when installing the Joomla engine).
- Done!
Now you can proceed with the steps of importing your SQL file:
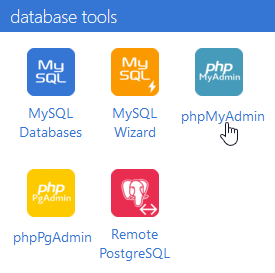
- Firstly, you should open phpMyAdmin tool in your hosting control panel.

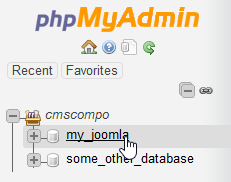
- In the left column, you will see a list of existing databases. Please, select the necessary one by clicking on it.

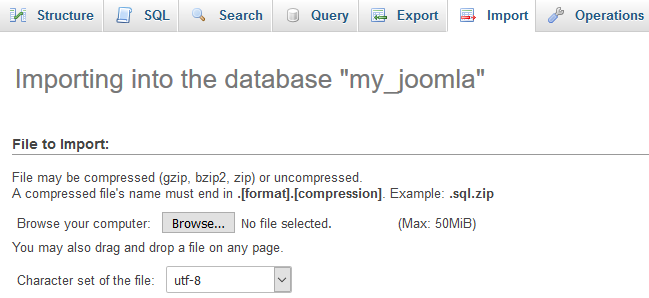
- Press the Import button in the top menu.

- Done! Now you can upload SQL file by clicking Browse button.
- Next, you should press the Go button at the bottom of the page to start the import.
- Once finished, your SQL file is successfully uploaded and your sample data is installed.


