From this tutorial, you’ll learn how to change default “On Stock” text to custom one on the Product page.
Changing “On Stock” Text to Custom One
- First, you need to access WordPress Dashboard using your login credentials. Locate Appearance > Editor tab on the left and open it.

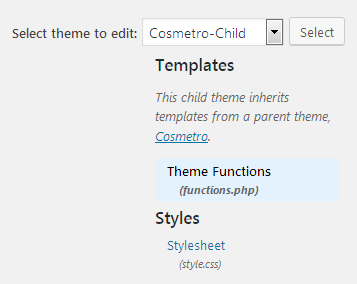
- Here you need to open functions.php file. You can see it in the right column where the list of your theme’s files is.

- Scroll the file to its end and add the following lines of code to it.
Keep in mind, that you can change the Available! and Sold Out text to the custom one.
- Update the changes in order to save them.
- Now you have your custom text instead of default On Stock one.


