[notice type=”warning”]Note: Installation of the dump.sql file is required when you want to get the theme’s sample data.
- Open your template package. Go to the /theme/manual_install/ folder. Upload img, modules and themes folders to PrestaShop root directory via FTP or File Manager of your hosting control panel. You can zip them into one file and extract it on the server.
- In your PrestaShop admin panel go to Preferences-> Themes. To add a new theme, click Add new theme button at the top of the page:

- Click Add file button to import a theme from your computer. Choose themexxx.zip file from the themeinstallator folder of your template package (where themexxx is the name of your theme). Click Open and Save the changes:

- Once, the theme has been uploaded, it will appear at the back-end in Preferences-> Themes. Hover the cursor over the theme preview and click Use the theme button to enable it.

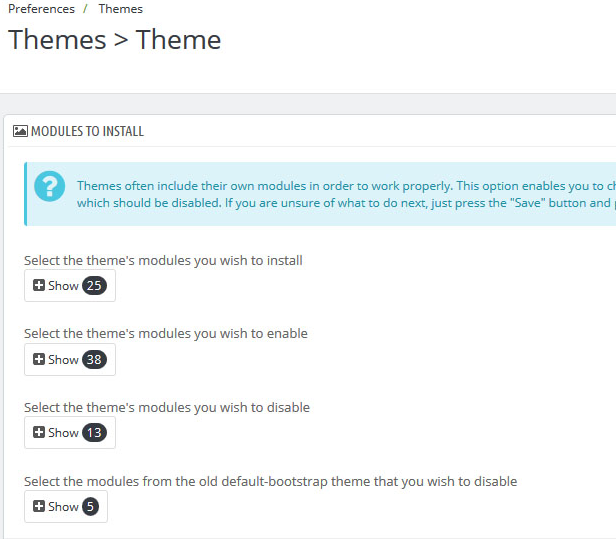
- You’ll see the screen with the information about the modules used in the theme. Click Save button to continue.

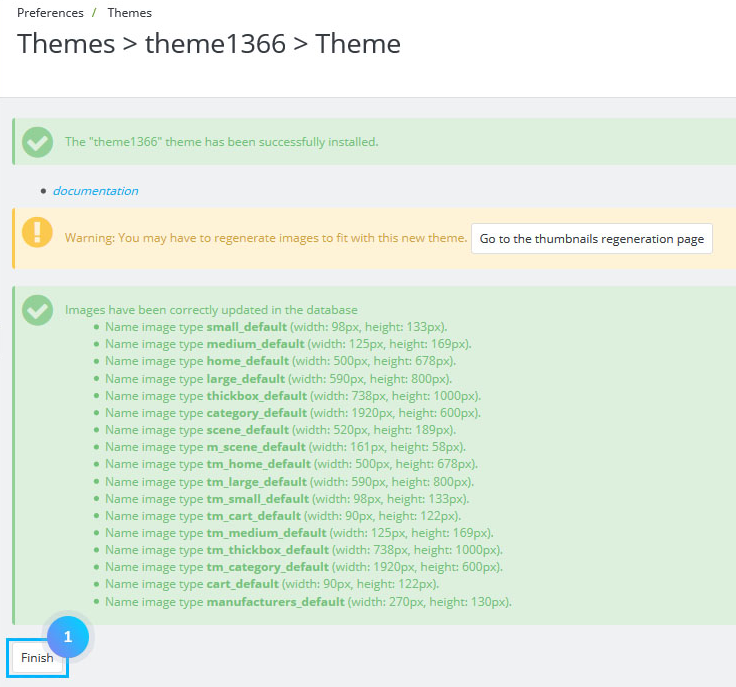
- The pop-up with the message about successful theme activation will appear. To finish the installation click Finish button.

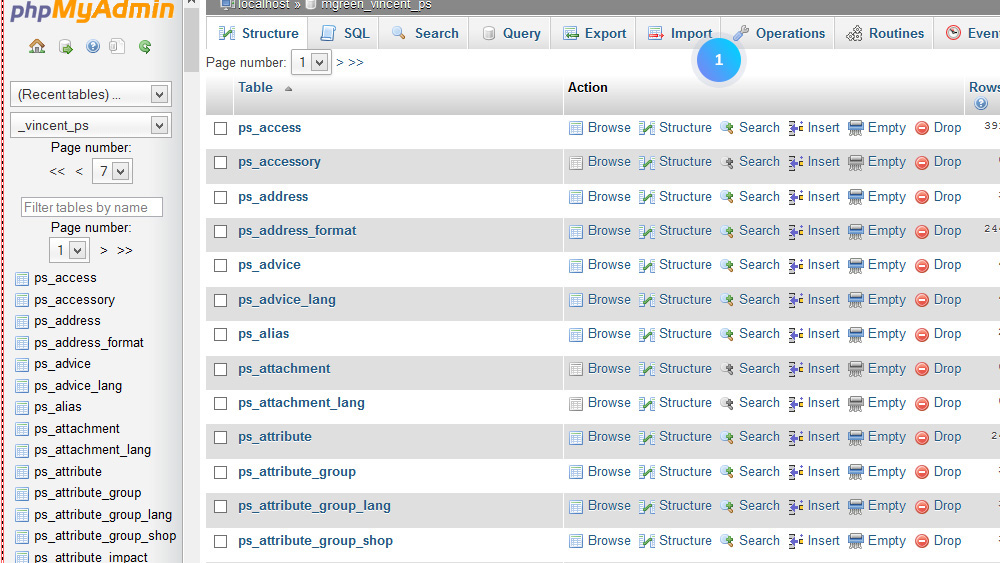
- Go to the phpMyAdmin database management tool. Select there your database.
- Click the Import tab at the top:

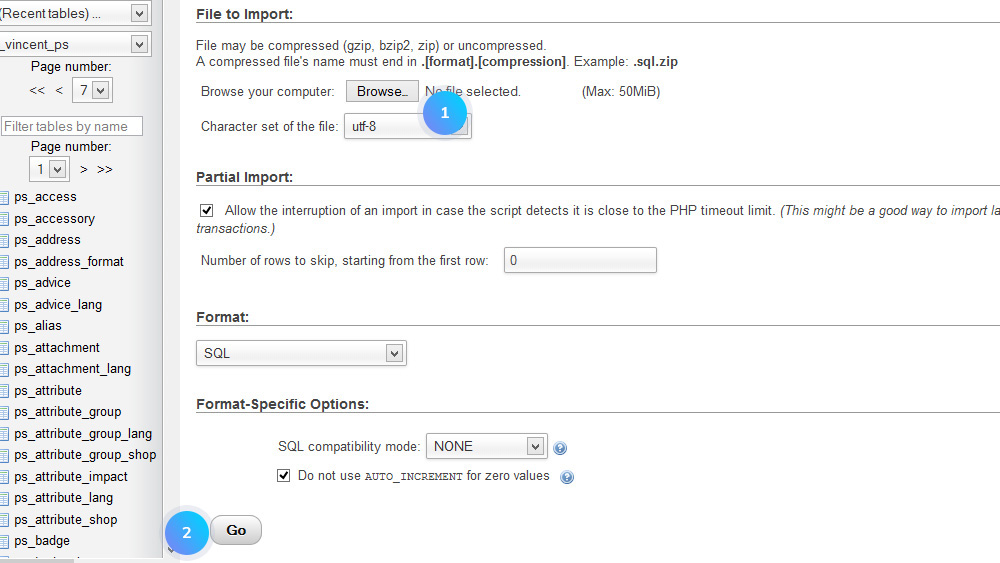
- Browse the dump.sql file from your sources folder and import it into your database:

NOTE: Please do not import the .sql file if you have an existing PrestaShop store with your own data. Importing the dump.sql file into your database will overwrite all the data you have in the database.
[notice type=”warning”]Please, make sure that your version of PrestaShop engine matches the template requirements. Otherwise, the database will be damaged.
Check the website of your store.
Hopefully, this tutorial was helpful for you.


