


➤ In addition to the static display of the block on the product listing page, you can also display the list of categories on the selected page with the help of a widget.
1. To add a widget, navigate to Content > Widgets menu and press the Add Widget button.

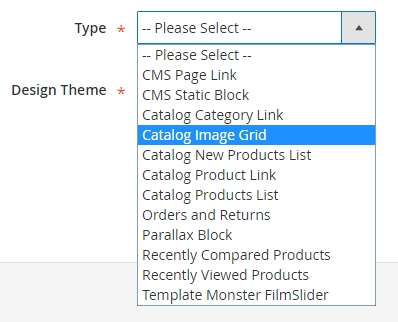
2. In the appeared window, in the Type field, select Catalog Image grid.
3. In the Design Themes select the theme, that you want to apply this widget to.
4. Press Continue.
Storefront Properties
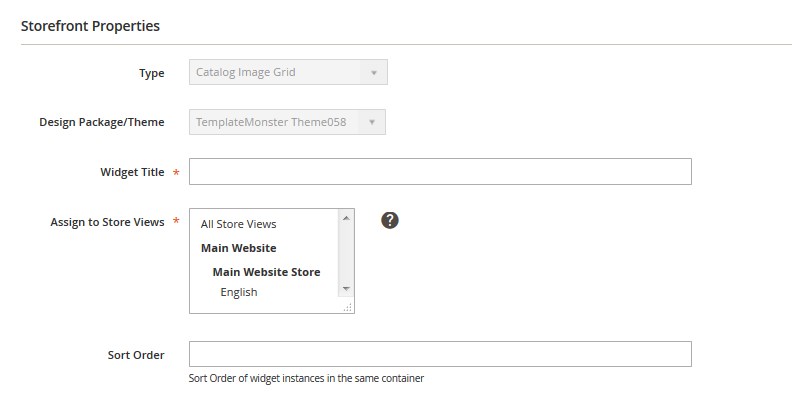
- Widget Title — specify the widget title.
- Assign to Store Views — assign the widget to a particular store view.
- Sort Order — sort order of widget instances.
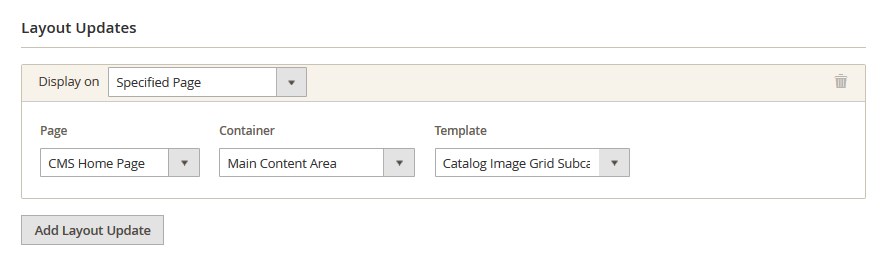
5. In the Layout Updates section, select a page and a Template for widget display.
6. Navigate to Widget options tab and you will see available options.
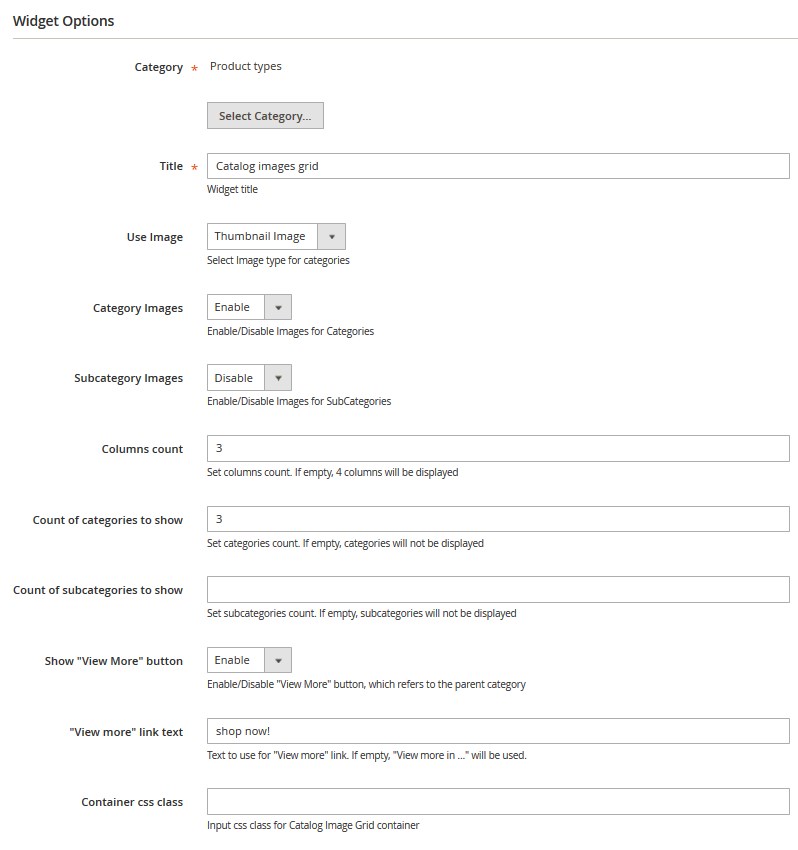
❑ Let’s review the options that differ:
- Category — select the category, the subcategories of which you want to display in form of a grid with images. Press Select Category.
- Title — widget title.
- Use Image —select Image type for categories (Thumbnail Image/Category Image/Custom Font Icon).In case select the Categoty image, you should upload the image for the categoty first. In order to do this, go to the Products > Categories. Expand the Content tab, you will see the Category Image option. Click the Upload button to upload the image you want to use as the category image.
To upload the Thumbnail image, navigate go to the Products > Categories. Expand the Catalog Images Grig tab, you will see the Ttumbnail option. Click the Upload button to upload the image you want to use as the thumbnail image. - Category Images — enables displaying images for categories.
- Subcategory Images — enables displaying images for subcategories.
- Font Icon Size (for Custom Font Icon) — set Icon size in px.
- Columns count — set columns count. If empty, 4 columns will be displayed.
- Count of categories to show — set categories count. If empty, categories will not be displayed.
- Count of subcategories to show — set subcategories count. If empty, subcategories will not be displayed.
- Show “View More” button — if there are more categories, than specified in the previous option, you’ll see the View More button on the website. This option disables the display of this button, which refers to the parent category.
- “View more” link text (if Show “View More” button is enabled) — text to use for “View more” link. If empty, “View more in …” will be used.
- Container css class — specify the css class for a container that will be used for wrapping a grid with images.
Product categories settings
In order to configure the module to the fullest extent, configure images, thumbnails, specify the icon class, if needed.
1. Navigate to Products > Categories, select any category and you’ll see four options.
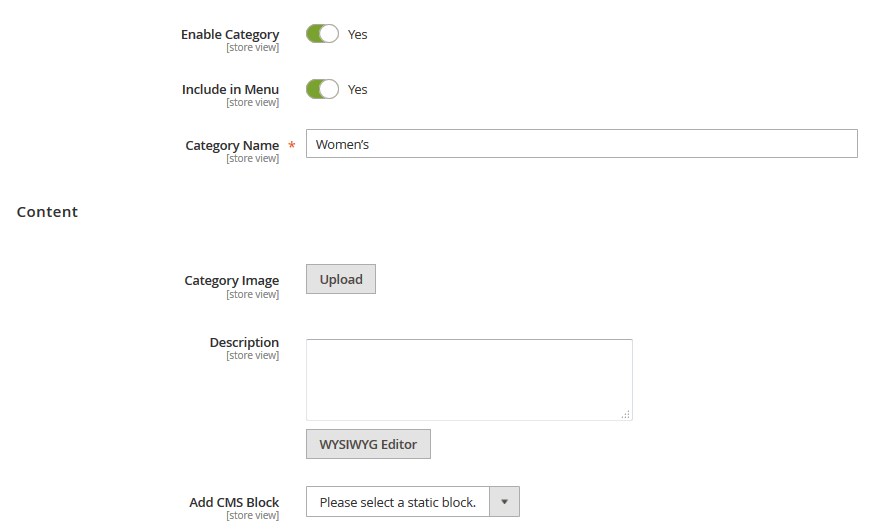
- Category image — is the standard functionality of the engine. After you upload an image, it will be displayed on the category page. You can also display it in the module.
- Description — add description.
- Add CMS Block — you can add CMS Block. Select the block from the dropdown.
2. Go to the Catalog Images Grid tab. Here you can activate the Image Grid option and upload the thumbnail image for the category or subcategory.
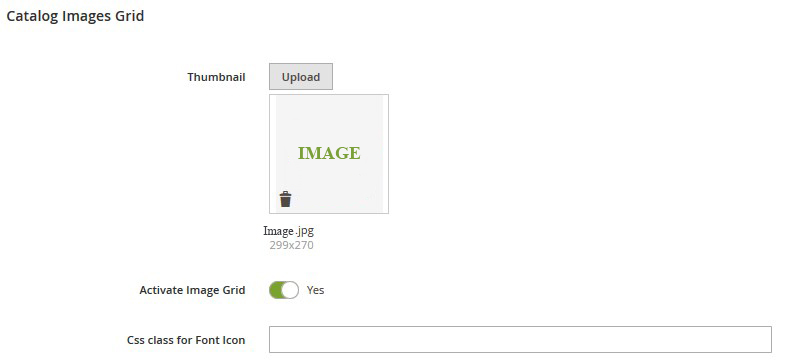
3. Save the settings.
