


From this tutorial you’ll learn how to change skins in Monstroid2 library.
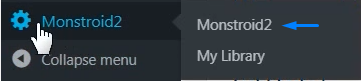
1. Login to your WordPress Dashboard and navigate to Monstroid2 icon on the left side.
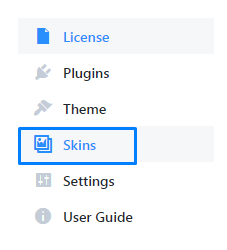
2. In the opened window you’ll select Skins to access the library.
3. To check whether there are new skins added to the library, click Synchronize Skins Library button.
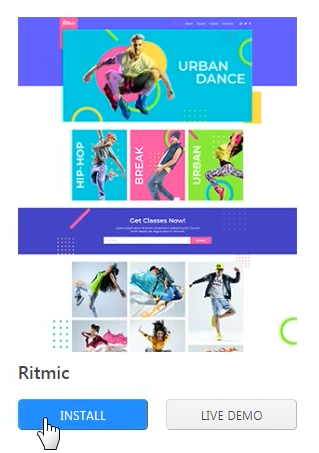
4. If you want to take a look at the skin before installation, click Live Demo button.
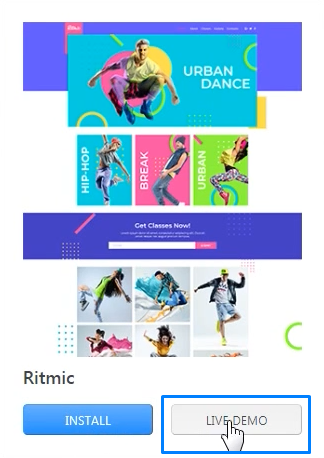
5. To change the skin click Install button.
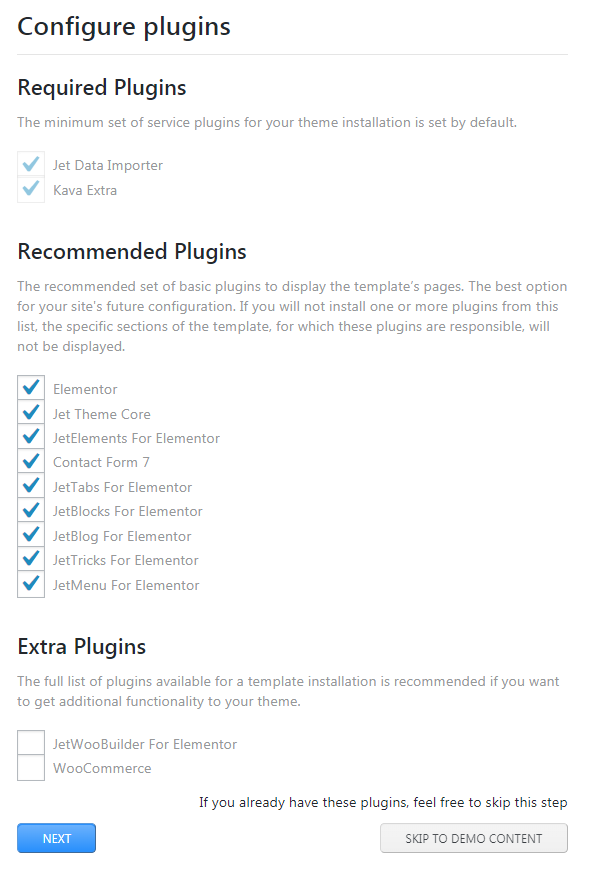
6. You’ll see the list of plugins to be installed along with this skin. In case if you have the plugins installed, click on Skin To Demo Content button to import demo content only.
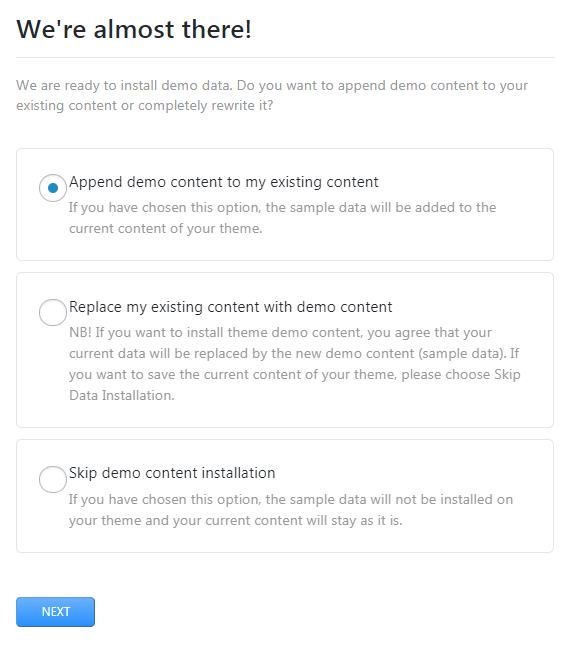
7. Next, you’ll be offered to either append, replace or skip the demo data installation. Select your option here.
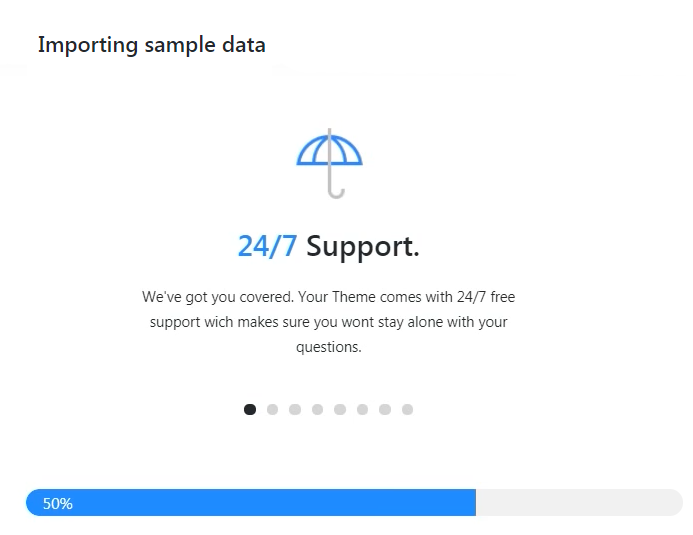
8. In case if you selected the Append or Replace option and clicked Next button, you’ll be redirected to Importing sample data window showing entire process of the import. You’ll need to enter your Dashboard password.
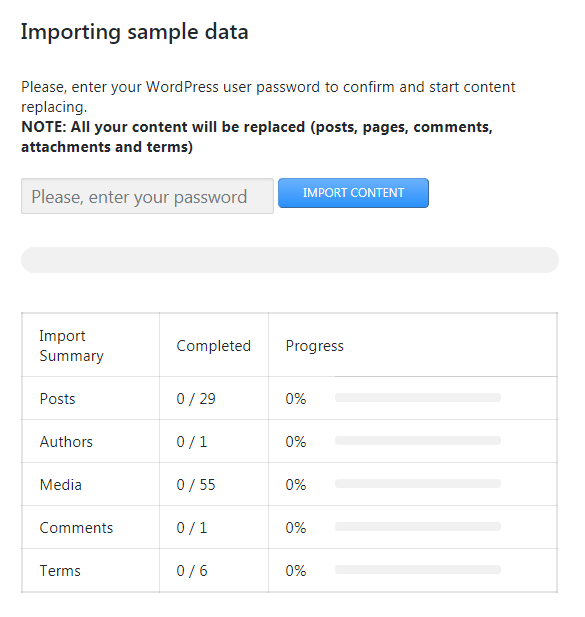
9. After this, the import will start. Wait until it’s completed.
10. Success! The import of the skin is completed.
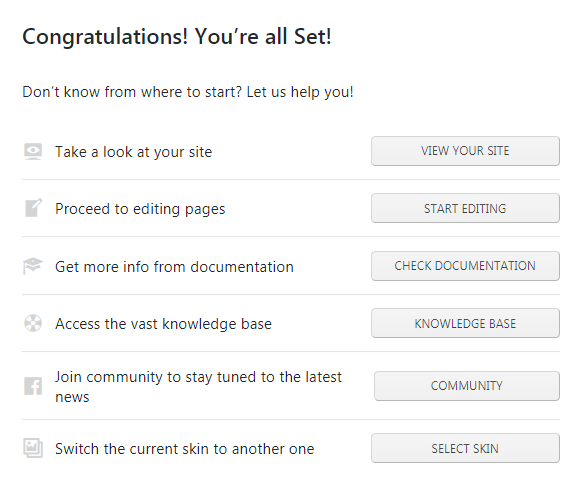
Now you know how easy it is to change skins in Monstroid2!


