


From this tutorial you’ll learn about managing Restaurant Menu plugin settings.
To open Restaurant Menu settings, please, navigate to Restaurant Menu > Settings tab in the left column of the Dashboard. Here you can see 8 different settings tabs, that provide you with the opportunity to manage currency, displayment, payment, checkout and other settings. 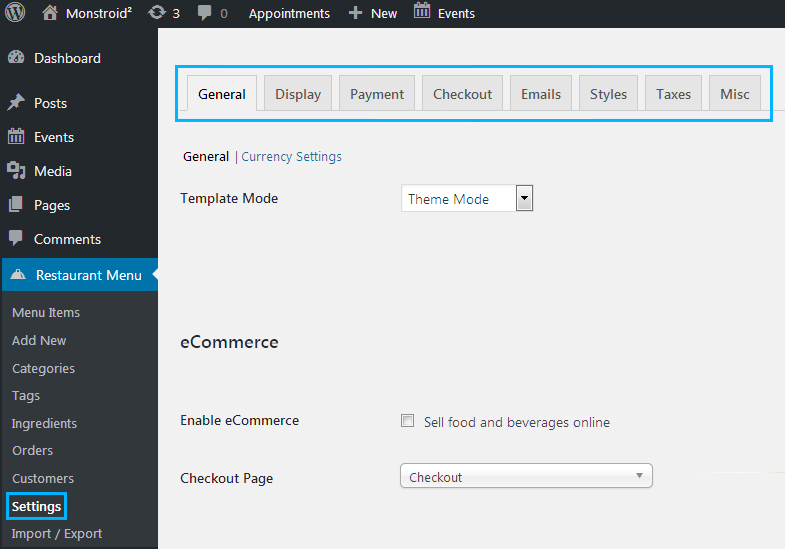
Let’s overview them.

General
Switch to General settings tab to view the Restaurant menu general settings. 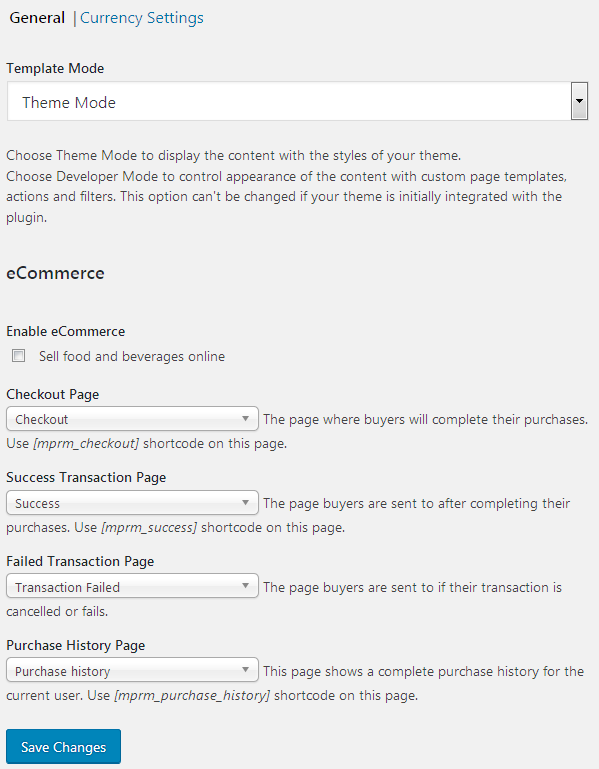
- Template mode – here you can select the Theme Mode to display content using the theme style, or Developer Mode to use the custom page templates.
- Enable eCommerce – check this option if you want to sell the dishes online.
- Checkout Page – select the page you want to use as a checkout page from the dropdown list of pages.
- Success Transaction Page – here you can set the page to use for the page displayed when a successful transaction is carried out.
- Failed Transaction Page – here you need to set the page to display when the transaction fails.
- Purchase History Page – here you can specify the page to show the purchase history on it.
You can as well manage currency settings in the General block. To learn how to do it, please, feel free to read How to Manage Currency Using Restaurant Menu Plugin tutorial.
Display
Switch to Display settings tab to see the settings allowing to manage the way the menu items are displayed. 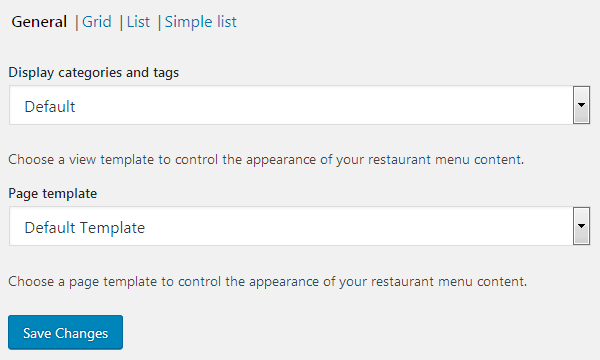
General Display Settings
- Display categories and tags – here you can select from the dropdown menu a view template to control the appearance of your restaurant menu content (default, grid, list, simple list).
- Page template – here you can select the page template to control the appearance of your restaurant menu content.
In the case you’ve selected grid or list view template, you can specify the number of columns, and the extent of information to show to the visitors. 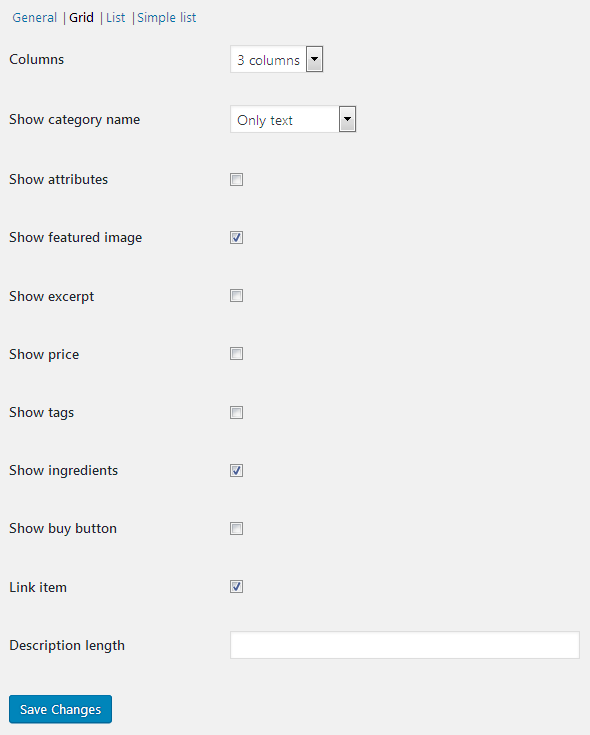
- Columns – here you need to set the number of columns for the grid, list of simple list templates.
- Show category name – select, if you want to show text only, the title with an image, or don’t show category name at all.
Here are other options, that can be enabled or disabled at will.
- Show attributes
- Show featured image
- Show excerpt
- Show price
- Show tags
- Show ingredients
- Show Buy button
- Link item
- Description length.
Payment
In this block you can manage payment gateways, specify PayPal information or set cash on delivery option.
Gateways
Click on Gateways block to see all the available options. 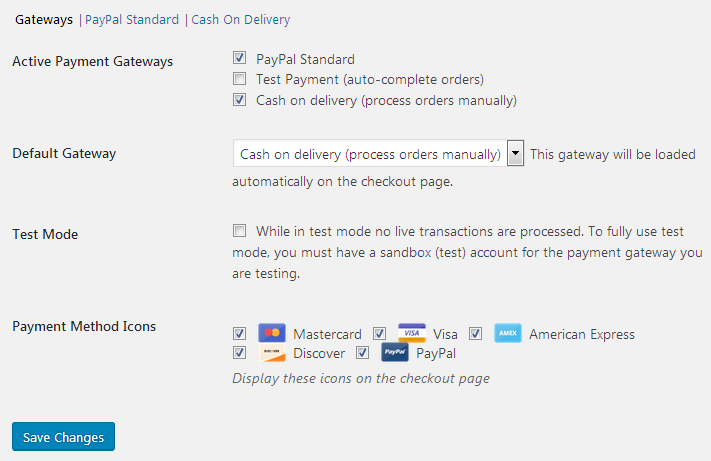
- Active Payment Gateways – here you can check the payment gateways to use.
- Default Gateway – select the gateway to load it automatically on checkout page.
- Test Mode – enable this option to test the gateway without making any transactions.
- Payment Method Icons – check the icons you want to display for the payment methods.
PayPal Standard
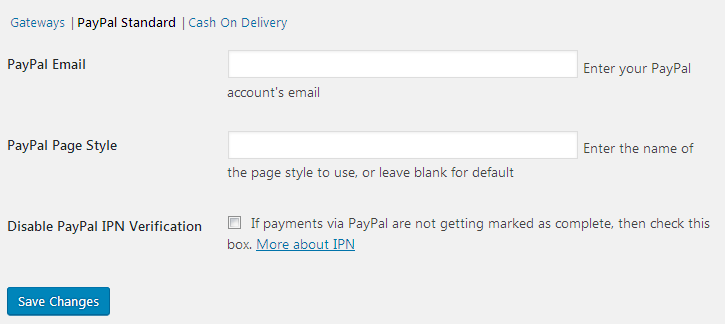
Here you need to specify this information:
- PayPal Email
- PayPal Page Style
- Disable PayPal IPN Verification (check the box).
Cash on Delivery
Process Payments Manually – check this option to review the order and set its status to complete manually.
Checkout
In this block you can manage the checkout settings. 
- Phone is required – enable this option if you want the telephone field to show up on the Checkout page.
- Enable shipping – check this option to show the shipping address field.
- Enforce SSL on Checkout – enable this option to force users to be redirected to the secure Checkout page. You must have an SSL certificate installed to use this option.
- Disable guest checkout – enable this option if you want the users to log in to make purchases.
- Show Register/Login form? – here you can select what forms you want to display on the Checkout page for the visitors that haven’t logged in.
- Enable Ajax – enable this option in order to enable Ajax for the cart.
- Redirect to Checkout – check this option if you want the users to go to checkout page right after they add the item to cart.
- Items amount – check this option in order to allow the items amount to be changed on the Checkout page.
Emails
In this block you can manage email templates. 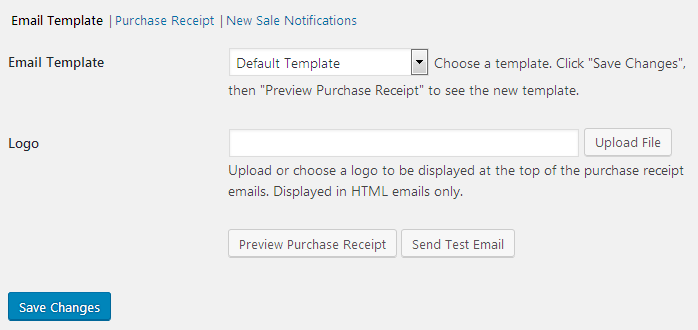
- Email Template – here you can select the email template you want to use.
- Logo – upload a file to make it show up at the top of the purchase emails.
- You can also preview purchase receipt and send test emails – to do it click on the corresponding button.
Purchase Receipt
- From name – here you can specify the name of your site or shop.
- From email – set the email address from which the emails will be sent.
- Purchase email subject – here you can fill in the subject for the purchase receipt email.
- Purchase email heading – here you should enter the heading of the email.
- Purchase receipt – here you can add the email receipt content.
Click Save changes button in order to save all the applied settings and added content.
New Sale Notifications
- Sale notification subject – here you should fill in the subject line for the sale notification email.
- Sale notification – create the content for the sale notification email and paste it in this field.
- Sale notification emails – here you need to specify the email address that will get the sale notification every time the sale starts (you can enter as many emails as you need to, just add them one per line).
- Disable sale notifications – check this option in order to turn off the notifications.
Click Save changes button in order to save the content and settings.
Styles
In this block you can manage the style settings. 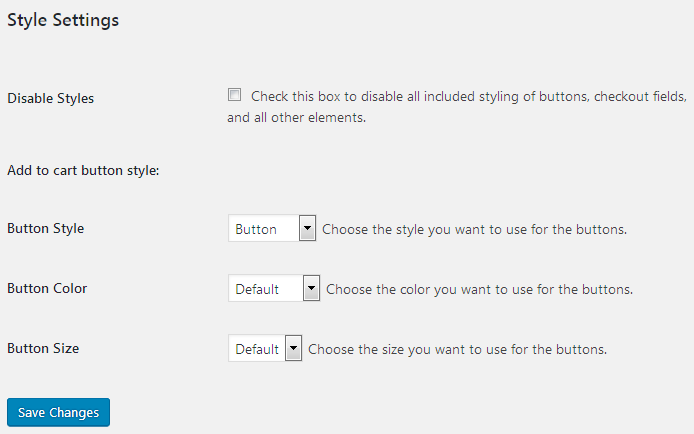
- Disable styles – check the box to disable the styles for buttons, checkout fields, and other elements.
- Add to cart button style – here you can manage such style options, as button color, style, and size.
After you’re finished, click Save changes button.
Taxes
This block provides tax settings you can manage. 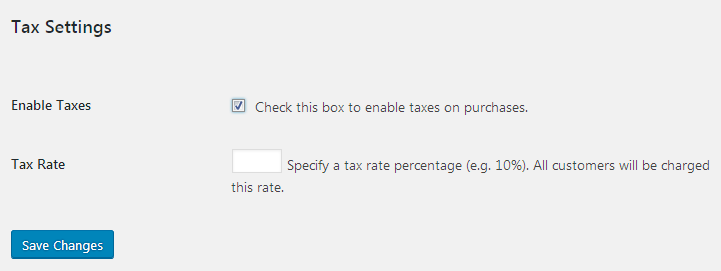
- Enable taxes – check the box in order to enable the taxes on purchases.
- Tax rate – here you should set the tax rate (in percents).
Misc
In this block you can change button text and the terms of an agreement. 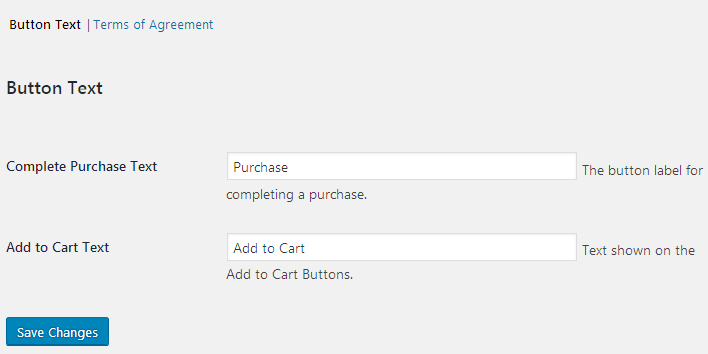
- Complete purchase text – here you need to specify the text to show up on the button for completing the purchase.
- Add to cart text – here you can set the text to show up on Add to cart button.
- Agree to terms – check this option if you want to show Agree to terms box on the Checkout page for the users to agree to terms before making a purchase.
- Agree to Terms label – fill in the text to show up next to Agree to Terms checkbox.
- Agreement Text – here you have to add the terms and conditions.
