Visual Composer page builder is one of the most popular nowadays because of its simplicity and effectiveness. It allows to create a page practically from scratch, change its layout structure, add widgets and whole content blocks, and view the result in real time.
Visual Composer Location
- Log in to WordPress Dashboard.
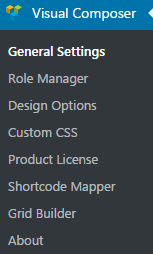
- To change general settings of Visual Composer plugin click on Visual Composer tab in the left column.
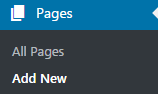
- To create a page with Visual Composer go to Pages tab in the left column. Click on Add New. This way you’ll be able to approach Visual Composer and switch to the editor.
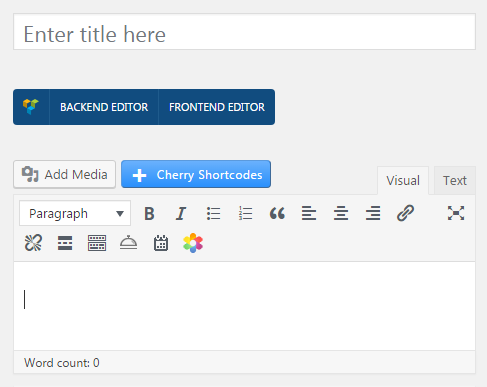
- Click on Use front-end editor button.
Creating Page with Visual Composer
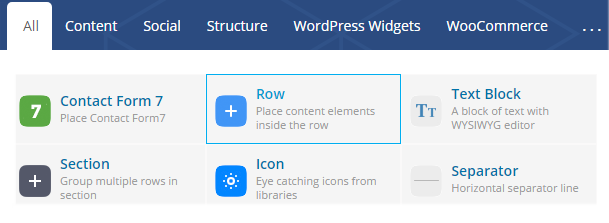

- To start adding content to the page choose Elements tab at the left top side of the page and click on the +Row tile. Though, the rows are the key blocks of any page’s structure, so you need to add rows first before trying to add other content or widgets.
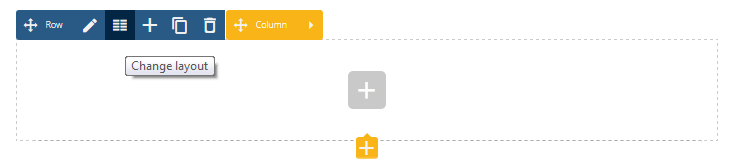
- When you’ve added a row, by default, it consists of only one column. To change the number of columns you’ll need to click on Change Layout button in the Row Settings tab (it appears at the top of the row). As a result, the default layout will change to your custom one.
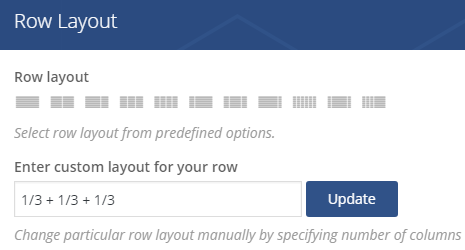
- A window offering you to choose the appropriate layout for a row will open. Though you can set the custom layout by adding to the text field the proportions for the columns, that will form the row (e. g. ⅓, ⅓, ⅓ or ¼, ¼, ¼, ¼).
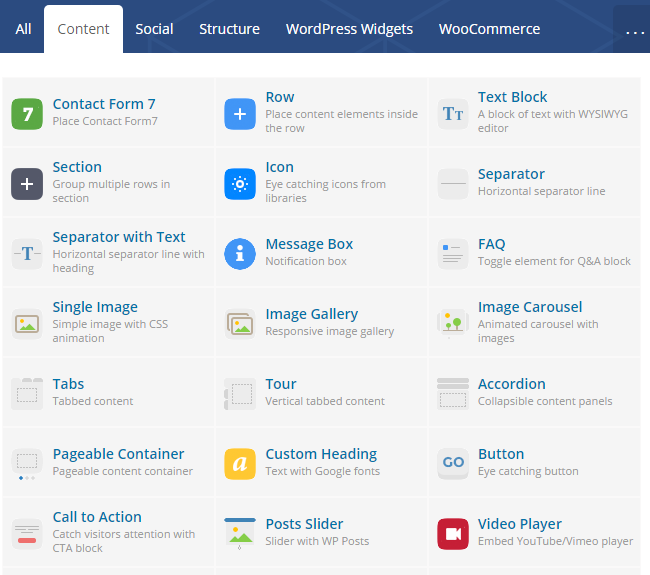
- Now that you’ve added the columns to a row, you can start adding content and widgets. To do it click on Plus button and choose the type of content you want to add to a column from the appearing list. “Content settings” block will open, allowing you to add and edit content. The block consists of the two tabs:
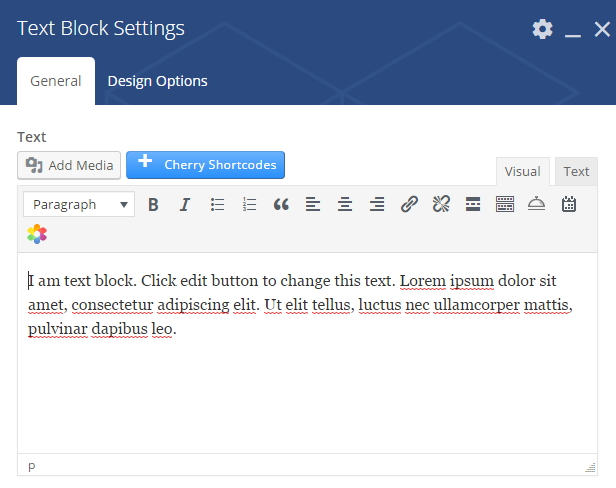
- General — in this tab, you can add and edit your content directly;
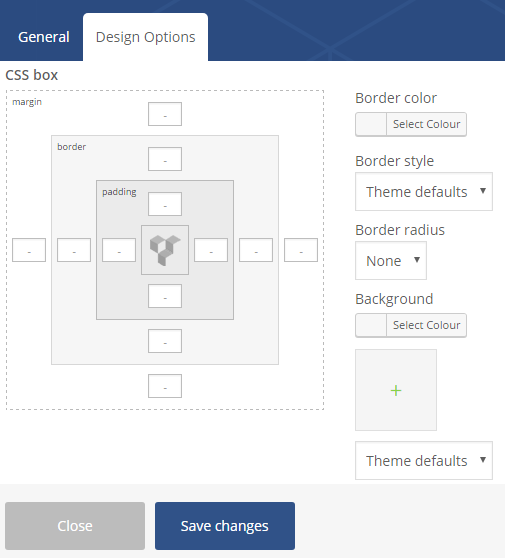
- Design Options — in this tab, you can access the advanced design settings, such as padding, margins, etc.).
You can save ready blocks as presets to use them again, or save them as default. Though, a preset can be easily deleted.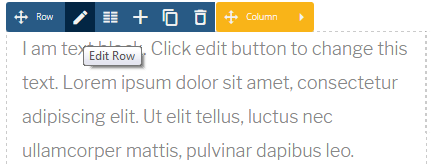
- General — in this tab, you can add and edit your content directly;
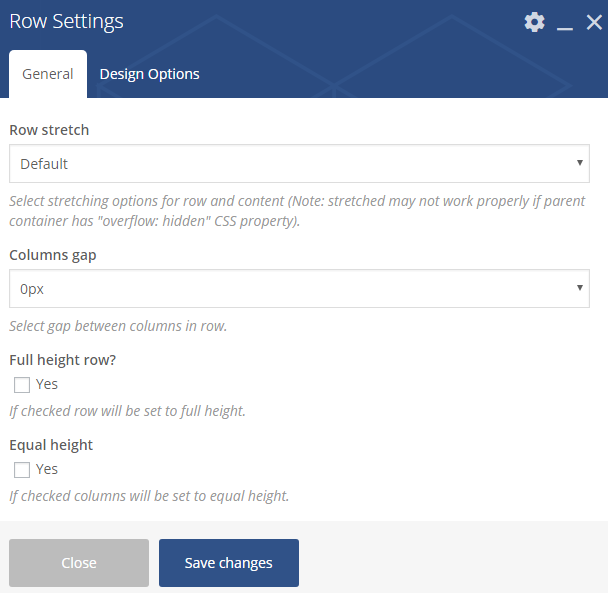
- Enter Rows and Columns settings to choose custom padding and margins, border and background color for the whole rows. As a result, you’ll adjust the settings to your general page’s appearance.
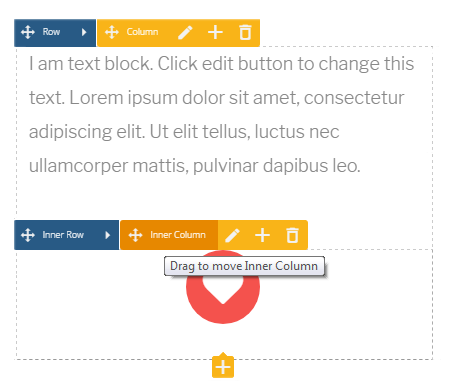
- It is also possible to add inner rows and columns into already existing rows or columns. For example, if you need to add two kinds of content to one column, you can add a row or a column to it, and it will be divided vertically (into two rows) or horizontally (into two columns).
- Another curious option is that the columns and the whole rows can be dragged and dropped in different positions on the page, so replacing element won’t take much time. Though you’ll need to have extra empty rows to place content.

- In the top right corner of Visual Composer front-end editor, you’ll see additional options.
- Settings — here you can define the title of the page you’re creating and add custom CSS if you have a need to do it;
- Responsiveness — here you can view how your page will look from various devices;
- Save Draft — it saves a page as a draft;
- Publish — click on it to publish your page, when it is ready. As a result, you’ll be able to view it on your website;
- Exit — this button exits Visual Composer front-end editor. Don’t forget to save the changes before making an exit!