


From this tutorial, you’ll learn how to add localization to your WordPress template and plugins using the WPML plugin.

Installing WPML
- First, let’s install WPML to WordPress. To do it you need to get a WPML account. Here navigate to Downloads and download the WPML components package.
- Unzip each of the components. Then add all of the components contained in the separate folders to one archive.
- Upload them to the wp-content/plugins folder using the FTP tool or Upload option in your hosting server cPanel file manager.
- Uncompress the package.
- Now navigate to WordPress Dashboard -> Plugins tab and activate WPML components.
WPML Localization
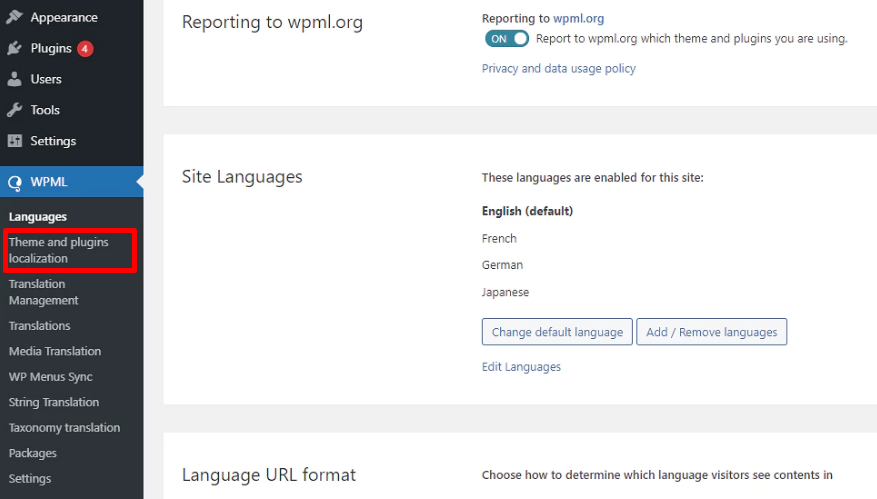
- Let’s locate theme and plugins localization settings. Locate WPML -> Theme and plugins localization tab on the left of the Dashboard.
- Here you can create translations for texts in themes and plugins. You can use the translations you already have, as well as string translation.
String Translation
1. WPML will scan the theme and locate the text to be translated. It will show you all the strings and you’ll be able to enter the translation right from WordPress Dashboard.
To start manual scanning for texts please, select the theme or a plugin you want to scan and click on Scan selected themes/plugins for strings.
2. You’ll see how many strings are there for translation.
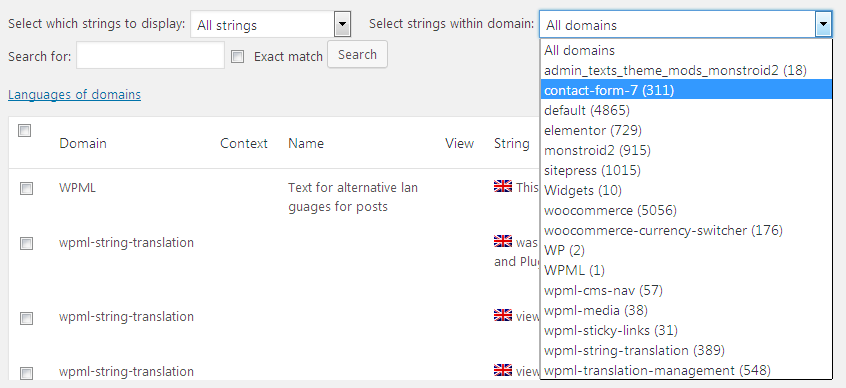
3. Navigate to WPML -> String Translation tab.

4. Select the domain (the theme’s or plugin’s name) which texts you need to translate.
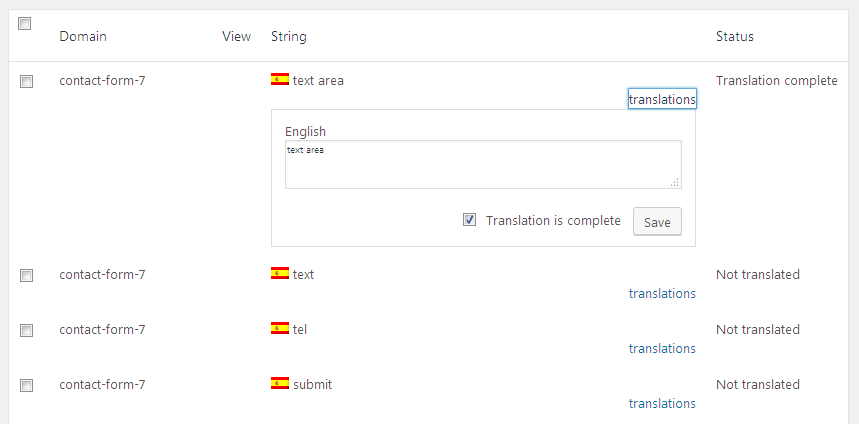
5. Click the translations link on the right of each string and add the translation for the text.
6. When the translation is complete you’ll be able to switch the languages for the themes and plugins on the website. To learn how to do it, please, feel free to read Adding Language Switcher with WPML Plugin tutorial.
How to configure header templates
In order to enable multilingual header and footer templates, please, choose the Translatable only show translated items option under WPML -> Settings -> Post Types Translation.

Under Crocoblock -> Theme Builder choose the language for translation and create a header template.

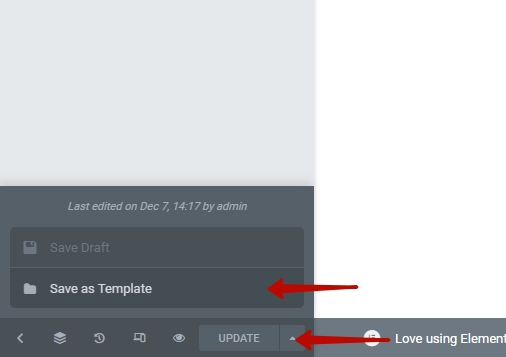
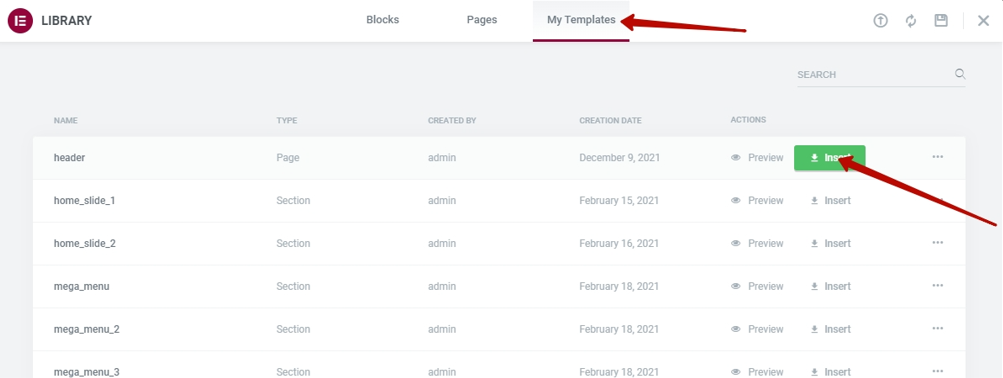
You can save the header as a template and import it as a base for the translated header.

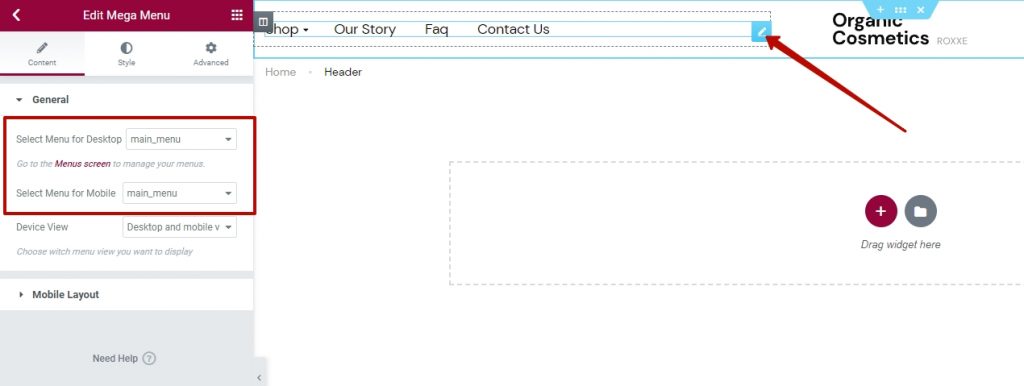
Make sure you assign the correct menu in the Menu widget.
Now you know how to work with the WPML plugin that solves the problem by allowing your website to become multilingual.
Getting Stuck? Feel free to contact our Dedicated Support Team for further assistance.
