


This tutorial uncovers the basic steps you need to accomplish to add content with JetElements modules using Elementor.

Adding Content with JetElements
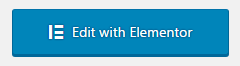
- Navigate to Pages > Add New tab in the left column of the WordPress Dashboard. Click on Edit with Elementor button. You’ll proceed to Elementor editor page.
- When Elementor editor will open, you’ll see the block containing Add New Section button at the right part of the screen, where your future page’s draft is displayed.
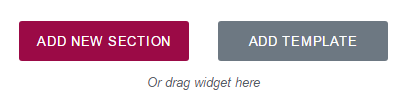
- Click on Add New Section to add the section, where you will place JetElements module.
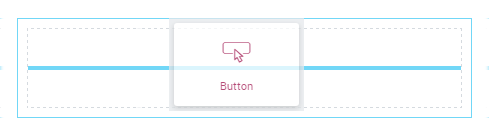
- Now you’re ready to add JetElements modules to the columns. Choose one of the elements you want to add to the page and drag it to the column area.
- You’ll see the element settings in the left column. You can manage content, style, or use advanced styling options from here.
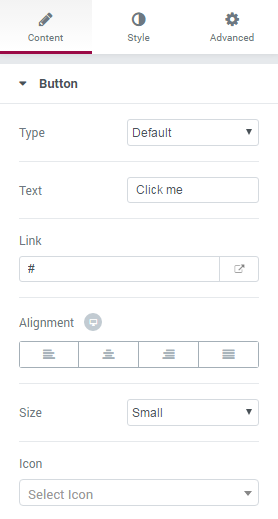
- Keep in mind, that for different elements the options may vary. Each element has its own styling and content management settings.
- Edit Widget – this option provides fast access to module editing block in the left column of the page editing screen.
- Duplicate Widget – use this option to duplicate the existing module with all its settings and content.
- Remove Widget – this option removes the module from the page.
