


From this tutorial you’ll learn how to use Give – Donation plugin to get donations on your website.
With this plugin one can create multiple flexible forms, that will help you accept donation payments.

Configuring Give – Donation Plugin
- First, let’s log in to WordPress Dashboard using your account credentials.
- Locate Donations tab on the left of the Dashboard and click on Add Form sub menu.
- Now that you’ve approached Add Form page, you can create a new form to receive donations.
- Add the title of the form in the Title field and navigate to editing Donation Options block below.
Donation Options
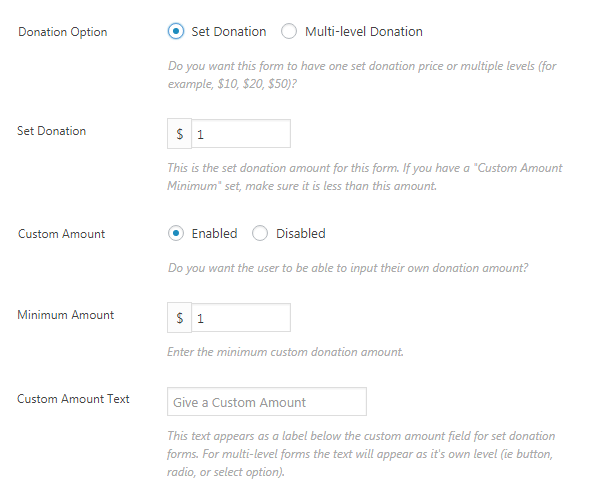
Let’s overview the most common donation options.
- Donation Option — here you can select if you want to set one donation price or either use multiple multi-level donation prices.
- Set Donation — in this field you can set the donation value.
- Display Style — here you can choose the style you want to use for multiple donation prices. It can be buttons style, radios style or dropdown style.
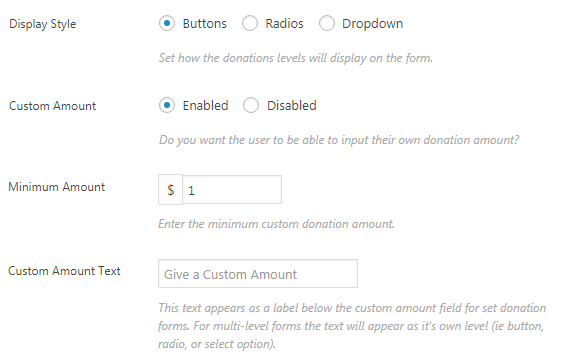
- Custom Amount — enable this option if you want the user to define the amount of donation. Here you can customize the minimal amount of the donation and add the text.
Form Display Options
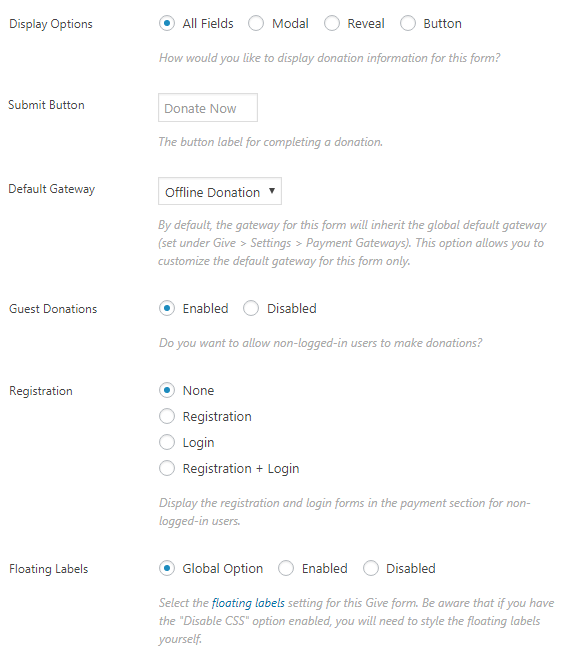
In this block you can learn more about Form Display block options.
- Display Options — here you can define the way you want donation info to be displayed.
- Submit Button — here you can add the button label text.
- Default Gateway — here you can set a global default gateway, a text donation or an offline donation.
- Guest Donation — here you can enable or disable accepting donations from guests.
- Registration — here you can set the registration forms for users that haven’t logged in.
- Floating Labels — here you can choose the floating labels for this form.Note, that if you’ve disabled CSS, you’ll need to style the labels yourself.
Donation Goal Options
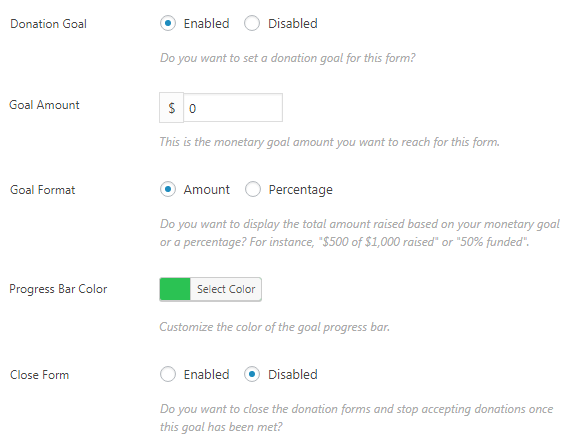
In this block you can enable or disable donation goal. Enable it to view all the available options.
- Goal Amount — here you can define the amount of the donation goal.
- Goal Format — here you can select the format of the goal. It can be either Amount or Percentage.
- Progress Bar Color — here you can choose the color to use for the progress bar.
- Close Form — here you can define if you want the form to close and stop accepting donations when the goal is met.
Form Content Options
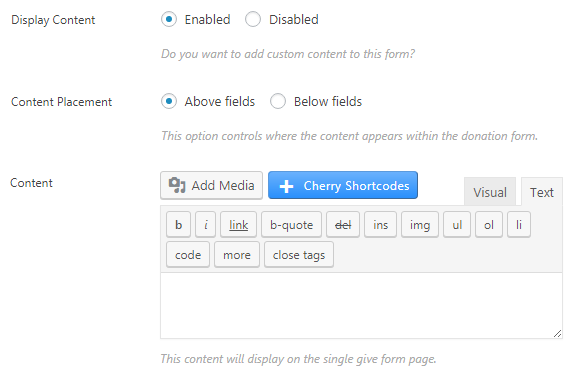
In this block you can enable or disable displaying content. Enable it to view all the available options.
- Content placement — here you can choose if you want to place content above or below the fields.
- Content — here you can add all kinds of content using standard content editor form.
Terms & Conditions
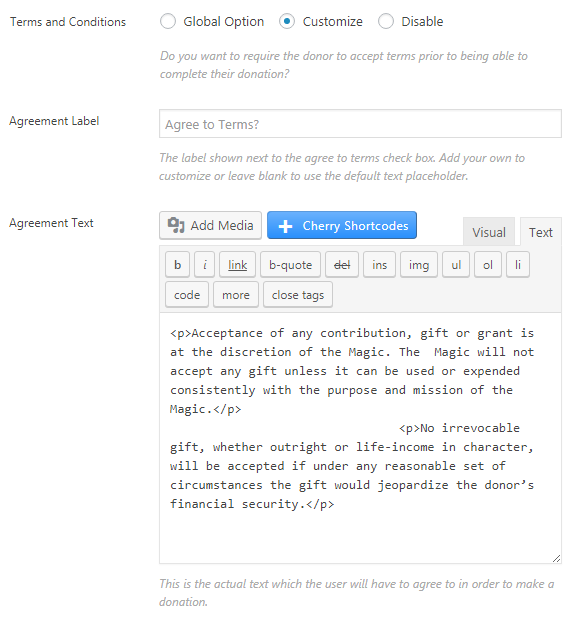
Here you can enable and disable Terms and Conditions block. Click on Customise to navigate to Terms and Conditions customization.
- Agreement Label — here you can set the label to show next to Agree to Terms checkbox.
- Agreement Text — here you can add your custom agreement text to the content editor form.
Offline Donations Options
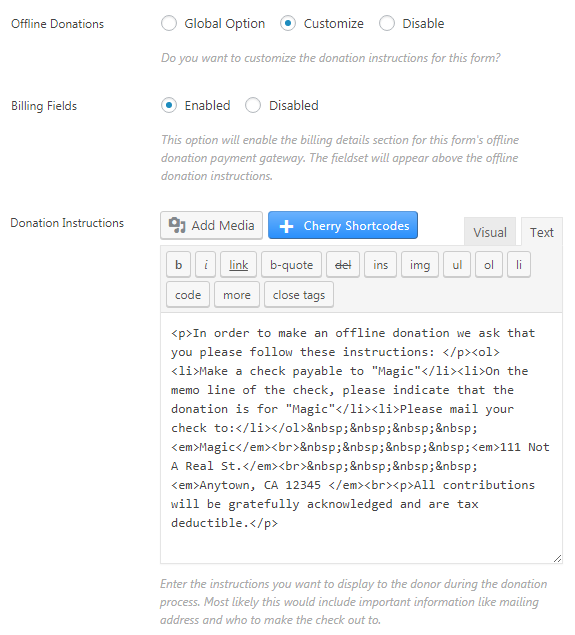
Here you can enable or disable offline donations. Click on Customise to apply changes to Offline Donations settings.
- Billing Fields — here you can enable or disable the billing fields. This option will enable the billing details section for this form’s offline donation payment gateway.
- Donation Instructions — here you can add the instructions for offline donation using the standard content editor form.
- Email Subject — here you can type in the subject of the email.
- Email Instructions — here you can place the specific email instructions to send to the person who’s submitted to the donation form.
Here is the list of the tags available for use in the form.
- {donation} — the donation form name, and the donation level (if applicable).
- {form_title} — the donation form name.
- {amount} — the total donation amount with currency sign.
- {name} — the donor’s first name.
- {fullname} — the donor’s full name, first and last.
- {username} — the donor’s user name on the site, if they registered an account.
- {user_email} — the donor’s email address.
- {billing_address} — the donor’s billing address.
- {date} — the date of the donation.
- {payment_id} — the unique ID number of this donation.
- {receipt_id} — the unique ID number of this donation receipt.
- {payment_method} — the method of payment used for this donation.
- {sitename} — the name of your site.
- {receipt_link} — the donation receipt direct link, to view the receipt on the website.
- {receipt_link_url} — the donation receipt direct URL, to view the receipt on the website.
Adding Donation Form to the Page
To add a Donation form to your website’s page you can use a shortcode and add it to the necessary content field using page editor, or you can use Give – Donation plugin form.
Adding Donation Form Using Shortcode
Navigate to Donations > Add Donations tab in the left column of WordPress Dashboard.
Copy the shortcode under Publish > Give Form Shortcode block.
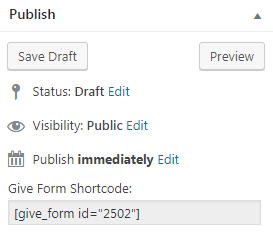
Paste the code into the content field of the page where you want to add the form. Save the changes.
Adding Donation Form Using “Give -Donation” Plugin Form
- Navigate to Appearance > Customise tab on the left of the Dashboard.
- Locate Widgets sub menu. Click on it.
- Choose the suitable widget location and click on Add Widget button to add a new widget.
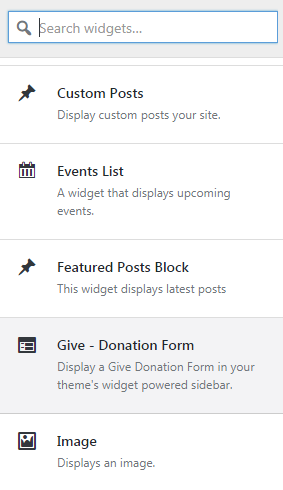
- Choose Give – Donation widget and select your form in the widget settings.
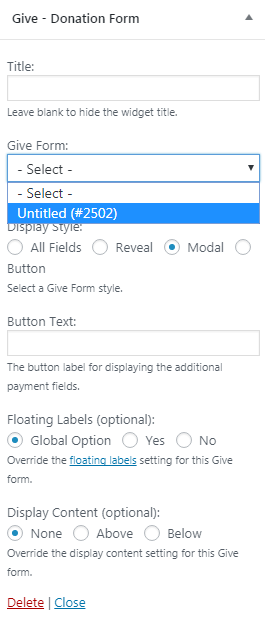
- Save the changes.

