


From this tutorial you’ll learn how to create parallax background using Power Builder page builder.

Creating Parallax Background
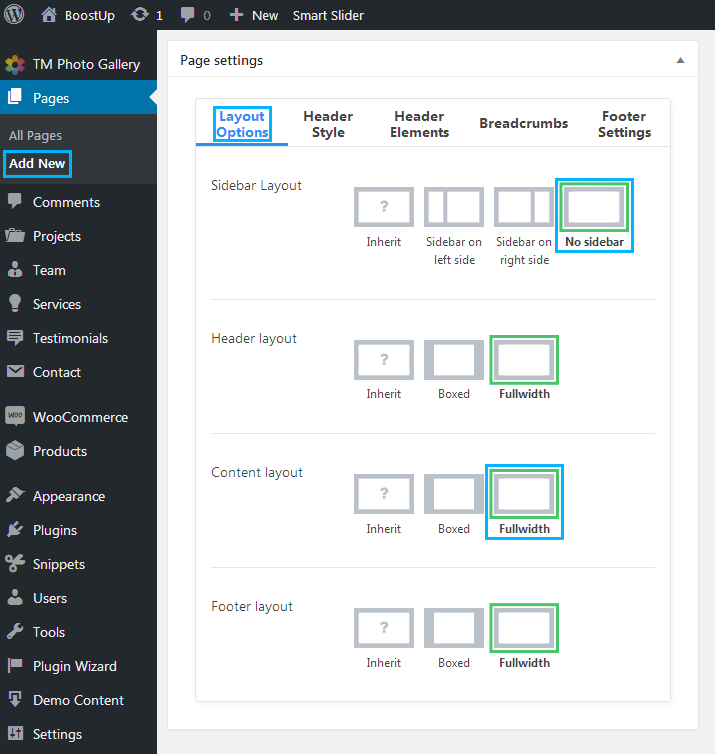
- Let’s start with creating a new page. Please, login to WordPress Dashboard and proceed to Pages > Add new tab on the left.
- Select No sidebar in Sidebar Layout and Fullwidth in Content Layout. Both can be found in Layout Options block.
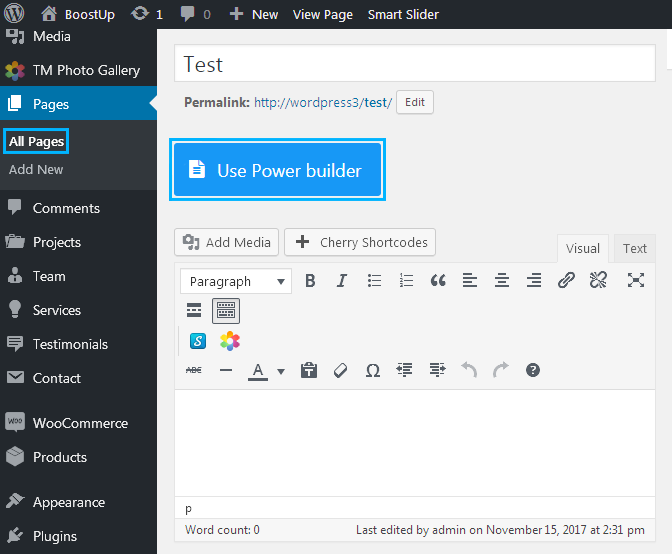
- Click Use Power Builder button in order to use Power Builder for creating a page.
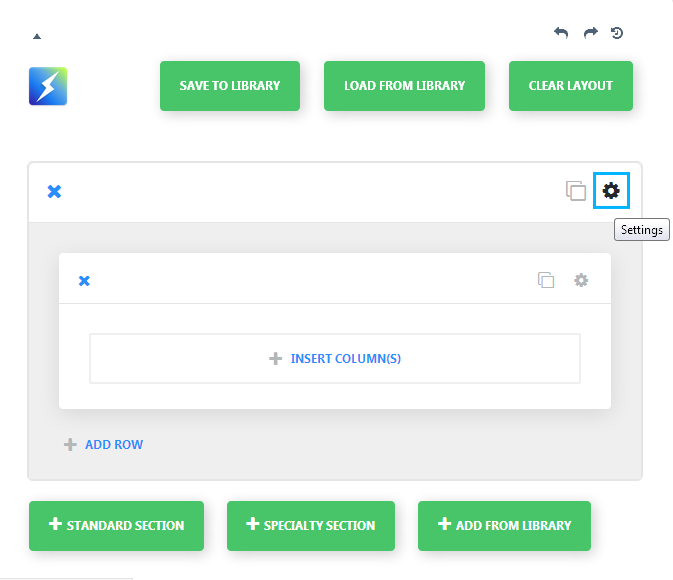
- Now let’s customize the section background. To do it, please, click Settings icon in the top right corner of the section.
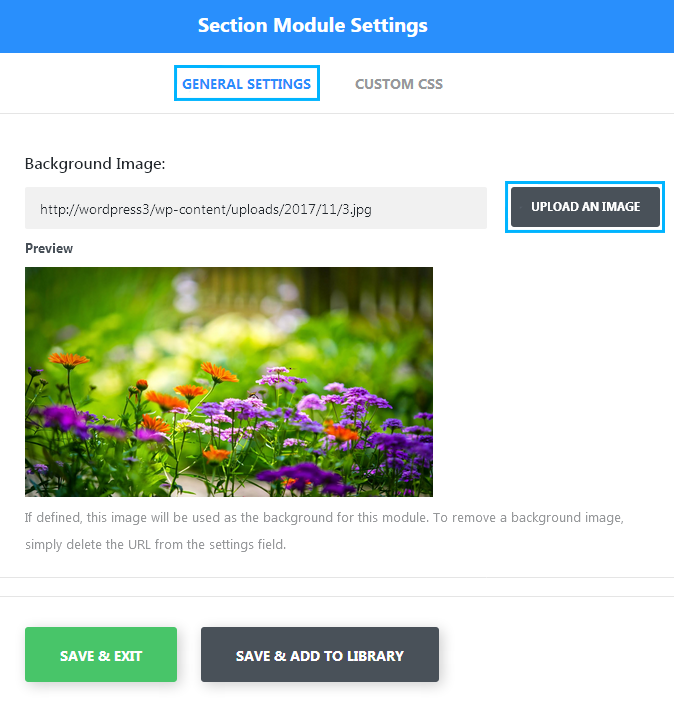
- A popup window containing Section Module Settings will open. Upload a background image which you want to use as a background in Background Image block under the General Settings.
- Scroll the popup window content down and locate Use Parallax Effect control. Enable it (when active, the control will become green).
- In Parallax Method menu define the method to use for the parallax effect. There are two methods for you to choose:
- CSS;
- True Parallax.

- After that click Save & Exit button. Now you can set the column structure for the row inside the section, and add some content modules to the columns. If you don’t know how to do it, please, feel free to read Adding Content with Power Builder tutorial.
- After that you can publish the page, or save it as a draft and preview the results on your website!
This tutorial is based on JohnnyGo Multipurpose Home Services WordPress theme.

