


From this tutorial you’ll learn how to create a database user with limited access to a database. This might be helpful when you have several databases and don’t want the user to have all the privileges needed to manage them.

Creating Database User
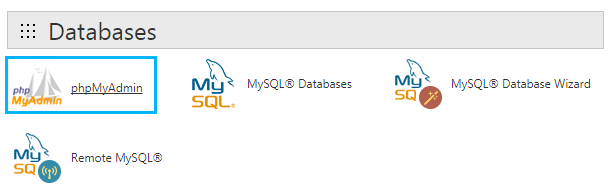
- Let’s access your hosting server cPanel and locate Databases section. Here you need to click on phpMyAdmin tool.
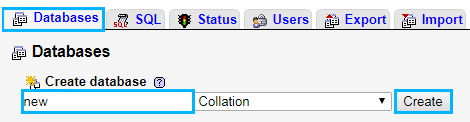
- Click on New option and in the Database block fill in the new database name. Then click on Create button.

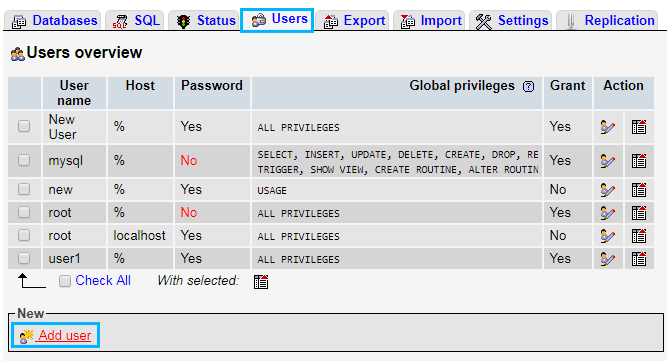
- Navigate to Users tab and in New block and click on Add User option. In the Username field define the new username.
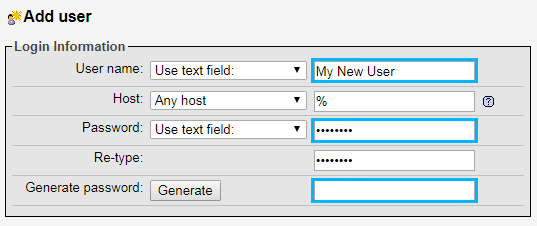
- In the Password field type in the password.
- Locate Grant All Privileges on Database (your new database name) option and check it in the Database for User block. Then click on Go button. As a result, the user will have all privileges only for one single database you’ve defined.
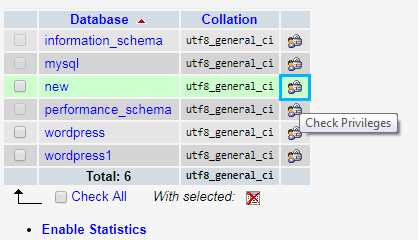
- If you need to change user privileges, you have to navigate to Databases tab and click on Check Privileges option.
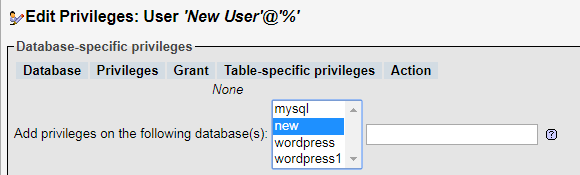
- Select the new user from the users list and click on Edit Privileges option. Note, that you can assign other users and give them privileges to manage your new database the same way.

- Switch from Global to Database tab to edit the privileges for this single database. You might need to select the database to which you want to assign the user. In the empty field you’ll have to type in your password to confirm that you want to change privileges.
- Here you can set the specific privileges for this user in Data, Structure and Administration blocks.
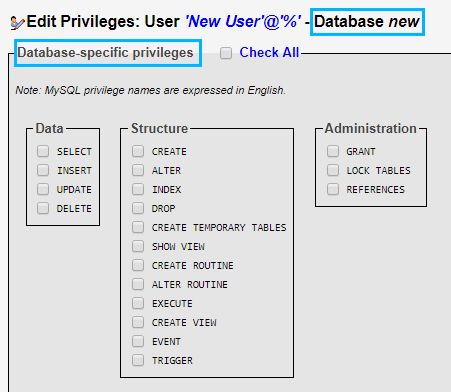
- Let’s learn the meaning of the most used privileges:
- Alter — allows modifying existing data.
- Drop — allows dropping database and its tables.
- Create — allows creating extra tables.
- Insert — allows inserting data.
- When you’ve changed the privileges to your preferable ones click on Go button to save the changes.

