


From this tutorial you’ll learn how to add MailChimp widget to sidebar.

Adding MailChimp Widget
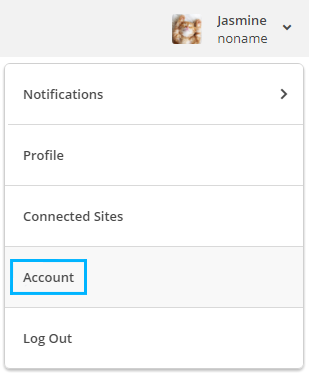
- First, let’s access your MailChimp API key and List ID number. Navigate to your MailChimp account and locate your name in the top right corner of the browser window. Select “Account” option from the dropdown list.
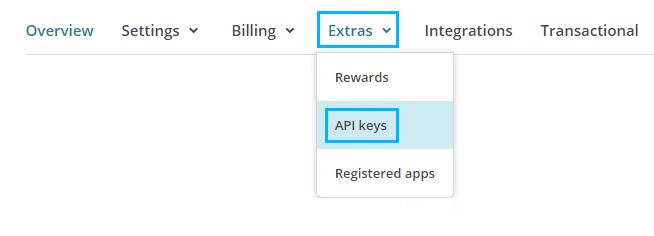
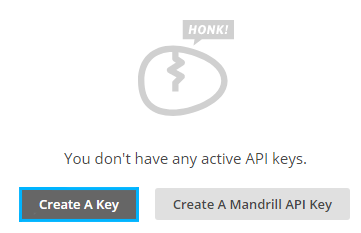
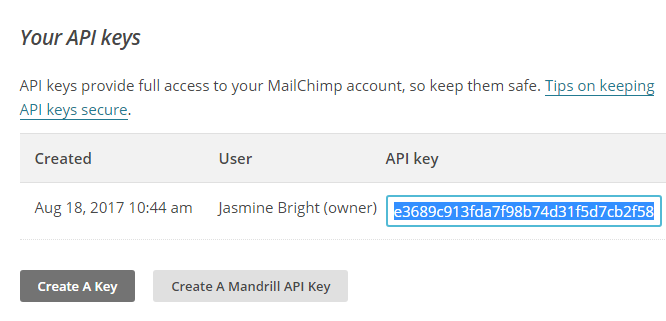
- Navigate to “Extras” tab. Here select “API Keys”. Scroll down the page and hit “Create a key” button in order to create API key. You can also copy the key to the clipboard if you already have it.
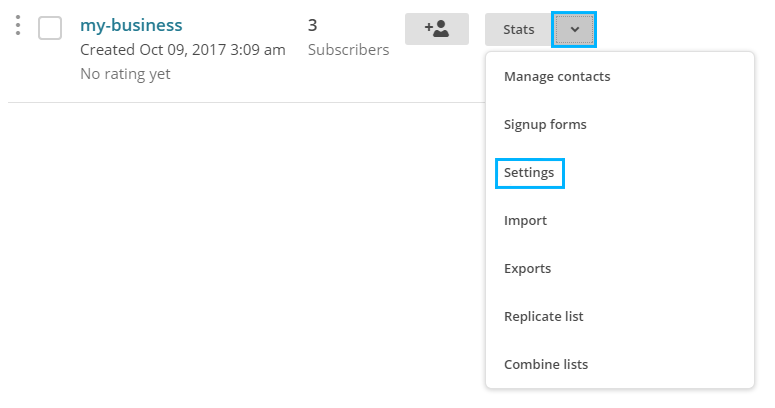
- Let’s get your List ID number. To do it click on Lists tab and create a list. As a result, here you’ll see your new customers information. Select Settings tab from the hamburger menu on the right.
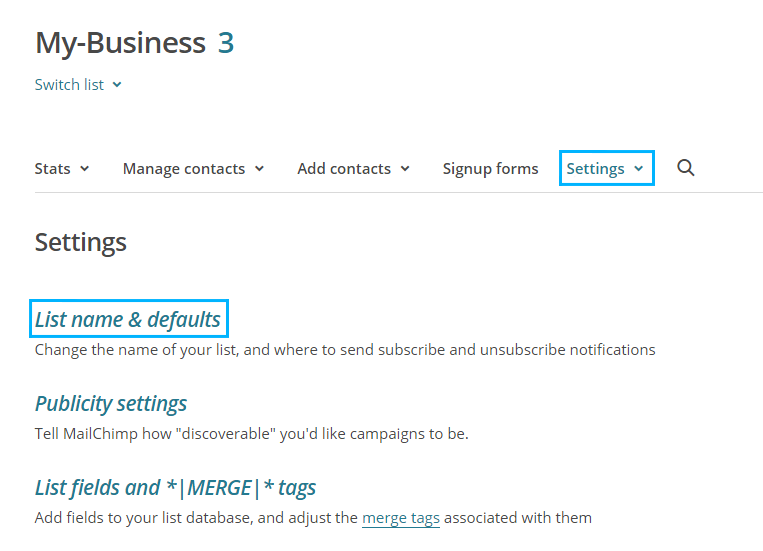
- Open List name & Defaults.
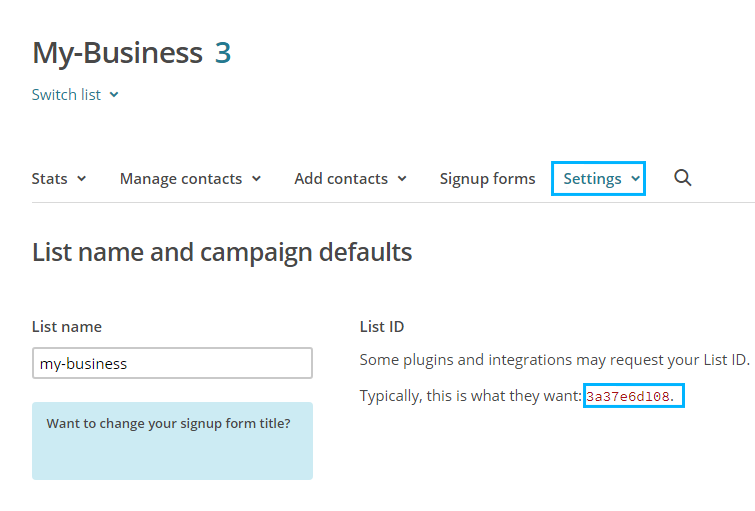
- Here you can locate List ID block, where the ID for your list is. Copy it to the clipboard.
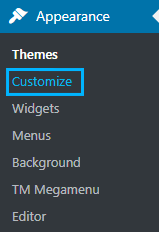
- Now you need to add your API key and List ID information to MailChimp widget. Please, log in to WordPress Dashboard and access “Appearance > Customize” tab in the left column.
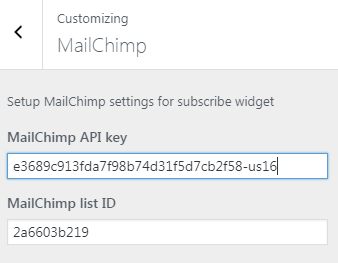
- Open Customizer page. Here you can see “MailChimp” tab in the left column. Open it. Here you need to fill in your API key and List ID details.

- Save the changes.
This tutorial is based on Monstroid2 Multipurpose WordPress theme.
