


From this tutorial you’ll learn how to add MailChimp forms to pages, posts and widget areas. Using MailChimp you can add new subscribers to your MailChimp lists. The plugin adds attractive forms and integrates with your existing forms (such as contact form, checkout form or comment form).

Adding MailChimp Form to Posts
- First, let’s make sure you’ve installed MailChimp for WordPress plugin. To do it navigate to Plugins tab in the left column of WordPress Dashboard. Click on Installed Plugins sub menu and find MailChimp for WordPress. The plugin must be active.

- In the case you don’t have MailChimp plugin or don’t know how to install it, please, read Manual Plugins Installation tutorial.
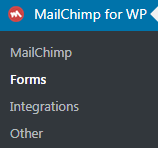
- Now that MailChimp plugin is active, you can locate MailChimp for WP tab on the left of WordPress Dashboard. Navigate to MailChimp for WP > Forms and add a new MailChimp form. Save the changes.
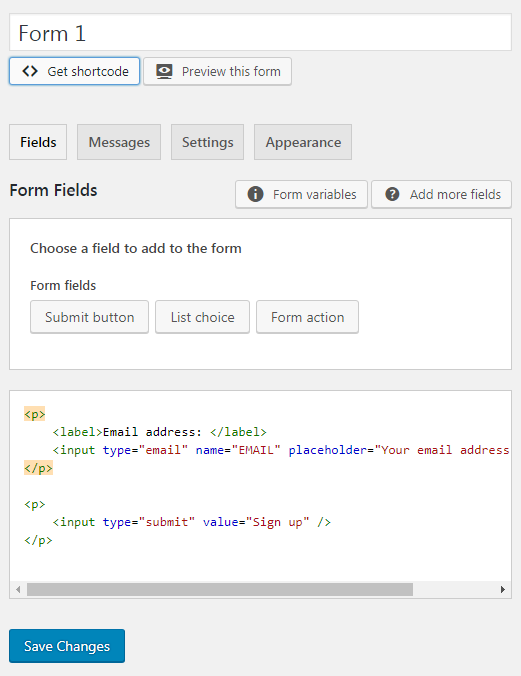
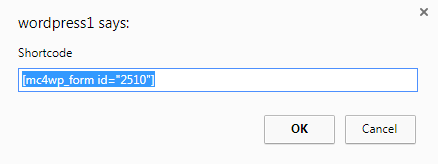
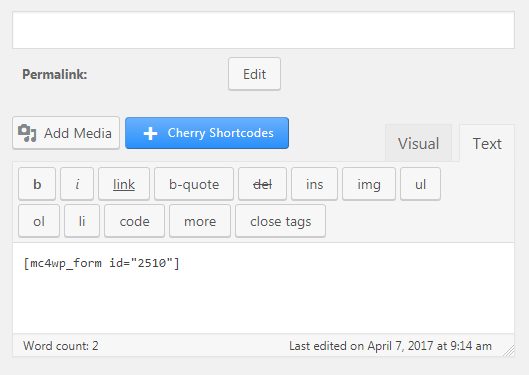
- Click on Get shortcode button to get a shortcode for the newly created MailChimp form. Copy the shortcode to the clipboard.
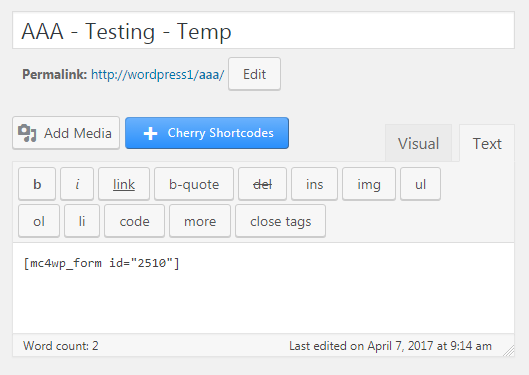
- Now you have to navigate to Posts tab on the left of the Dashboard and paste the shortcode into your post’s content field.
- Click on Publish to publish the form.
Adding MailChimp Form to Pages
- The steps you need to accomplish to add MailChimp form to the page are very similar to adding the form to posts. Though, you need to paste the shortcode to your page’s content.Navigate to Pages tab on the left of the Dashboard. Locate Front Page and click on Edit to open the corresponding content editor.
- Paste the shortcode into the page’s content field. Then click on Update button to save the changes.
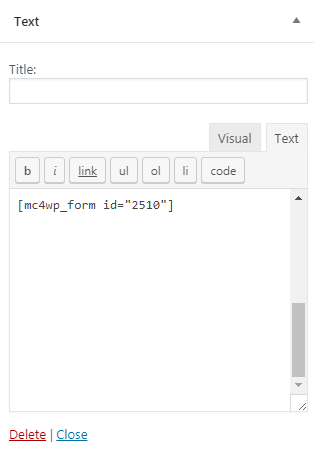
Adding MailChimp Form to Text Widget
- Adding the form to the widget area is very similar to adding it to your website’s page or post. Though, you need to access Text widget in order to do it.
Locate Appearance tab on the left of the Dashboard. Navigate to Appearance > Customise. Customizer page will open.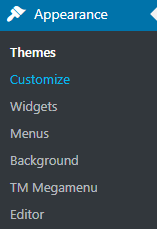
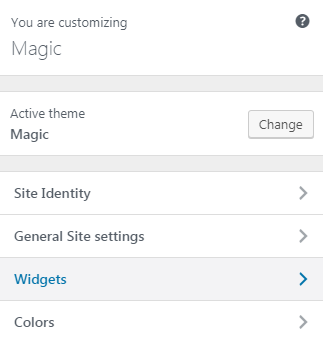
- Click on Widgets tab in the left column and select the preferable widget area where you want to place the form.
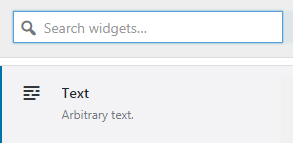
- Click on Add Widget button and select Text widget from the list of available widgets.
- Paste the shortcode into the Content field of the widget.
- Click on Save and Publish button to save the changes.
This tutorial is based on Magic Multipurpose WordPress theme.

