


Today we’re going to show you how to make the website visitors check your news and offers on a regular basis. The easiest way to do so is to encourage them subscribing to the newsletter.
As the MailChimp service is reasonably called one of the most convenient for use services allowing to manage the subscription, we will show you how to integrate this service module to your website in case you’re using the Elementor page builder.
In order to do this, please, perform the following steps:

- Log into your website dashboard and navigate to the Pages -> All Pages section. Open the page you’d like to edit and click the Edit with Elementor button.

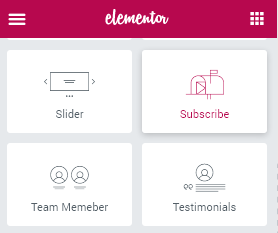
- Drag JetElements Subscribe widget from the left sidebar that lists the Elementor modules to the page’s body, and save the page. This allows you to add the form to the page, next, you need to activate it.
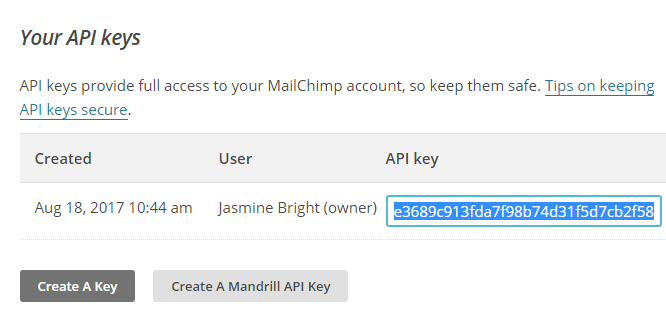
- Generate your own MailChimp List ID and the MailChimp API key, and enter them to the respective fields at the Appearance -> Customize -> MailChimp section of the admin panel. If you hesitate what exactly to enter, please, make sure you have generated these details using this guide. Feel free to follow it step-by-step.
 [notice type=”warning”]There might be no MailChimp section at the Appearance -> Customize. In this case, just proceed to the next step of this tutorial.
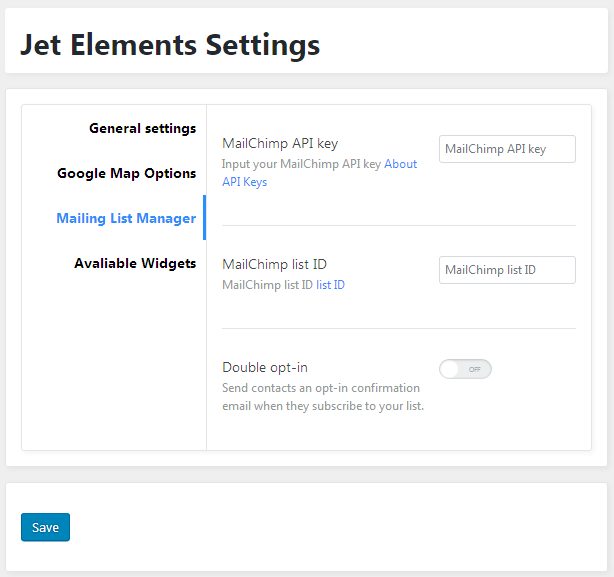
 - Then, navigate to the Crocoblock > JetPlugins Settings > JetElements > Integrations section in the dashboard and press the Mailing List Manager tab.
- Enter your MailChimp List ID and the MailChimp API key to the respective fields once again.
That’s all, you have successfully created a subscription form so that your site visitors won’t miss any of the updates about your business further. Wish you good luck with the website!

