You need to add quotes and positive feedbacks from your happy customers? In this case, you definitely need to use Testimonial module. It can add your visitor’s feedbacks practically on any page of your website.
Power Builder Testimonial Module Settings
- Author Name — define the testimonial author’s name in the required field.

- Job Title — fill in the job position of the person. In this case, it will be attached to the testimonial.

- Company Name — here you can define the company name for the testimonial.

- Date — enter the date when testimonial was published. Otherwise, a testimonial will be shown without a date.

- Author/Company URL — here you can identify the URL link of the testimonial author or company. Thus, the visitors will be able to see that a testimonial author is a real person.

- Portrait Image URL — here you’ll need to upload an image or define the link to it. Though, the image has to be a portrait of a testimonial author.

- Quote Icon — here you can enable or disable the icon for a quote. In this case, the icon will be added to a quote.

- Use Background Color — here you can enable a background color for a testimonial.

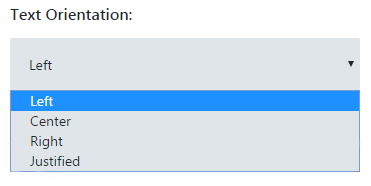
- Text Orientation — set the orientation of the text. As a result, the text alignment for a testimonial will change.

This tutorial is based on Fashion Blog WordPress theme.


