If you need to organize the posts on your page using taxonomy type (categories, tags, format, groups, services, testimonials, etc.), you can use Taxonomy module. It can help you create a custom selection of content that will be displayed on your website’s page.
Power Builder Taxonomy Module Settings
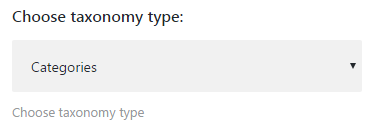
- Choose taxonomy type — here you can set the taxonomy type you want to use for this module. Click on one of the preferable types from the dropdown list to set it for this module.
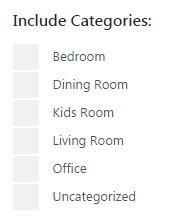
- Include categories — set, which categories you want to be displayed. As a result, the categories you’ve selected will be shown in the module.
- Title words length — here you can specify the length of the title in words. Otherwise, you can leave the default “0” length to hide the title completely.

- Description words length — here you can define the length of the description in words. You can also leave the default length “0” to hide the description.

- Display post count in terms — enable the option if you need to display the post count.
- Display More button — turn the option on if there is a need to add More button to the module. In this case, the button will be displayed for the posts.
- More button text — here you can define the text that will be added to More button. Otherwise, you can leave the field empty to use default title.

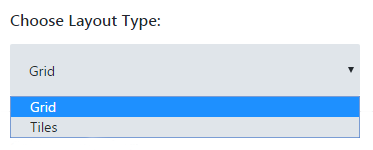
- Choose Layout Type — here you can select the layout type for the module from the dropdown list. You can choose either Grid or Tiles layout.
- Columns number — here you can set the number of columns, that will be displayed.

- Items padding — here you need to define the padding, that will be applied for items, displayed by the module.

This tutorial is based on BeDentist & Medical WordPress theme.


