


Sometimes general settings of the module are not enough to adjust its appearance to the whole page’s style. That’s where advanced settings come in handy.
From this tutorial you’ll learn about managing Pricing Tables module advanced settings.

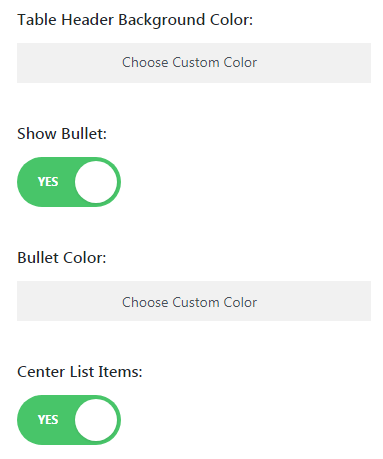
Pricing Tables Module Advanced Settings
- Table Header Background Color — here you can set fitting background color for the table header using color picker tool.
- Show Bullet — this option enables and disables bullet for the pricing tables module.
- Bullet Color — here you can choose the color for the bullet (you can do it only if the bullet is enabled).
- Center List Items — the option allows to enable or disable center list items.
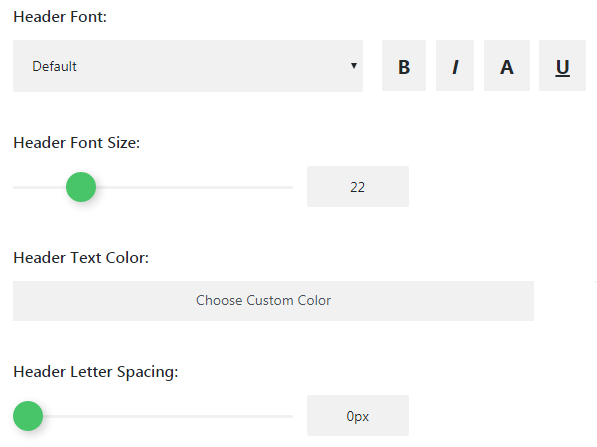
Header Text Settings
- Header Font — here you can choose one of the fonts from the dropdown list to use it for a module header.
- Font Size — here you can set the fitting size of the header text font.
- Text Color — choose the color of the text using color picker.
- Letter Spacing — here you can set the value of the space between header characters.
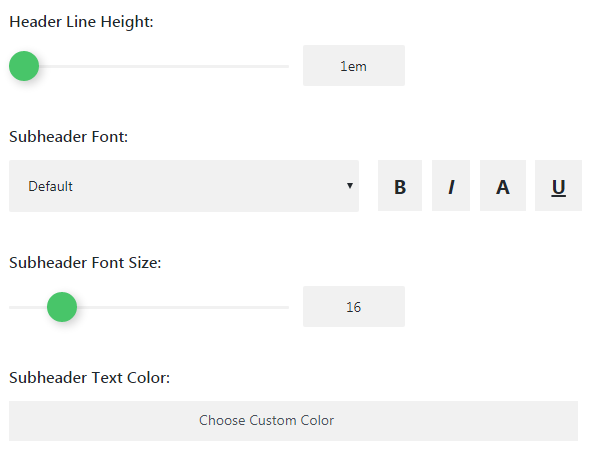
- Line Height — here you can select the height for the header text lines.
Subheader Text Settings
- Subheader Font — here you can select the font to use for the module’s subheader.
- Font Size — in this block you can set the value for the subheader font size.
- Text Color — choose the appropriate color for the subheader text.
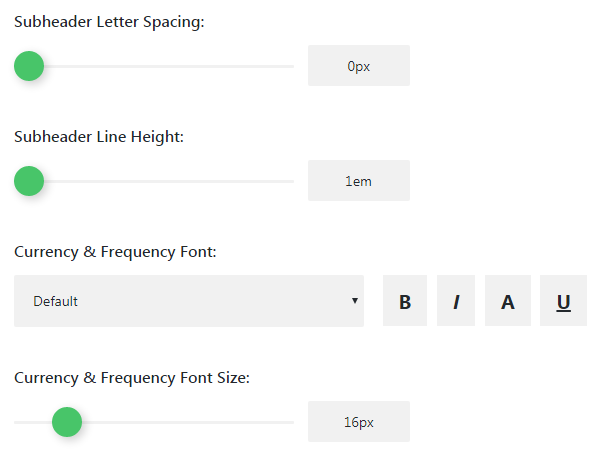
- Letter Spacing — here you can define the space between the text characters in the subheading.
- Line Height — define the height for the subheader text lines.
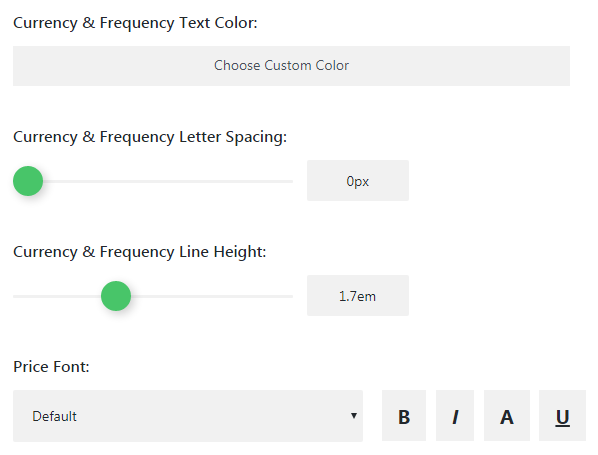
Currency and Frequency Text Settings
- Currency and Frequency Font — here you can set the font to use it for the currency and frequency in the module.
- Font Size — here you can define the size of the selected previously currency font.
- Text Color — here you can define the color to use for the currency and frequency text.
- Letter Spacing — in this block you can set the space between currency and frequency characters.
- Line Height — here you can set the height of the text lines used for displaying currency and frequency.
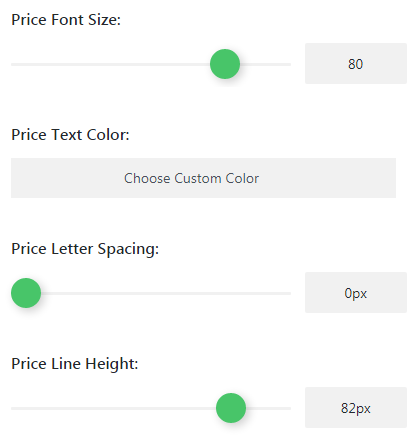
Price Text Settings
- Price Font — here you need to set the font to use it for the prices in the pricing tables.
- Font Size — in this block you can set the size of the price font.
- Text Color — in this field you can set the color for the prices in the tables.
- Letter Spacing — here you need to set the space between price characters.
- Line Height — here you can set the height of the price characters.
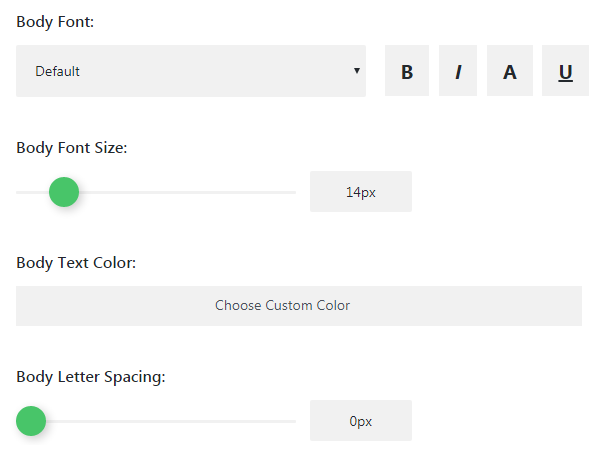
Body Text Settings
- Body Font — here you can set the font to use it for the body module text.
- Font Size — in this block you can define the size of the chosen font.
- Text Color — here you can choose the fitting color to use it for the body text.
- Letter Spacing — here you can define the space between body text letters.
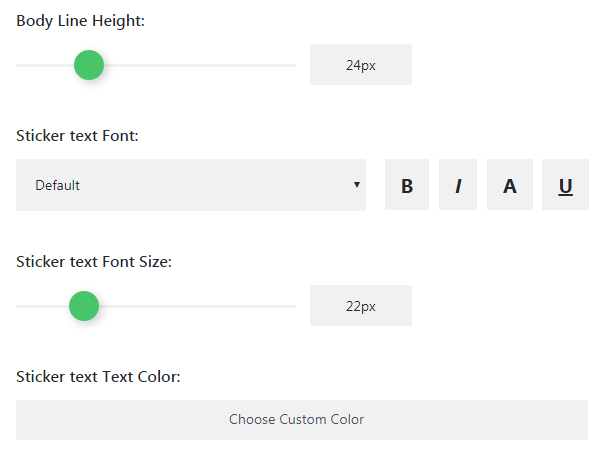
- Line Height — in this block you can set the height of the body text lines.
Sticker Text Settings
- Sticker Text Font — in this field you can choose the font for the sticker text and set the style.
- Font Size — here you can define the size of the sticker text font.
- Text Color — in this block you can choose the color for the sticker text.
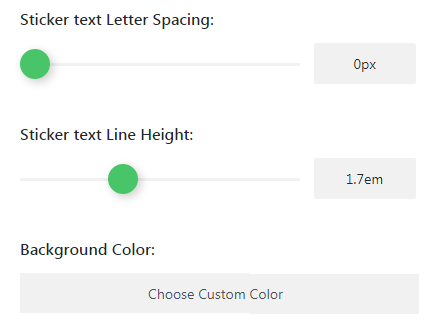
- Sticker Text Letter Spacing — here you can select the value to put space between sticker text letters.
- Line Height — here you can define the height of the sticker text lines.
Color Settings
- Background Color — in this block you can set the background color for the module.
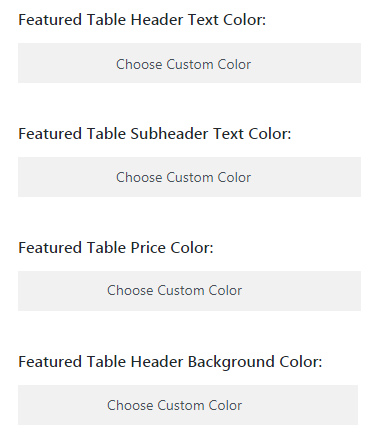
- Featured Table Header Text Color — here you can set the color of the header text for the featured table.
- Subheader Text Color — in this block you can select the color for the subheader text.
- Table Price Color — here you can define the color to use it for the table with prices.
- Header Background Color — here you need to set the background color for the table header.
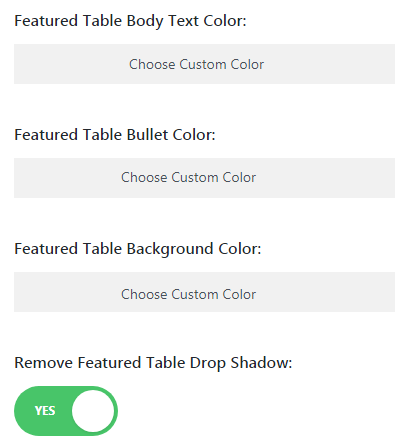
- Featured Table Body Text Color — here you can select the color of the table body text.
- Bullet Color — the option enables to select the bullet color for the featured table.
- Featured Table Background Color — here you can choose the background color for the featured table.
- Remove Featured Table Drop Shadow — the option enables or disables, if turned off, the shadow of the featured table.
This tutorial is based on BeDentist & Medical WordPress theme.
