Sometimes it is essential to show your exact location on the website’s page so that the visitors would be able to find you. That’s where you might need to embed a map to your website’s page. You can easily do it with the help of Map module, that is available as one of Power Builder modules.
Map module is one of Power Builder modules, that allows you to add maps to almost every page of your website.
In this tutorial we’ll uncover how to use the module to embed a map on one of the pages. From here we’ll learn how to use Map Power Builder module.
Adding A Google Map
- Log in to WordPress Dashboard and create a new page or a new post.
A post editor page will open. Here you have to choose if you want to use Power Builder page builder or a default one. You can add a map to your post or page in both ways. In this tutorial we’ll review how to add a Google Map with Power Builder. - Switch to using Power Builder editor, define the number of columns in the row and enter the list of available modules.
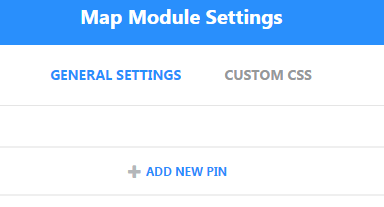
Select Map module from the existing list and enter Map module settings.

- Click on Add New Pin button to add a new pin to the map that is to be displayed.

- Input an address you want to show on the map as a pin. You don’t have to navigate to Google Map services and copy any links, an address will do.
- You’ll also need to input a title for a map pin.
- If the address is correct, a map will show up in the field below.
 You can also add content to be shown together with the map pin.
 - When everything is done click on Save button.You can add other map pins, and define the map center address to show the larger area.
- Another useful option is that you can assign a URL to a map, and choose a map style from the list of available styles. Try them out to find out what style will look more suitable.
- Enable or disable a mouse wheel zoom if you want it to be active on the map you embed.
- When you’re ready click Save & Exit button and use Preview option to view how a map looks on your website’s page.


