


From this tutorial you’ll learn about managing accommodation settings in Hotel Booking plugin.

Managing Accommodation Settings
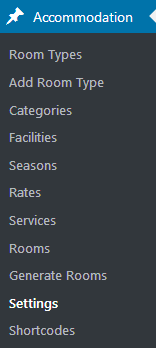
- In order to access the Accommodation settings you need to navigate to Accommodation > Settings tab in the left column of the Dashboard.
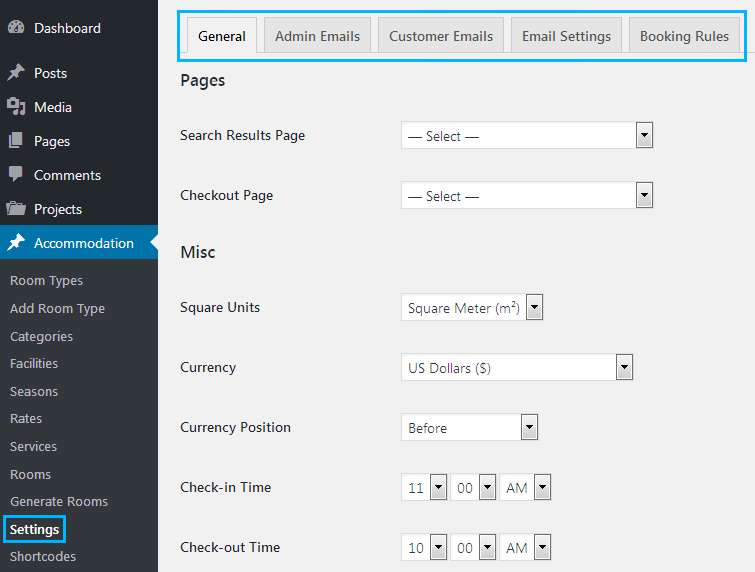
- Here you’ll see the Settings tabs at the top of the page. Switch between them in order to access different Accommodation settings and manage them according to your needs.
General
In this block you can set the page to show search results, and the checkout page. There are as well the options allowing you to set the room’s square units, the type of currency, its position, etc.
Let’s overview them more precisely.
Pages
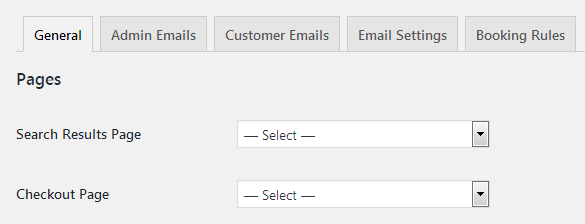
- Search Results Page – here you can select the page on which the search results will be shown. If you don’t have this page, feel free to learn how to create it using shortcodes here.
- Checkout page – select the page from the dropdown list of pages. Use shortcode for the Checkout Form in order to create a Checkout page if you still don’t have it.
Misc

- Square Units – here you can select the units of measurement in order to use them for the measuring of the room’s floor space.
- Currency – select the currency type from the list of available currencies.
- Currency Position – here you can set the preferable currency position for the room price (before, before with space, after, after with space).
- Check-in Time – set the time for the check-in of the hotel visitors.
- Check-out time – set the time by which the hotel visitors need to check-out.
- Bed Types – here you can add different bed types (king size, queen size, double, standard, etc.).
- Template Mode – select Theme mode if you want to make the content to display with the theme’s styles. Otherwise, choose Developer mode to use your custom page templates.
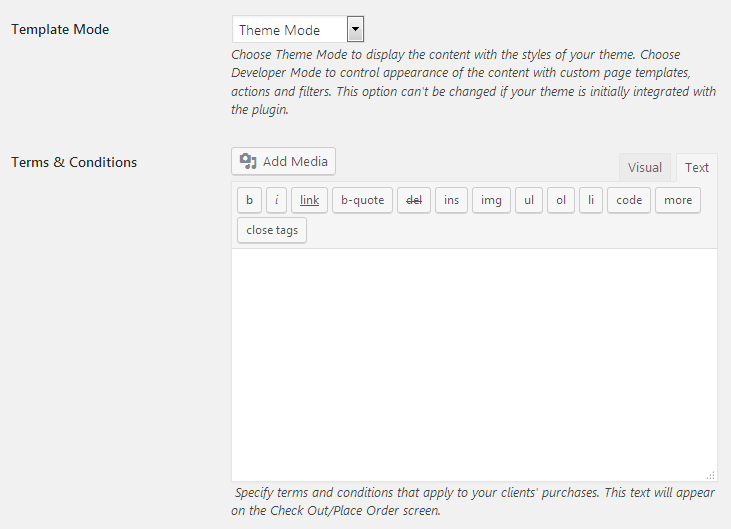
- Terms & Conditions – here you can fill in the term and conditions which you want to be known to your hotel visitors.
- Disable Booking – check this option if you want to restrict booking for some time.
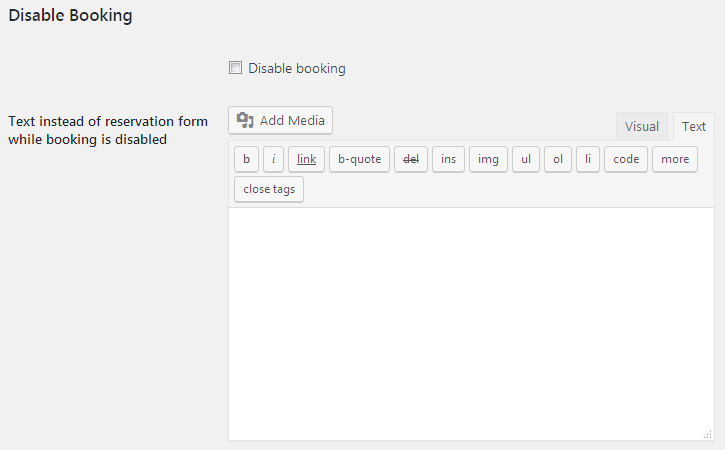
- Text instead of reservation form while booking is disabled – here you can add the text that will show up when the booking is restricted for some reasons.
Booking Confirmation

- Confirmation Mode – here you can select the confirmation mode to use for the bookings (by user via email, by admin manually).
- Confirmation Page – select the page to which the user is redirected once the booking is confirmed.
- Approval Time for User – here you can input the time value during which the user would be able to confirm the booking.
Booking Cancellation
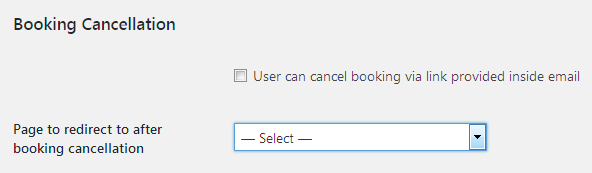
- The user can cancel booking via the link provided inside email – check this option in order to enable it.
- Page to redirect to after booking cancellation – here you can choose one of the pages to show up after the booking is canceled.
Search Parameters
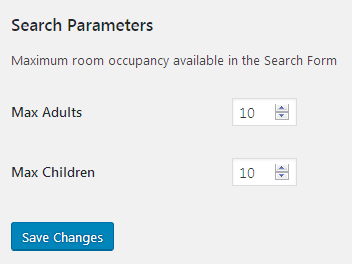
- In this block you can set the maximum room occupancy.
- Max Adults – here you can set the number of adults per one room.
- Max Children – here you can set the number of children per one room with adults.
- After you’re finished with general settings, click Save Changes button.
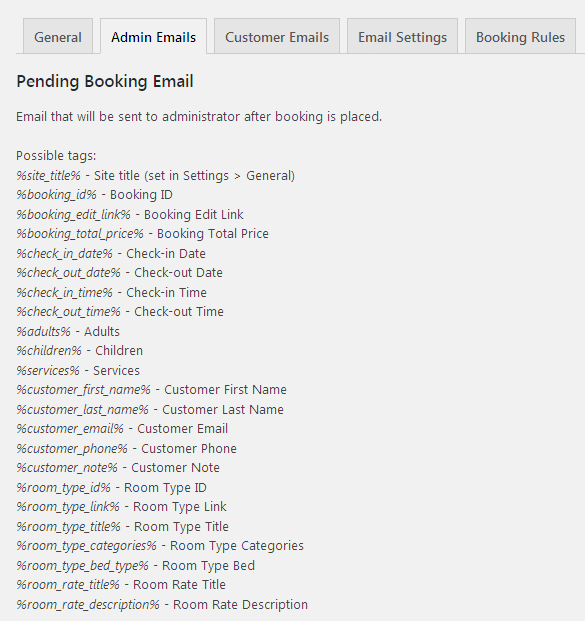
Admin Emails/Customer Emails
Here you can manage the Admin Emails template to send it to administrator after the booking, while the customers will receive Customer Emails.
- Disable this email notification – check this option in order to disable this email notification.
- Subject – type in the email subject. You can always use the special tags to make the email subject universal. You can find the list of the available tags on the same page, right before the Email Template block.
- Header – here you can type in the header to use it for the admin email/customer email template.
- Email Template – in this block you can add content to the email in order to send the booking details and customer information to administrator/ information about the room and order details to the customer.
You can also customize Approved Booking Email, New Booking Email (with confirmation) and Cancelled Booking Email the same way.
When everything is ready click Save Changes button.
Email Settings 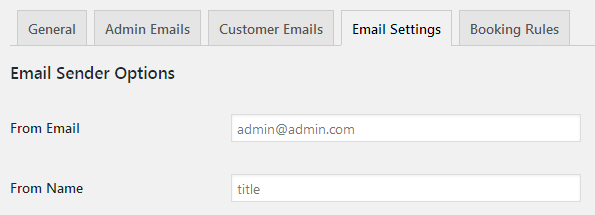
- From Email – here you can set the email from which the emails will be sent.
- From Name – here you can specify the email sender’s name.
Style 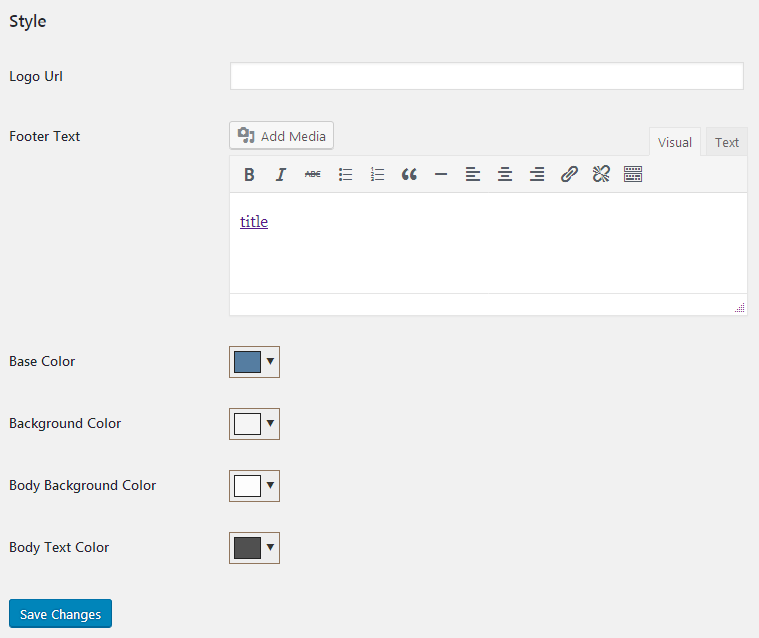
- Logo URL – add the URL link leading to the logo.
- Footer Text – here you can add the text to show in the email footer.
- Base Color – select the color to use as the email base.
- Background Color – set the color to use as the email background.
- Body Background Color – define the color to use as the email body background.
- Body Text Color – define the email body text color.
Click Save Changes button to save the changes.
Booking Rules
Global Booking Rules 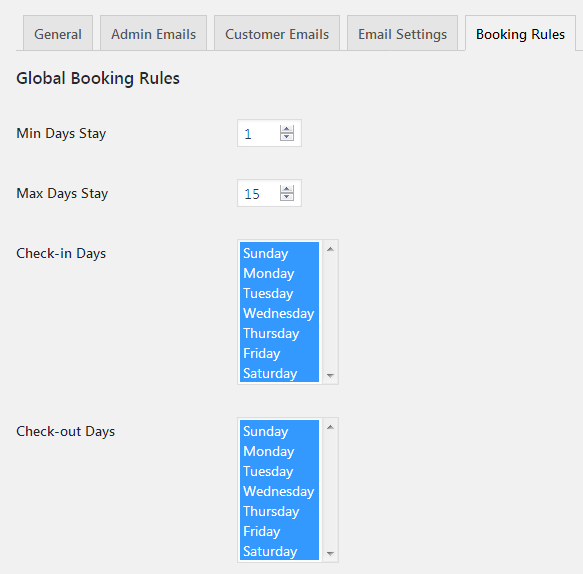
- Min Days Stay – define the minimal number of days for a person to stay at a hotel.
- Max Days Stay – set the maximum number of dates for a person to stay at a hotel.
- Check-in Days – select the days of the week during which you can perform the check-in.
- Check-out Days – select the days during which you can perform the check-out.
Custom Booking Rules 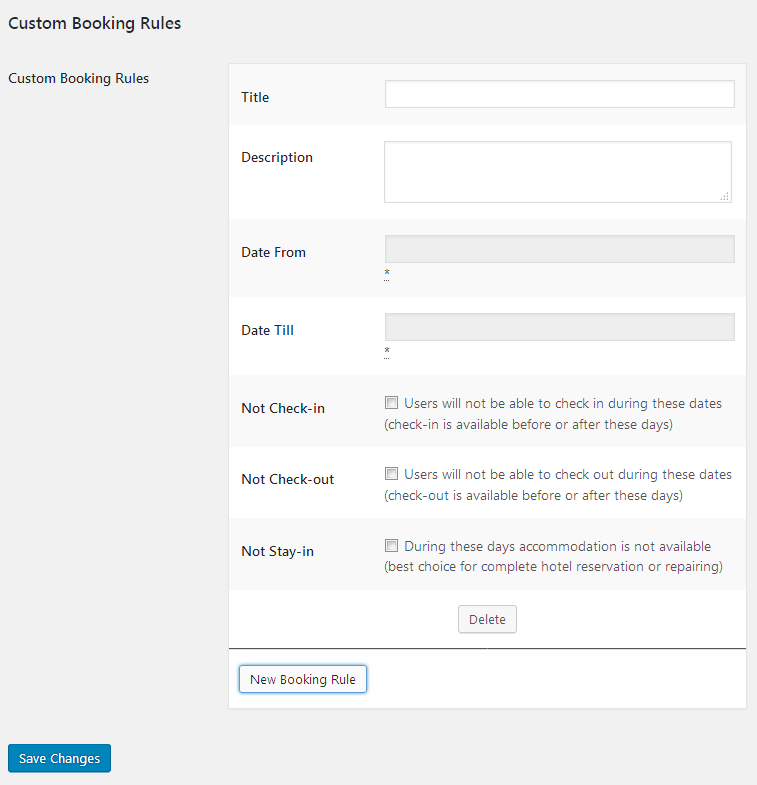
Click New Booking Rule to add the new rule for the bookings.
- Title – enter the title of the new booking rule.
- Description – add the new booking rule description in the corresponding field.
- Date From – enter the date from which the rule will be active.
- Date Till – enter the date till which the booking rule will be active.
- Not Check-in – enable this option to disable checking in during this period of time.
- Not Check-out – enable this option do disable check-out during the set period of time.
- Not Stay-in – enable this option if you want to restrict staying at the hotel during this period of time (you can use it to close the hotel for repairing).
After you’ve set the booking rules, click Save Changes button.

