Now you can begin WordPress installation. Follow the steps described below to proceed to action.
WordPress Installation
- Fill in your domain (or your domain name/ subdirectory) in your web browser address bar, and click Enter.
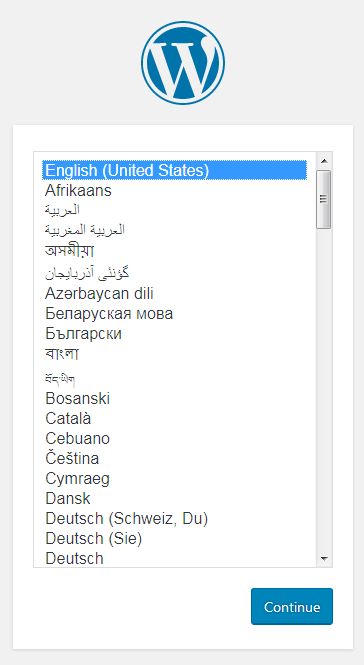
- Choose the language you want to use from the list of available languages.
- Click Create a Configuration File.

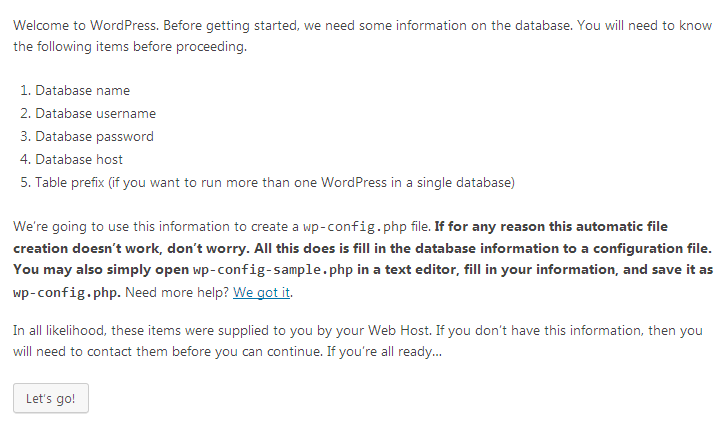
- Click Let’s Go!
- If you don’t have a database, you need to create it. Read Creating a Database tutorial to learn how to do it correctly.
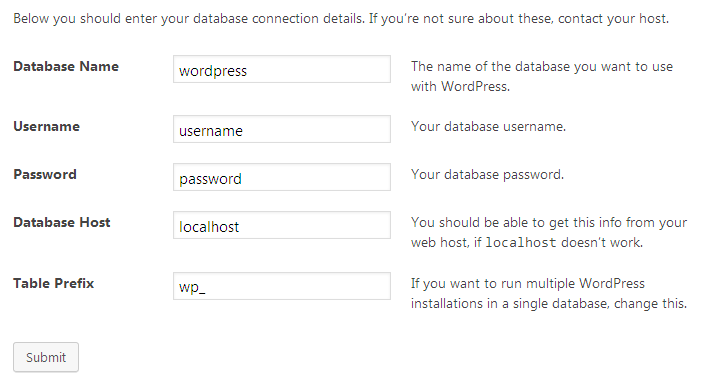
- Fill in your database connection details leaving the Table Prefix (wp_) field unchanged. You need to find out the Database Host from your hosting provider (usually it is localhost). After that click Submit.
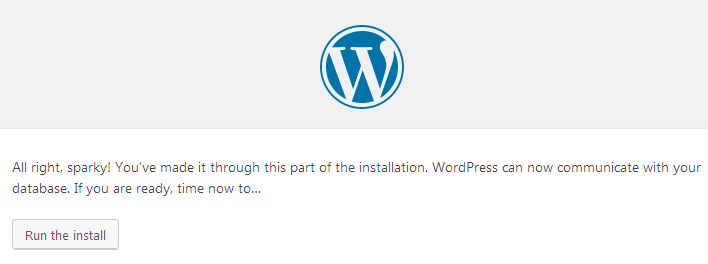
- The next step will start the installation — click Run the Install button.
- Fill in the fields. Here you need to define your website’s title, a username and a password, then click Install WordPress.

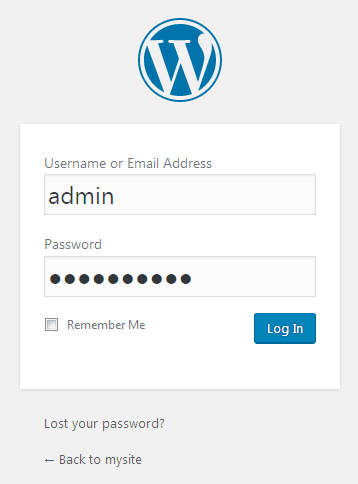
- Once the installation is done, log into your WordPress Dashboard using access credentials you’ve entered on the previous step.
