If your website is under construction now, you don’t want the visitors to see the underside of the process, so you need to create a maintenance mode page.
From this tutorial you’ll learn about creating maintenance mode page and enabling it for your website.
Creating Maintenance Mode page
- First, let’s create a maintenance mode page. Navigate to Pages tab in the left column of WordPress Dashboard. Click on Add New sub menu.

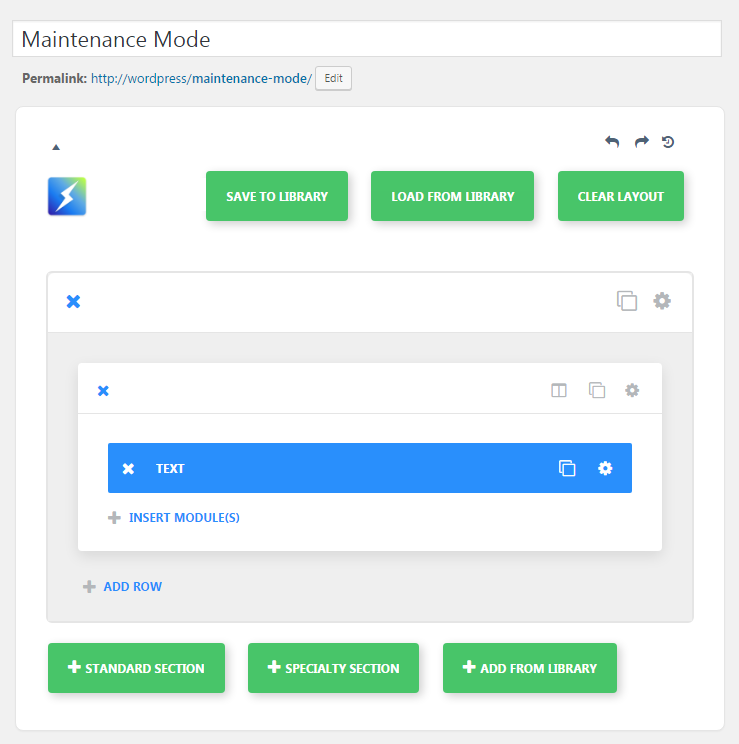
- A default page editor will open. You may use it to create a maintenance mode page, or create it with any page builder you find suitable.
- The title of the page has to be Maintenance Mode. You can add any content you want using any layout you need.

- Publish the page you’ve created.
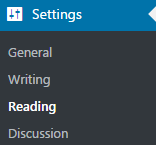
- Now let’s navigate to the Settings tab in the left column of WordPress Dashboard. Click on Reading Settings sub menu.

- Find Front Page Displays and set A static Page value.
- From the list of pages in the Front page field select Maintenance Mode page.

- Save the settings and refresh your website to view the Maintenance Mode page.Some of the templates provide access to Maintenance Mode page from Customizer. Please, view the unique documentation for your template to learn if your template has this option.
This tutorial is based on Furniture WordPress theme.


