From this tutorial you’ll learn how to add categories in Restaurant Menu plugin.
Adding Categories in Restaurant Menu
To add a new category navigate to Restaurant Menu > Categories tab. Here locate Add New Category block. 
Fill in the fields listed below with the necessary information to specify the necessary information.
- Name – here you should fill in the name of the new category.
- Slug – input the slug to use for the category (its short name that will show up in the browser address bar).
- Parent category – here you can select the parent category if you want to create a child category related to one of the parent categories. You can otherwise select None if you want your new category to become parent one.
- Description – fill in the category description in the corresponding field. Here you can tell about the dishes in this category.
- Order – set the order number in this field.
- Icon – here you can choose one of over than 200 icons for the category.
- Thumbnail – click Set Image button to choose the thumbnail image from the media library, or to upload it from hard drive.
When everything is ready click Add New Category button.
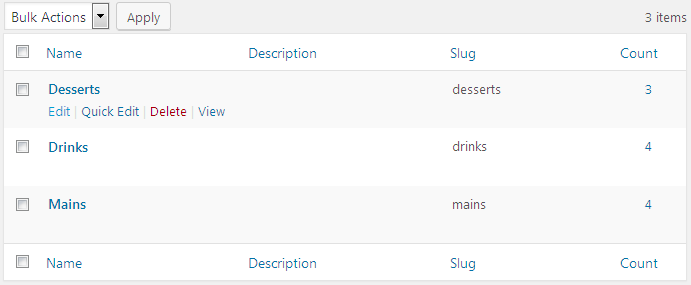
You can view the list of existing categories on the same page. Hover on one of the categories to see the options available for it (Edit, Quick Edit, Delete, View).

This tutorial is based on Restaurant WordPress theme.


