


From this tutorial you’ll learn how to switch skins using Cherry Data Importer plugin.

Changing Skins Using Cherry Data Importer
- First of all, log in to WordPress Dashboard and navigate to Demo Content tab on the left.
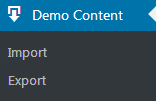
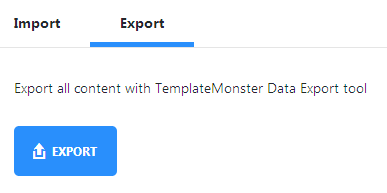
- Click Export submenu in order to export your existing customization settings.
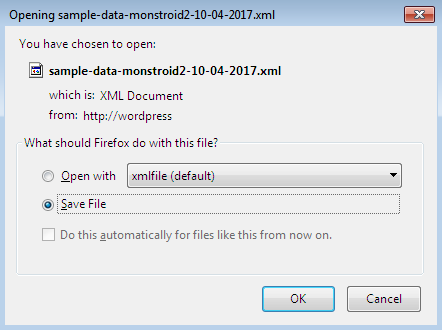
- Hit Export button to export your current skin.
- Now switch to Import tab. Here you can select the source to import.
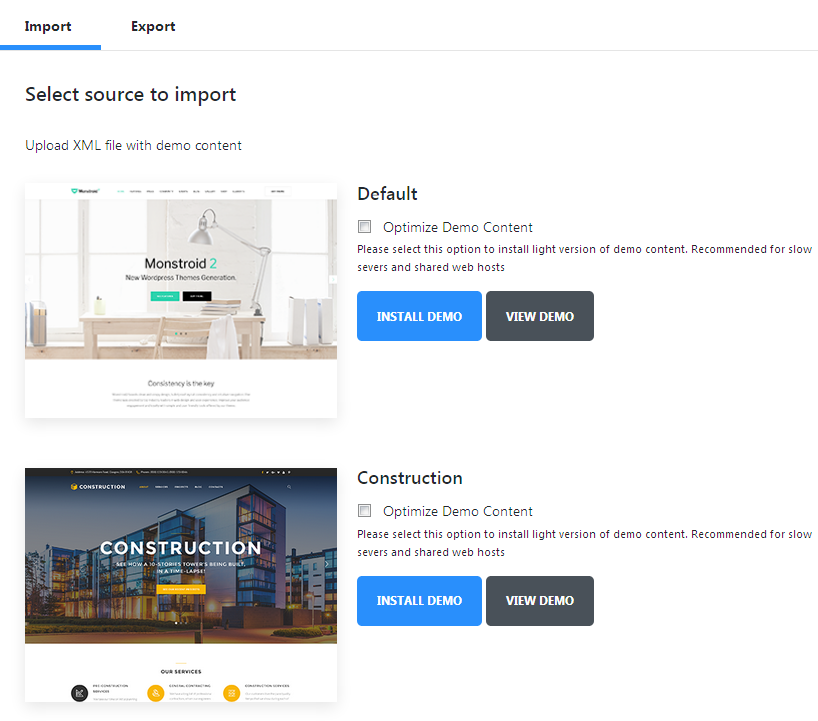
- Click on Install Demo button.
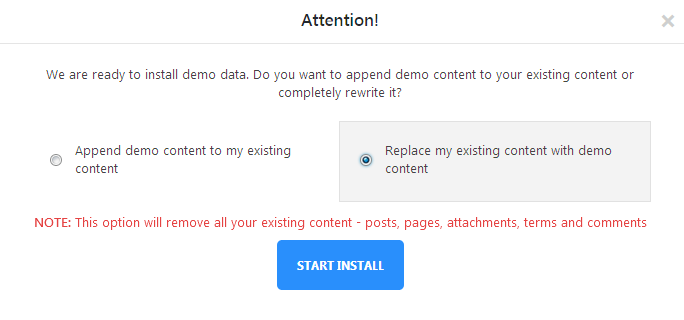
- A new popup window will appear, allowing you to select, if you want to append new demo content with your existing one, or replace the previous demo content with the selected new one. Then click Start Install.
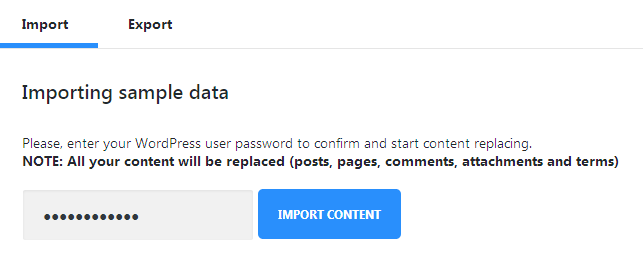
- Enter the password and click Import Content button.
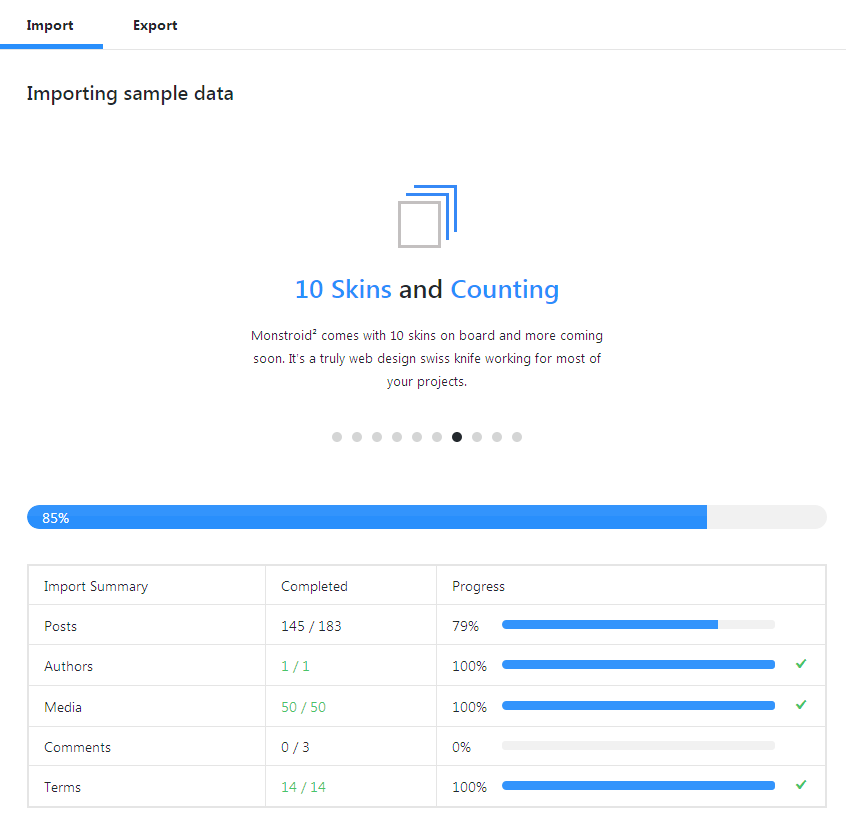
- After that you’ll be able to monitor the progress of content import through the progress bar.
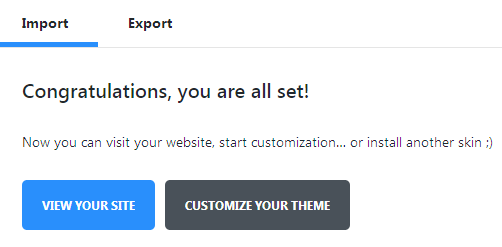
- When the process of importing is over you’ll see Congratulations, you are all set! notice. Now you can use your newly imported skin!
This tutorial is based on Monstroid2 Multipurpose WordPress theme.
