From this tutorial you’ll learn how to manage events using Timetable and Events Schedule plugin.
Managing Events
- First, log in to WordPress Dashboard and proceed to Timetable tab in the left column. Locate Add Event sub menu and click on Add New Event section.

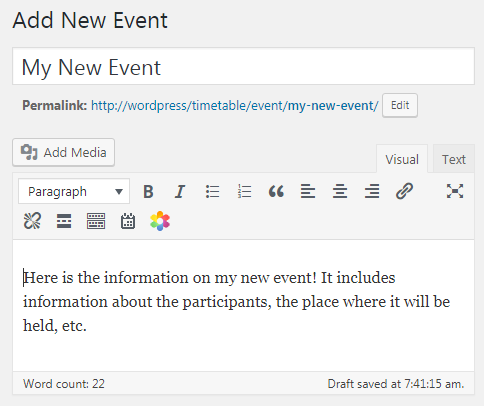
- Now let’s create a new event. Fill in the title of the event in the Title field and add its description in the content block.

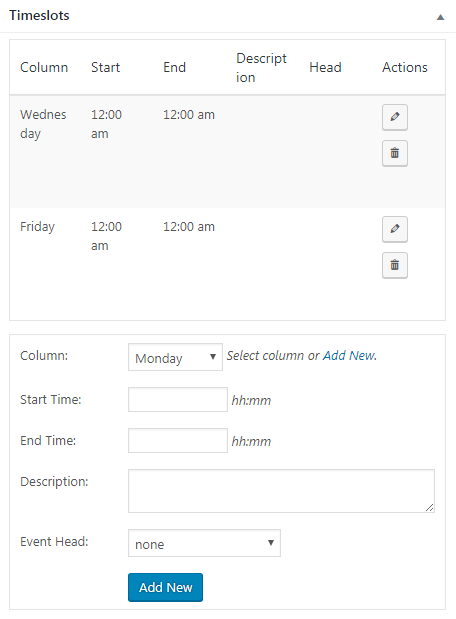
- Add the time frame of the event to the Time Slots table.

- Add the subtitle for the event in the required field, and pick the colors to display it.
- You can as well add Custom Event URL link, or disable the link for this event.

- When you’ve accomplished all the steps, click on Publish button to publish the event.
- Feel free to view How to Use Timetable and Event Schedule plugin tutorial to learn more about creating timetables and event schedules.
This tutorial is based on Emanuella Dance School Responsive WordPress theme.


