From this tutorial you’ll learn how to install plugins via FTP manually.
Installing Plugins via FTP
- First, let’s download the needed plugins you want to install. You need to save them to your hard drive. Download the .zip archive containing plugin files.
- Extract the files using any archive program convenient for you (WinZip, StuffIt, etc.). If you don’t know how to extract archived files, please, navigate to the tutorials about files extraction for Windows and MAC OS.
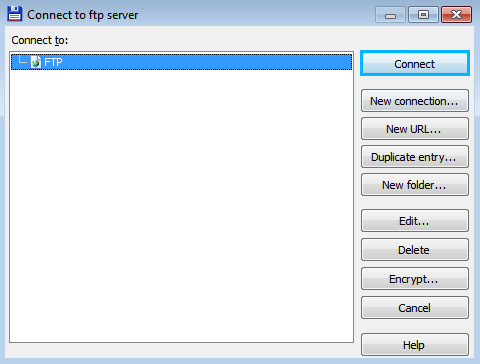
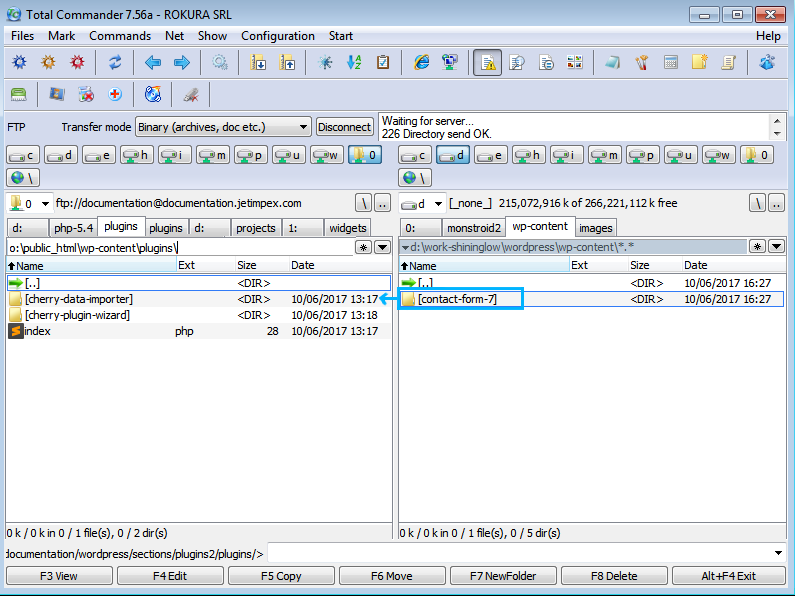
- Now let’s establish an FTP connection using any FTP client that is convenient to you (Total Commander, Filezilla, etc.).

- Locate wp-content/plugins directory in the WordPress root folder and upload the folder containing all plugin files to it.

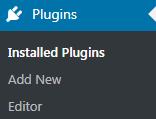
- Now you need to log in to WordPress Dashboard and navigate to Plugins > Installed Plugins tab in the left column.

- Search for the new plugins you’ve recently uploaded and click on Activate option under the plugin title in order to activate them.

- As a result, the plugins will become active.


