


From this tutorial you’ll learn how to customize Social Icons menu using WordPress Dashboard.
Social Icons Menu Customization
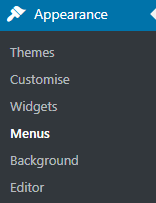
- First, log in to WordPress Dashboard (Administration panel). Find Appearance tab in the left column and navigate to Menus sub menu.
- Look for the social menu in the drop-down list. Select it for editing.

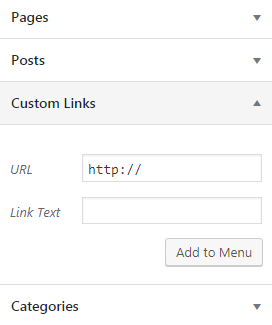
- In the Custom Links block add the links to the social networks you want to display.
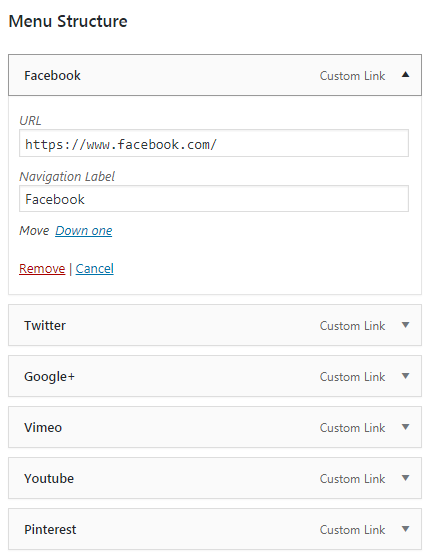
- Edit the existing social network links in the Menu Structure block. You can also change the order of menu items. To do this use drag-and-drop method.
- Save the changes. Now you know how to customize Social Icons menu.
This tutorial is based on BeDentist & Medical WordPress theme.

