From this tutorial you’ll learn how to create database backup using phpMyAdmin tool.
Creating Database Backup
- First, let’s access your hosting server cPanel. Here locate Databases block and click on phpMyAdmin tool to navigate to the databases.

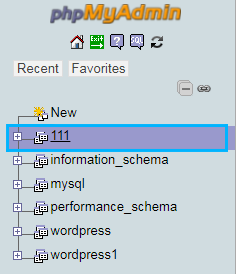
- You’ll see the list of the databases on the left. Click on your database name to open it.
- In the top locate Export tab. You need to open it.
- Select the export method you want to use. If you choose Quick export method, the SQL file will be downloaded to your hard drive right after you click Go button.
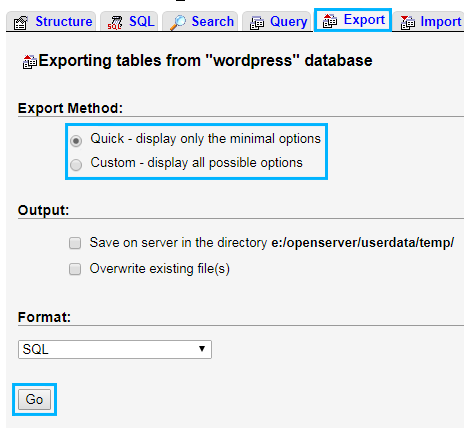
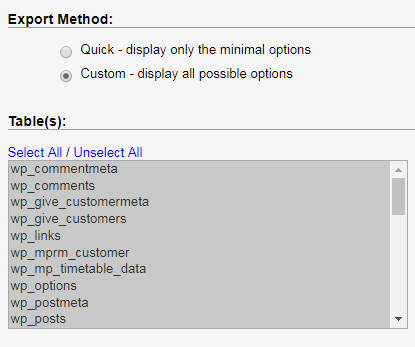
- Select Custom method if you want to view the options of exporting before downloading database backup file in order to manage database exporting.
Custom Database Export Options
- Select all — here you can select all the existing databases for export, or choose one from the list.
- Rename exported databases/tables/columns — check this option to access the renaming popup window, where you can fill in new database name and table names.
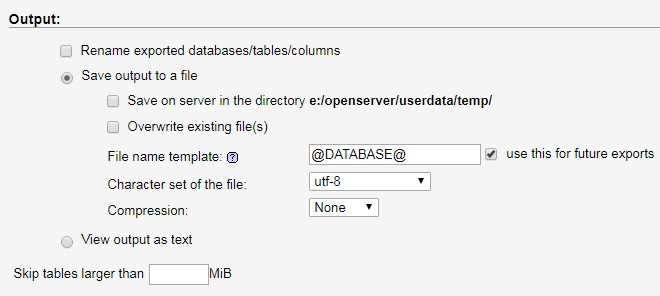
- Save the output to a file — here you can define the location of the backup on the server, choose if you want to overwrite the existing file, and define file name template, character set, and compression type.
- Skip tables larger than — here you can define the value of the tables size to skip when creating a backup.
- In the Format block, you can set the format of the backup. There are also format-specific options. When creating a backup you need to make sure that you’ve checked structure and data option.
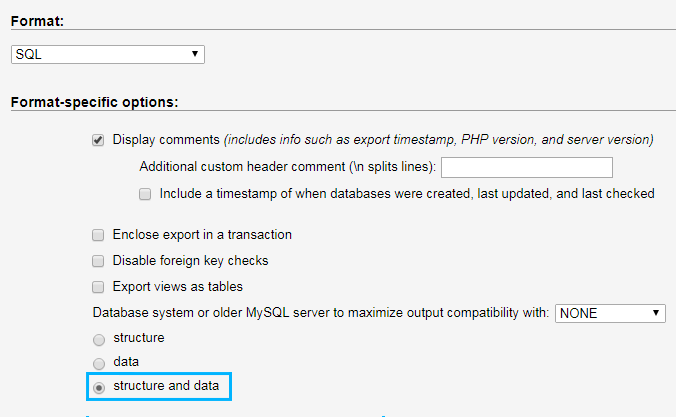
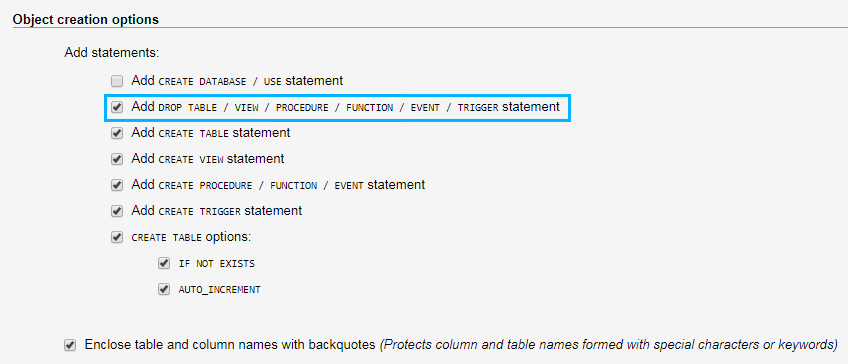
- In the Object Creation options, you have to check Add Drop Table/View/Procedure/Function/Event Statement.
- If you’re not sure about the correctness of the custom database export settings, return to the Export Method and select Quick option.
- Click Go button to start database export. Once you’ve clicked, the backup will be uploaded to your hard drive. As a result, you’ll be able to import your database backup to your server whenever you’ll need it.


