From this tutorial you’ll learn how to add custom URL links to posts.
Adding Custom URL Links
- First, let’s log in to WordPress Dashboard (Administration panel). You need to navigate to Posts > All Posts tab on the left of the Dashboard.

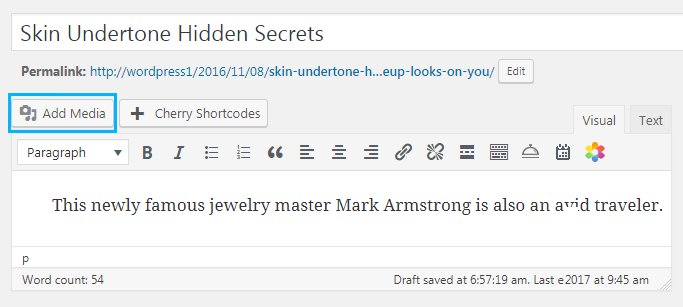
- Here open one of the posts from the posts list. You need to click on Add Media button to add the image.


- Select one of the images from the Media Library or upload the file from your hard drive.
- Now locate Attachment Display settings. Here you need to select Custom URL from Link dropdown menu and define your custom link address in the corresponding field below.

- Click Insert into post button to add the image to the post.
- Switch to the Text view in content editor field to see the code of the link.

- If the image has no link code, you can add it manually. Be sure that you’ve switched the content editor to Text view before accomplishing the next steps.
- Add the following code passage before the image code.
- Replace “#” symbol with your own link. Don’t forget to add the closing tag < /a > after the image.
- Save the changes.
This tutorial is based on Fashion Blog WordPress theme.


