From this tutorial you’ll learn how to add custom gravatar and change the default gravatar with your new one.
Adding Custom Gravatar
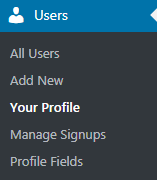
- Enter WordPress Dashboard (Administration panel) using your login credentials. Navigate to Users tab in the left column of the Dashboard and locate Your Profile sub menu.

- In the Contact Info block check Email field. It has to be valid. Copy it to the clipboard.

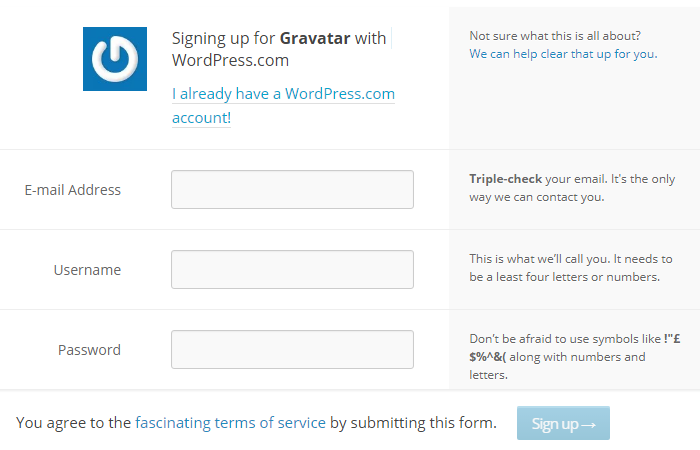
- Now enter http://www.gravatar.com into your browser address bar and register on this site using email address you’ve copied. Sign up on the next page. To do it use your login and email address. Define your username and password.

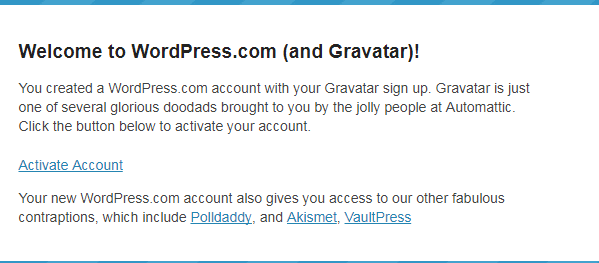
- Open your email mailbox and locate the email message from Gravatar.com. Confirm your registration.

- Now let’s log in to your account on Gravatar.com and add your custom gravatar image.

- Define the area of the image you want to use as a gravatar and set the rating for your new gravatar.

- When you’ve accomplished all the previous steps, the image from Gravatar.com will appear on your blog instead of the default image. Clear your browser cache to see the changes.
This tutorial is based on Bellaina Real Estate WordPress theme.


