This tutorial shows how to locate the existing pages, edit them and add new ones in Shopify.
In order to make changes to your existing pages in Shopify or add a new page there, you have to do the following steps:
- You should login to your admin panel and navigate to the Online store tab. Here you’ll see the list of the available tools. Click on the Pages menu item.
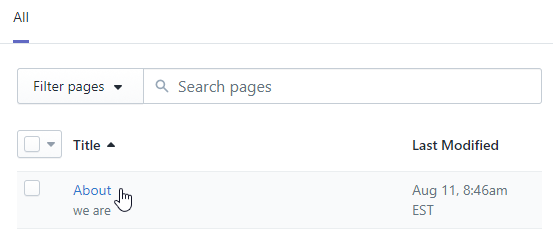
- Now you can see the pages that have been already created in the template. To start editing one of them just press on its title. You can make any changes you need right after doing this.

- Save changes by clicking on the “Save” button at the right top of the screen.
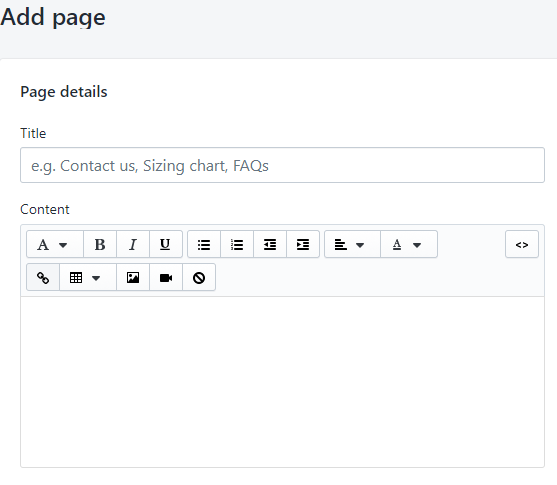
If you need to create a new page, click the Add new button. You’ll see the respective form to fill in all the page’s details:
- Title field allows you to define the name of your new page.
- Content field sets the page’s body.

- Shopify page’s options allow you to add your text in HTML format pressing Show HTML button at the right side. After adding your HTML code, you can press the Show editor button and see the preview of the inserted code.
- Within the theme options, you have the possibility to choose the day of your page’s publishing if it’s not ready at the moment.
- The last action you have to do is to choose a template for a newly created page under the Template section.

Now press the Save button to save your page. You will also notice View link on the page editing stage that allows opening your page on website frontend.


