


This tutorial provides an explanation on how to change image dimensions for collections and single products in Shopify themes.

Let’s start with changing the image’s dimensions on the collection page.
- In order to change them, go to the Admin area and click on the Online store ⇒ Customize.
- Then navigate to the collections page via your website frontend navigation and click on the admin sidebar Collection listing section.
- There you will be able to change the image’s dimensions.
- To change the product listing image’s dimensions go to the Admin area, click on the Online store ⇒ Customize and then navigate to your products listing.
You may open any collection which has products.
Сlick on the Collection page section in the admin sidebar and scroll to the bottom, to the Product listing area.
You are able to choose one of three already defined product image sizes:
- Small (270x151px)
- Medium (270x270px)
- Large (270x360px)

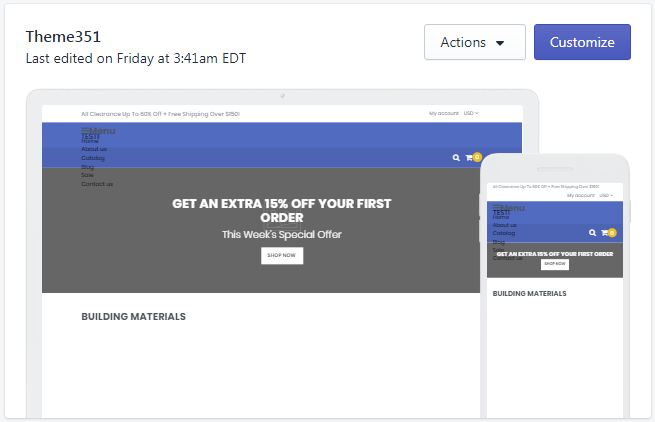
In order to change the image size on the product single page, go to the Admin area, click on the Online store ⇒ Customize and open the product single page.
Click on the Product template in the Admin sidebar and check the image size area, it has 3 predefined image sizes:
- Small (370x370px)
- Medium (570x570px)
- Full-width (1170x570px)

We suggest that you use images with dimensions close to those that you choose in your store. It will let you avoid cropping/zooming the image and make it fit its container.
