To manage Material Design icons, you need to do the following:
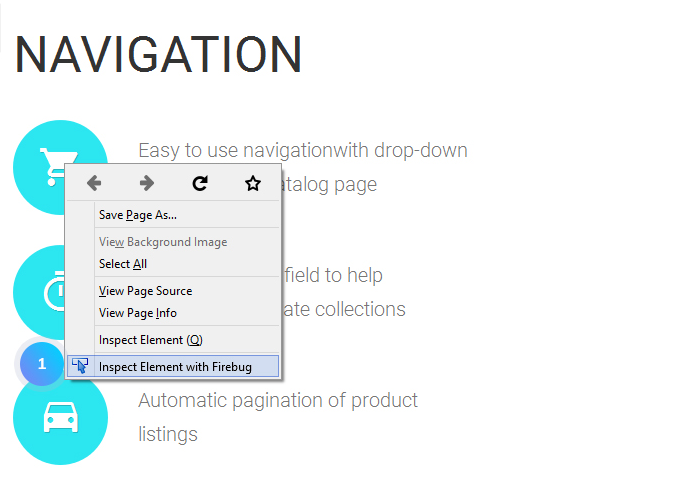
- Find the element in order to know its class by using Firebug tool. It can be enabled with the right click on the screen and selecting Inspect Element from the drop-down menu:

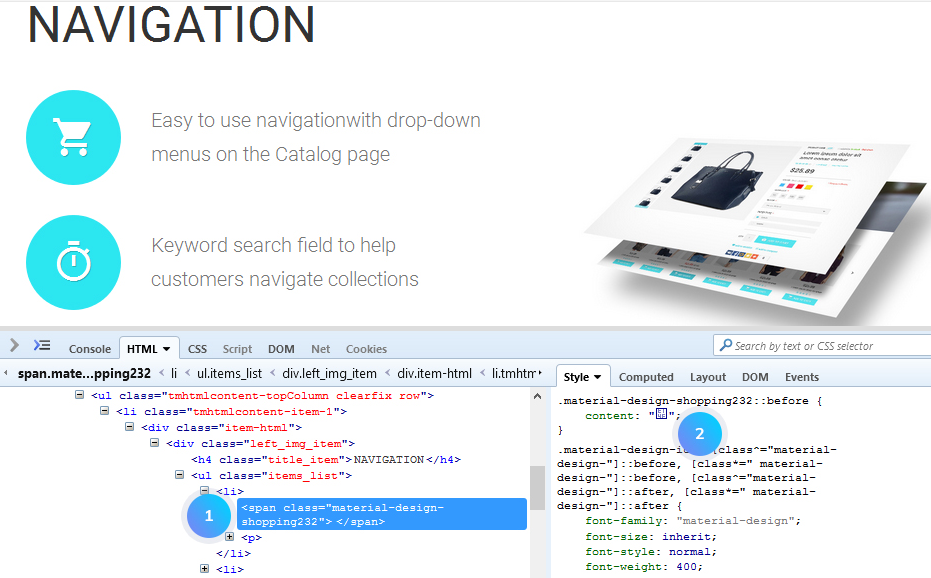
- Check the CSS class for the icon you want to change:

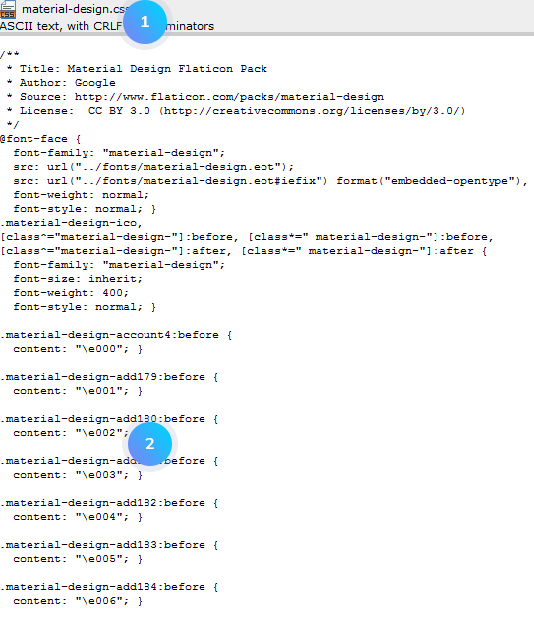
- Open ‘themes/themeXXXX/css/material-design.css’ file and find the value you want to use instead of default one:

- Open global.css file located in css folder of your template. Paste the CSS class for the icon to the bottom of the file and make sure it has ‘content’ line value.
- Paste the new content value to the global.css file. Don’t forget to use ‘!important’ to apply CSS modification properly. The final CSS class should look as follows:
![]() Save changes in the file, refresh your website and check the changes.
Save changes in the file, refresh your website and check the changes.
Hopefully, this tutorial was helpful for you.


