


“TM Slider” module is created to demonstrate the content of your online shop efficiently. It features all you need to showcase your content and make a professionally looking slider.
Add a new slide
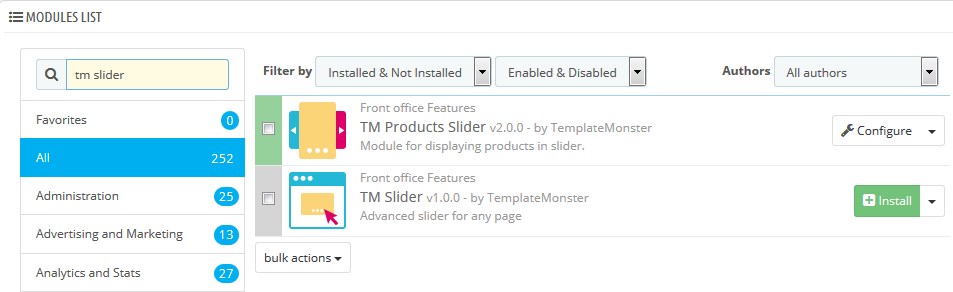
- In your PrestaShop admin panel go to Modules and Services -> Modules and Services. Find there TM Slider module and click the Install button:
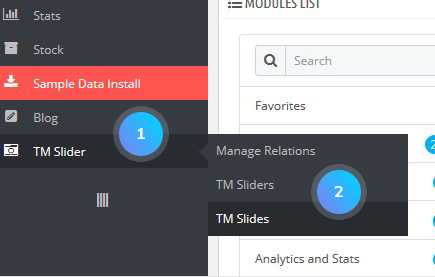
- The TM Slider tab will appear in your admin panel on the left sidebar. Go to TM Slider -> TM Slides section:
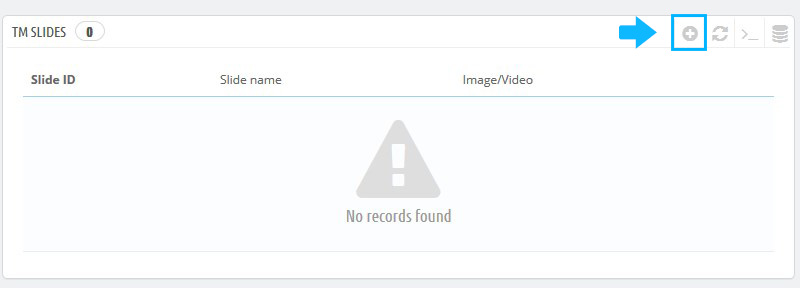
- Click the Add new button to add a new slide:
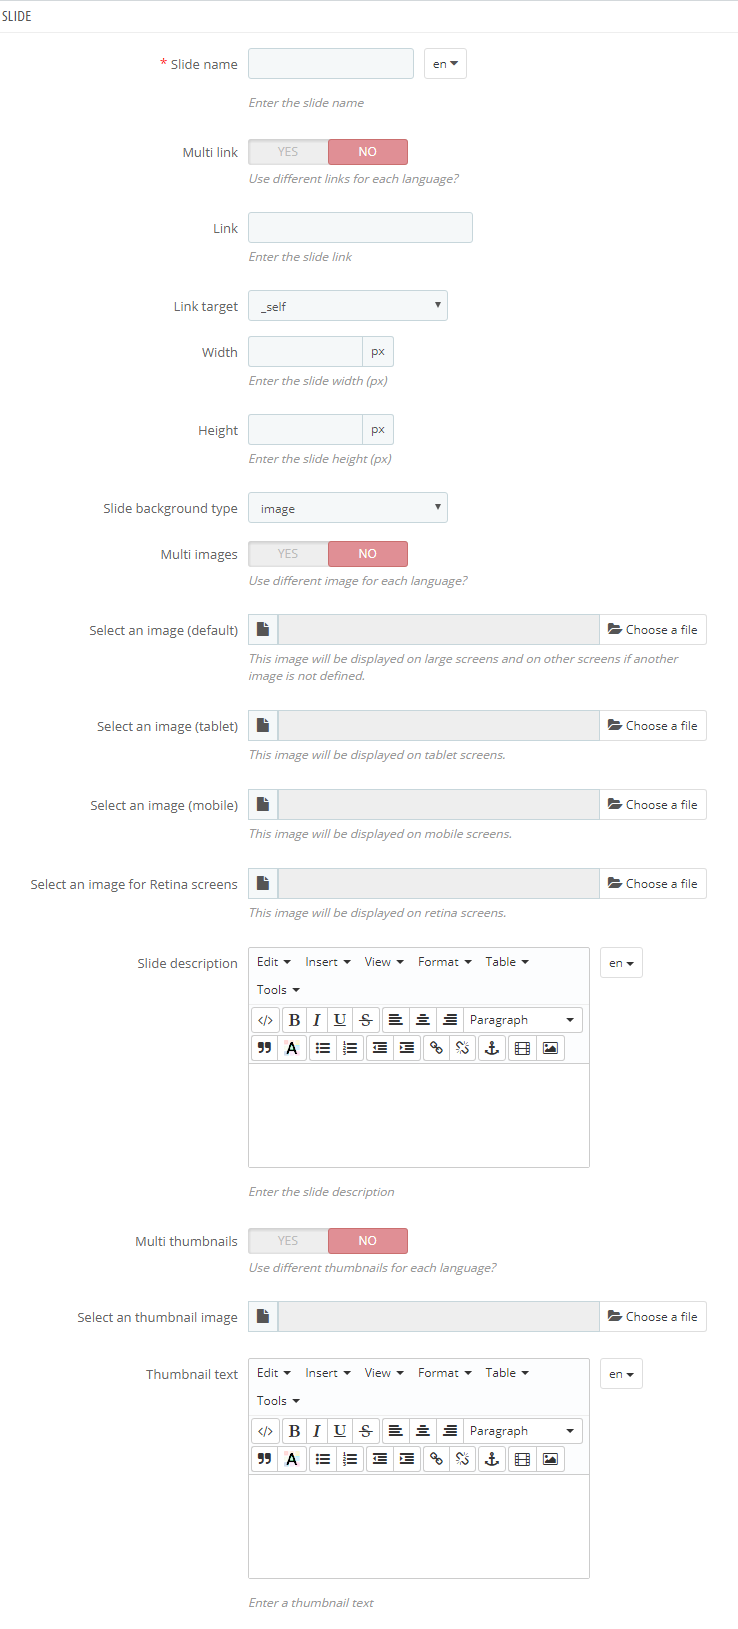
- You need to set the following options for the new slide:
- Slide name – the title of the slide;
- Multi link – set the different links for each language;
- Link – the slide link;
- Link target – choose if the link should be opened in the new window or in the same window;
- Width – the slide width in px;
- Height – the slide height in px;
- Slide background type – the type of the slide background (image, youtube video, no slide background);
- Multi images – use the different images for each language;
- Select an image (default) – the image will be displayed on the large screens and all other screens if images for smaller resolutions are not defined;
- Select an image (tablet) – the image will be displayed on tablet screens;
- Select an image (mobile) – the image will be displayed on mobile screens;
- Select an image (retina) – the image will be displayed on retina screens;
- Multi videos – use different videos for each language;
- Enter a youtube video code – enter youtube code;
- Select a poster – select the image that will cover the video slide;
- Slide description – the slide description;
- Multi thumbnails – use different thumbnails for each language;
- Select a thumbnail image – choose the image for slide thumbnail;
- Thumbnail text – a thumbnail text.
- Click the Save button to confirm the action.
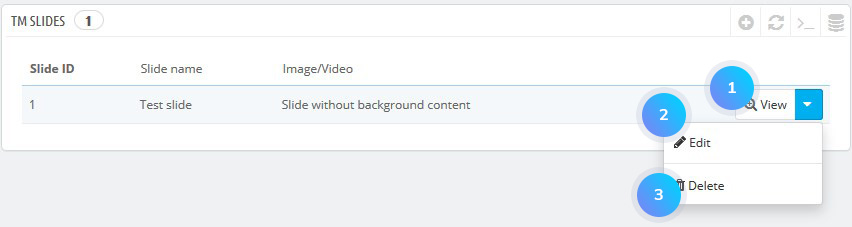
- In order to edit the slide, you can click the Edit button. To preview the slide, click on the slide you want to see or click the View button on the slide. To remove the slide click the Delete button:
Add the slide content
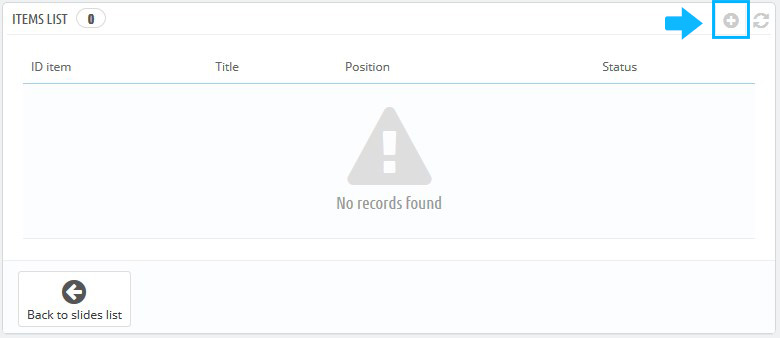
- Go to TM Slider -> TM Slides section. Click the View button on the slide you want to add the content to:

- Click the Add new button to add a new content layer:
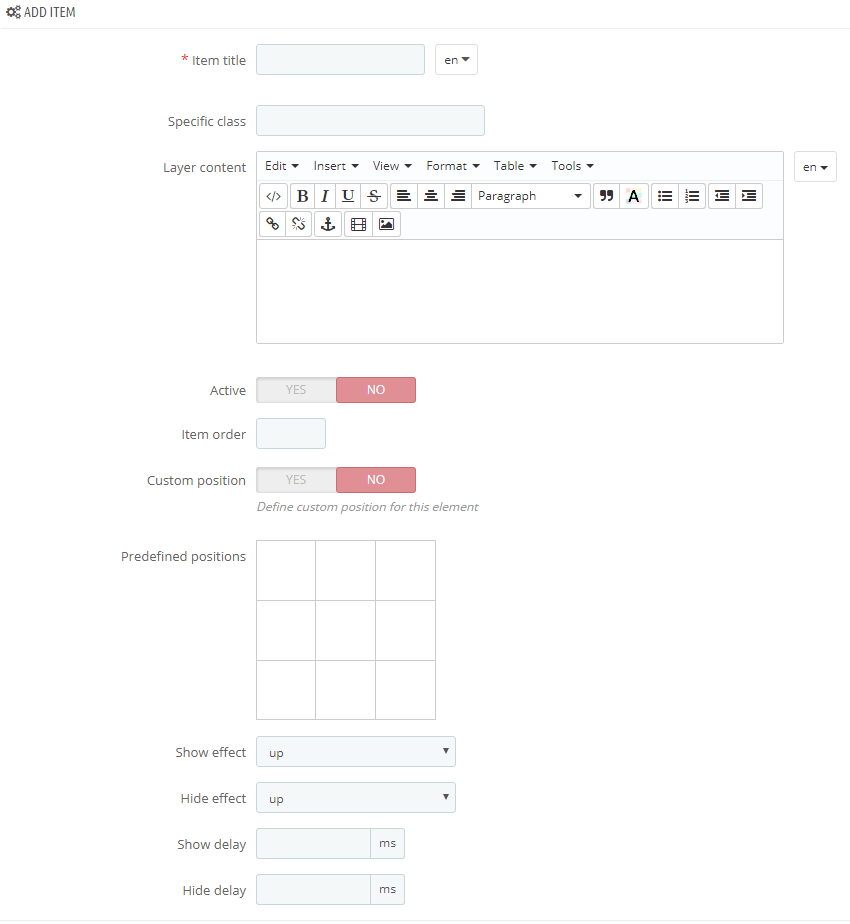
- Set the following options:
- Item title – the title of the content layer;
- Specific class – specific CSS class applied to the layer;
- Layer content – the content of the layer;
- Active – show/hide the content;
- Item order – the order of the layer (the item with the highest number will be on the top);
- Custom position – whether to define the custom position of the element (enter the coordinates of the item in px or %);
- Predefined position – predefined position (choose one of 9 basic positions);
- Show effect – effect while the item is appearing;
- Hide effect – effect while the item is disappearing;
- Show delay – delay before the item appears;
- Hide delay – delay before the item disappears.
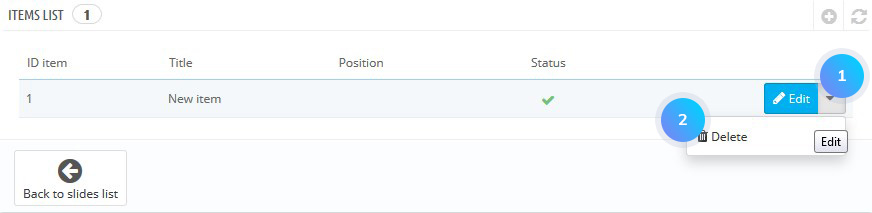
- To edit the slide content layer, click the Edit button. To remove the content layer, click the Delete button:
When you have the slides with content layers, you need to group them into slider sections.

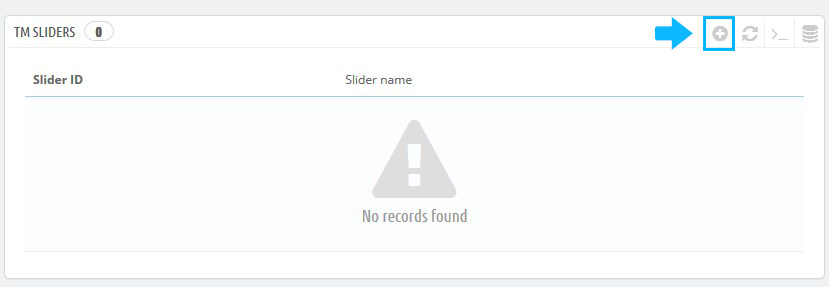
Create a slider
- Go to TM Slider -> TM Sliders section. Click the Add new button:
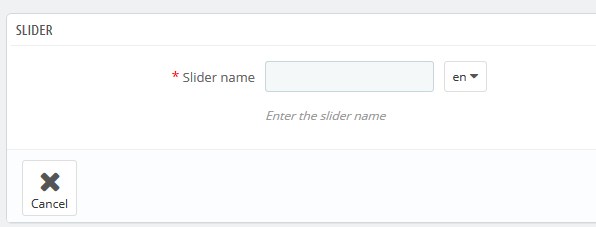
- Enter the Slider name and click the Save button:
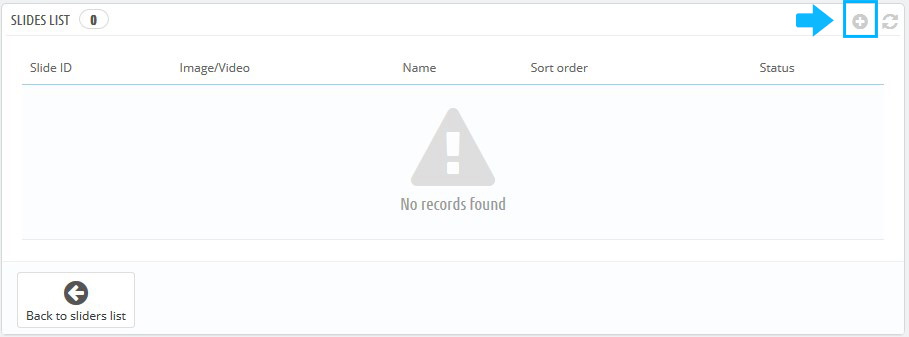
- To add the slide to the current slider, click the Add new button:
- Set the following settings:
- Select slide– choose the slide for adding to slider;
- Active – enable/disable slide
- Slide order – the order of the current slide.

- Click the Save button to save the changes.
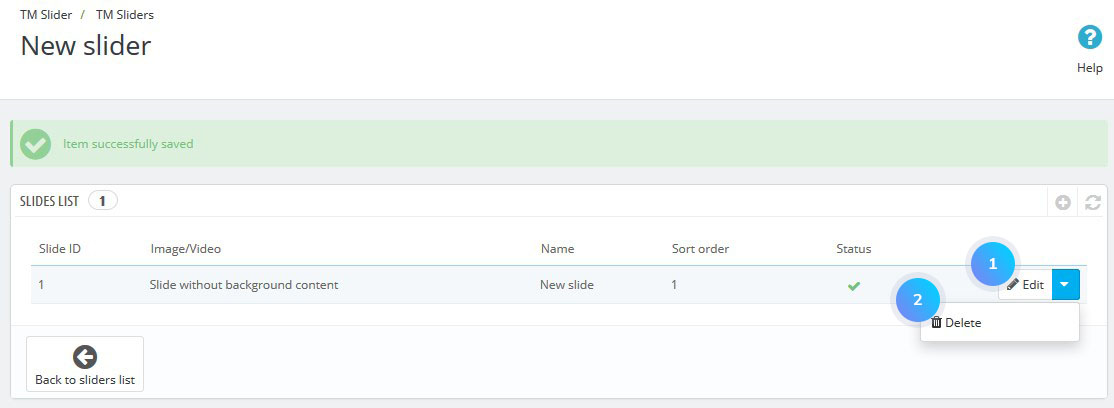
- To edit the slide from the current slider, click the Edit button. To remove the slide, click the Delete button:
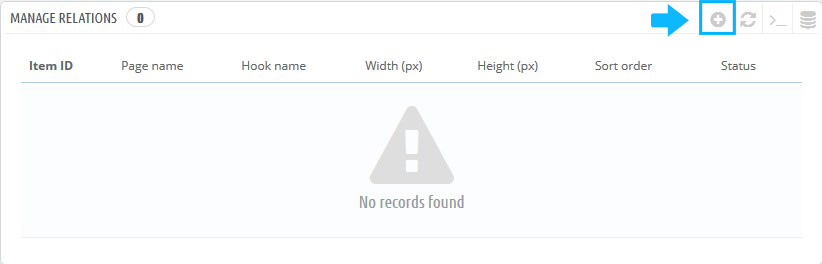
Managing Relations
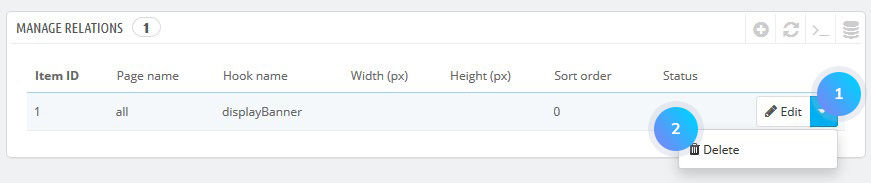
- Go to TM Slider -> Manage Relations section. Click the Add new button to add a new relation:
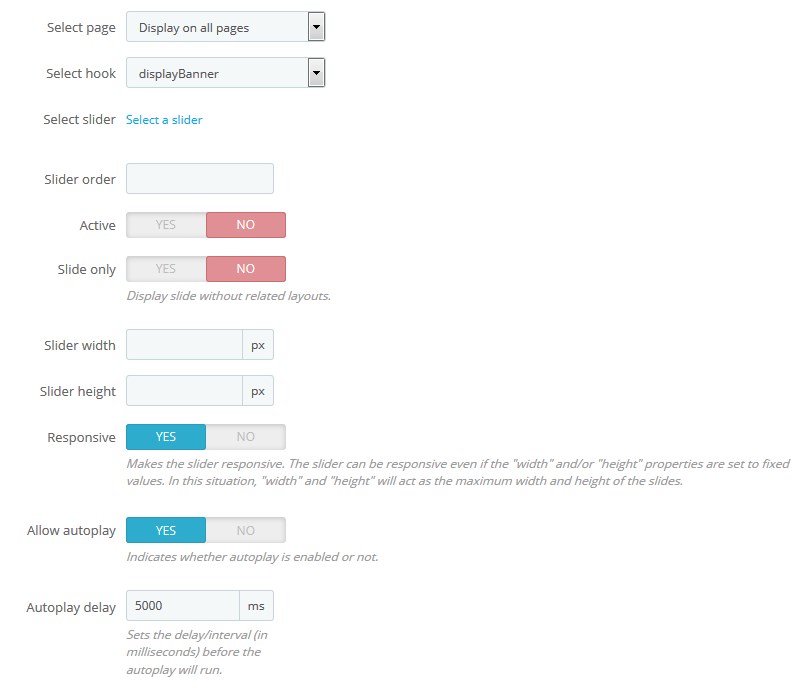
- Choose options for displaying one of the sliders on your website:
- Select page – choose the page for implementing a slider;
- Select hook – choose the hook on this page;
- Select slider – choose the slider;
- Slider order – the order of a slider in the current hook;
- Active – enable/disable the slider;
- Slide only – display slides without related layouts;
- Slider width – set the slider width in px;
- Slider height – set the slider height in px;
- Responsive – make the slider responsive; Note: the slider can be responsive even if the “width” and/or “height” properties are set to fixed values. In this case, “width” and “height” will act as the maximum width and height of the slides.
- Allow autoplay – enable/disable the autoplay;
- Autoplay delay – set the delay/interval before the autoplay runs (in milliseconds);
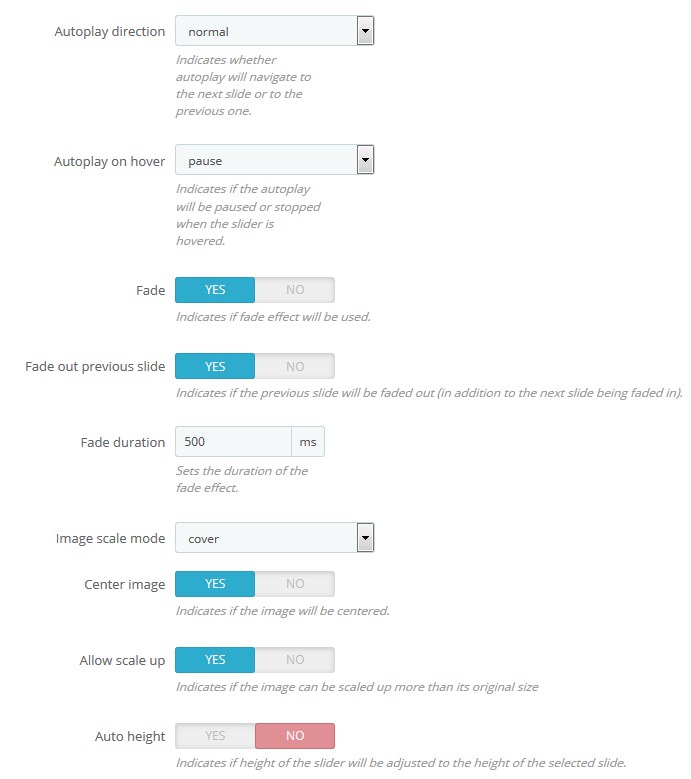
- Autoplay direction – indicate whether autoplay will navigate to the next slide or to the previous one;
- Autoplay on hover – indicate whether the autoplay will be paused or stopped when the slider hovers;
- Fade – indicate if the fade effect will be used;
- Fade out the previous slide – indicate if the previous slide will be faded out (in addition to the next slide being faded in);
- Fade duration – set the duration of the fade effect;
- Image scale mode – choose the type of the image scaling;
- Center image – indicate if the image will be centered;
- Allow scale up – indicate if the image can be scaled up more than its original size;
- Auto height – indicate if the height of the slider will be adjusted to the height of the selected slide;
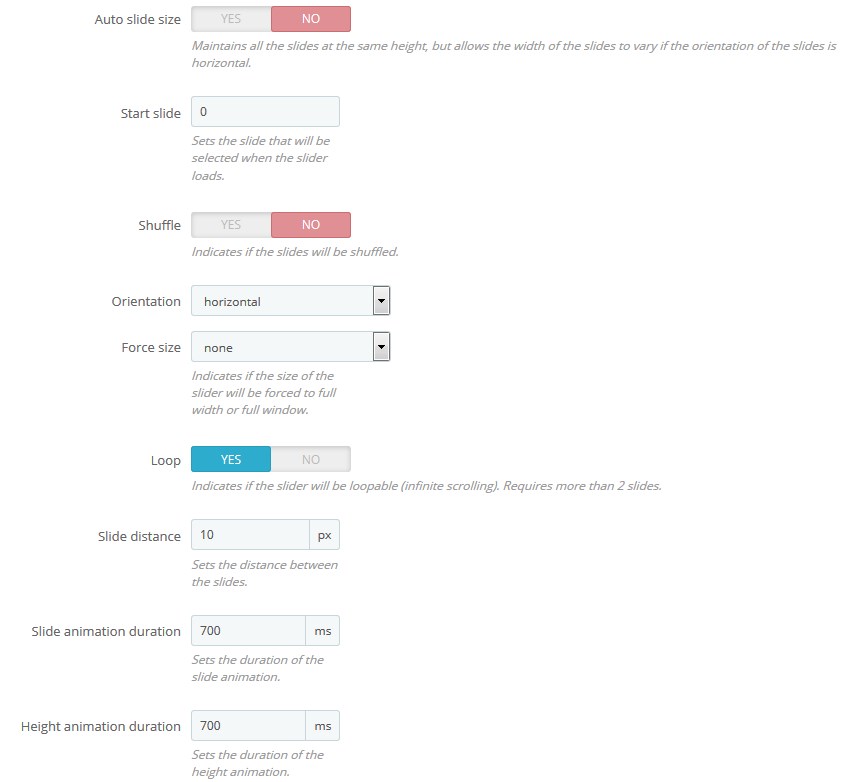
- Auto slide size – the option maintains all the slides at the same height but allows the width of the slides to vary if the orientation of the slides in horizontal;
- Start slide – set the slide that will be selected when the slider loads;
- Shuffle – indicate if the slides will be shuffled;
- Orientation – choose the slider orientation;
- Force size – indicate if the size of the slider will be forced to full width or full window;
- Loop – indicate if the slider will be loopable (infinite scrolling); requires more than 2 slides;
- Slide distance – set the distance between the slides;
- Slide animation duration – set the duration of the slide animation;
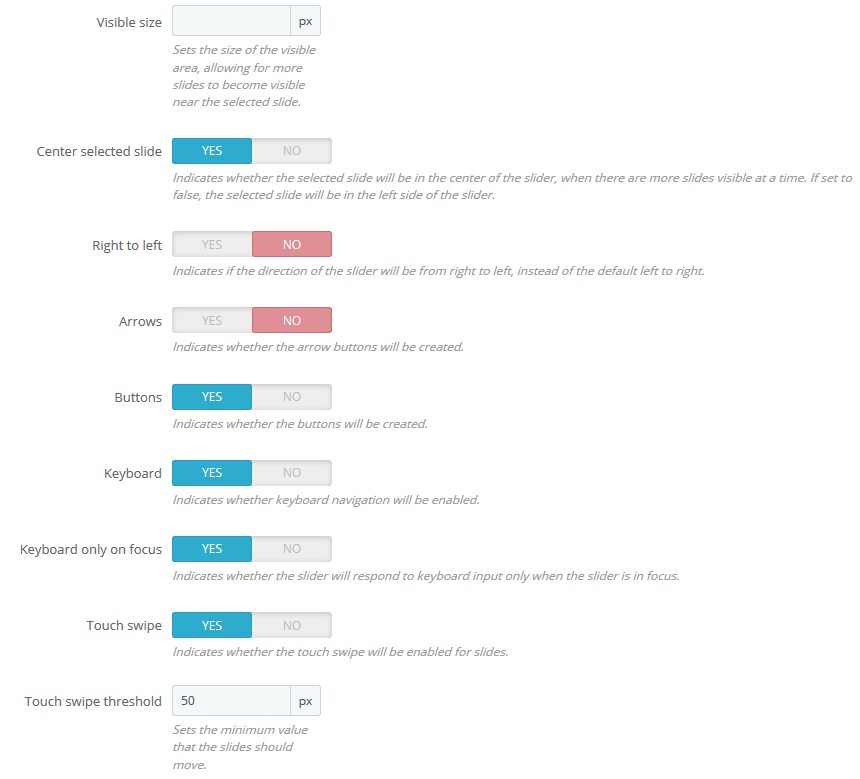
- Height animation duration – set the size of the visible area, allowing for more slides to become visible near the selected slide;
- Visible size – set the size of the visible area, allowing for more slides to become visible near the selected slideж
- Center selected slide – indicate whether the selected slide will be in the center of the slider when there are more slides visible at a time (if set to false, the selected slide will be on the left side of the slider);
- Right to left – indicate if the direction of the slider will be from right to left, instead of the default left to right;
- Arrows – indicate whether the arrow buttons will be created;
- Fade arrows – indicate whether the arrows will fade in only on hover;
- Buttons – indicate whether the arrows will fade in only on hover;
- Keyboard – indicate whether keyboard navigation will be enabled;
- Keyboard only on focus – indicate whether the slider will respond to keyboard input only when the slider is in focus;
- Touch swipe – indicate whether the touch swipe will be enabled for slides;
- Touch swipe threshold – set the minimum value that the slides should move;
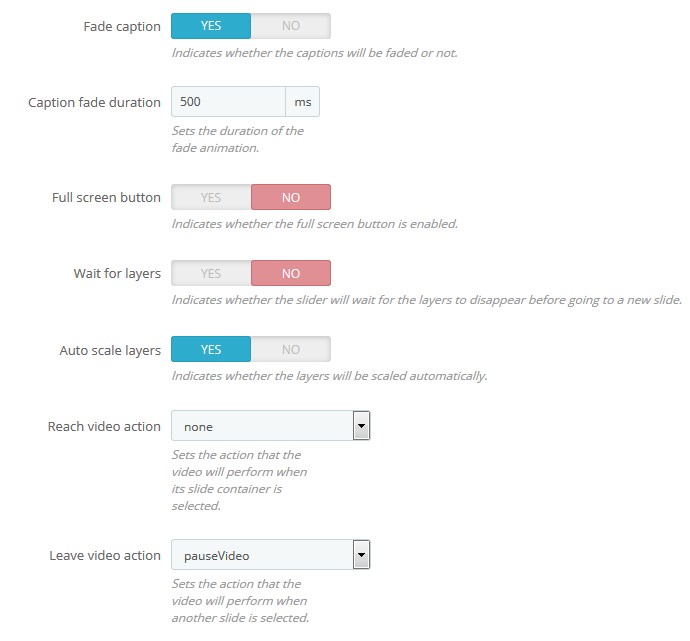
- Fade caption – indicate whether the captions will be faded or not;
- Caption fade duration – set the duration of the fade animation;
- Full-screen button – indicate whether the full-screen button is enabled;
- Fade full-screen button – indicate whether the full-screen button is enabled;
- Wait for layers – indicate whether the slider will wait for the layers to disappear before going to a new slide;
- Autoscale layers – indicate whether the layers will be scaled automatically;
- Reach video action – set the action that the video will perform when its slide container is selected;
- Leave video action – set the action that the video will perform when another slide is selected;
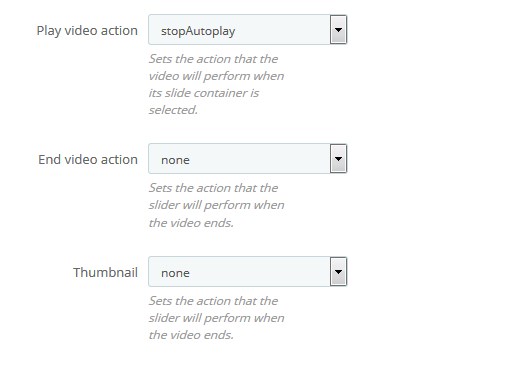
- Play video action – set the action that the video will perform when its slide container is selected;
- End video action – set the action that the slider will perform when the video ends;
- Thumbnail – set the action that the slider will perform when the video ends.
- Click the Save button to save the changes.
- To edit the relation, click the Edit button. To remove the slide from the current slider, click the Delete button:
- Refresh your website to see the changes.
Hopefully, this tutorial was helpful for you.
