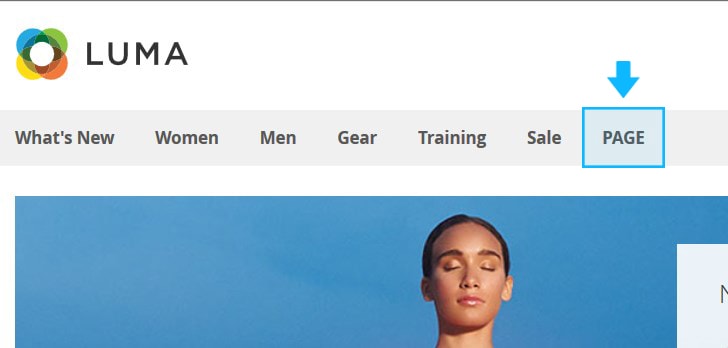
➤ We will show the simplest way to add the page link to the Main Menu via the Admin Panel.
Copy the Page Content
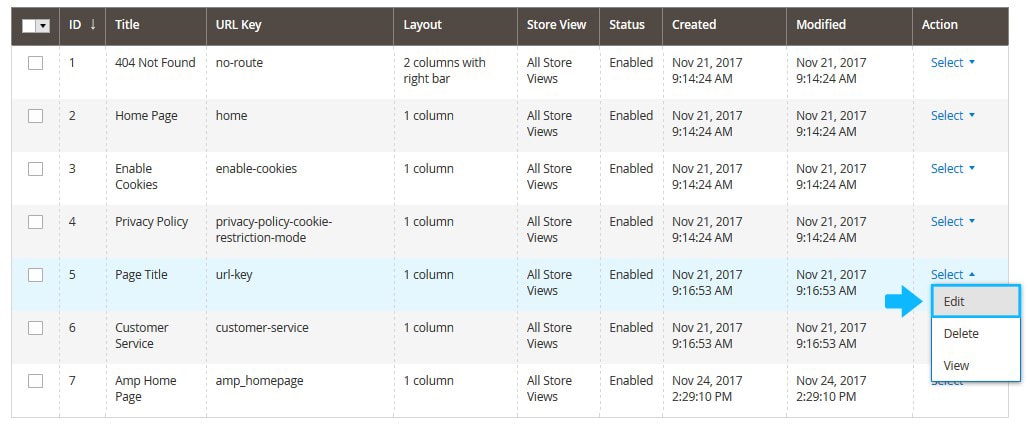
1. Login to your Magento 2 Admin Panel and go to the Content > Pages menu.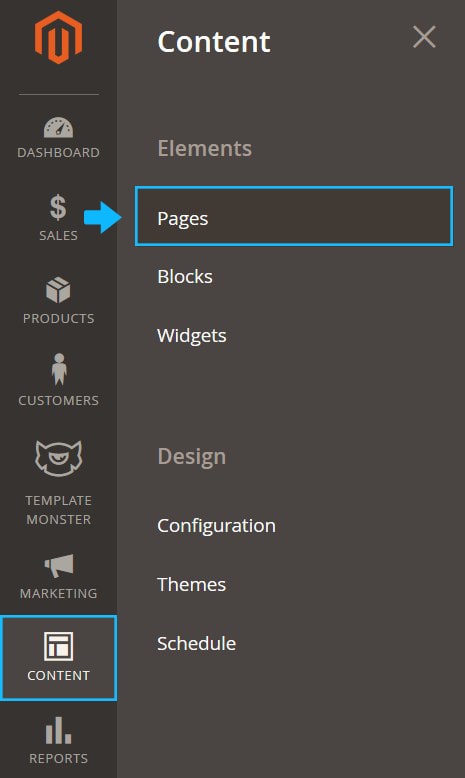
2. Find the page you want to add to the Main Menu and open it to edit.
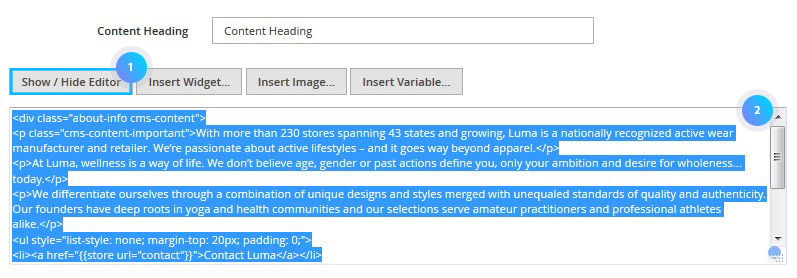
3. Expand the Content tab.
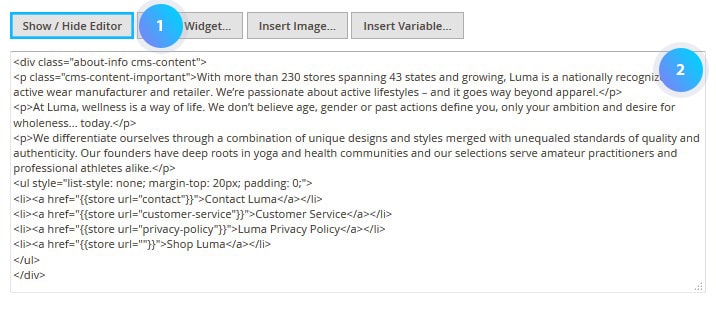
4. To switch to the HTML editor press the Show / Hide Editor and copy the code.
5. You’ll copy the page content with all text, images and widgets.
Create the new Static block
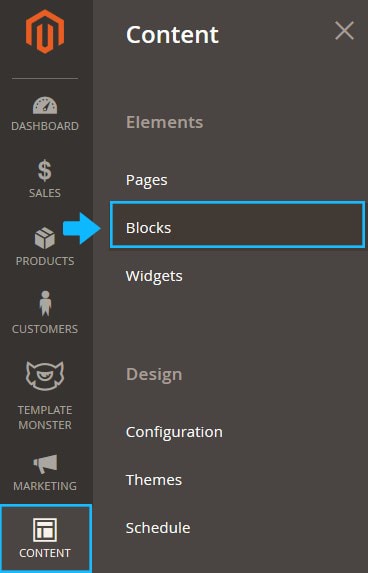
1. Tap Blocks under the Content menu.
2. Then press the Add New Block button.
3. You’ll move to the block settings interface.
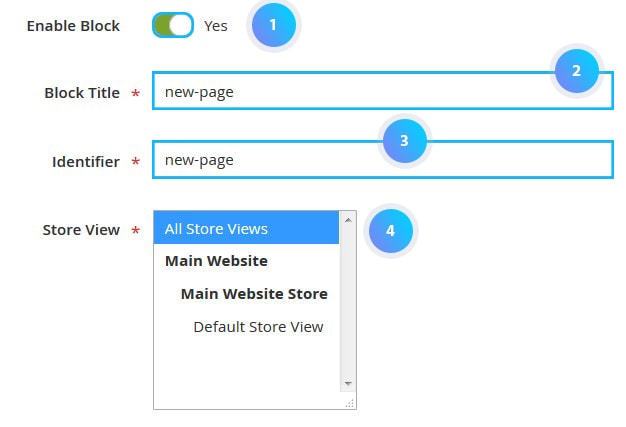
4. Enter the title for the block.
5. Next you should specify the block identifier (e.g. new-page) and select if the block will be available for All Store Views or for the Default Store View only.
[notice type=”warning”]Note, the block should be activated.
6. You need to use the HTML editor.
7. Press the Show / Hide Editor to activate the HTML editor.
8. Insert the code you’ve copied.
9. Save the block.
10. Now you have the static block which duplicates the content of the page you want to add to the Menu.
Add new category
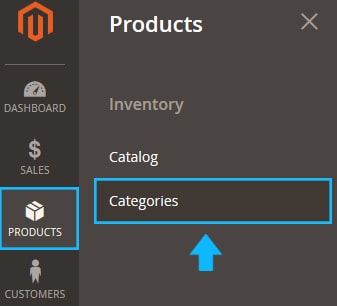
1. Navigate to Products > Categories.
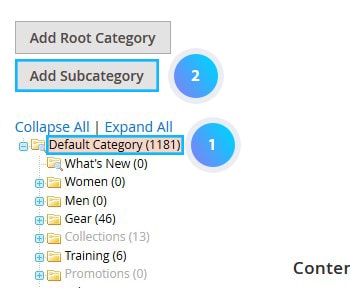
2. Select the root category you use as default for your store (the Root Category should be highlighted).
3. Then click the Add Subcategory button.
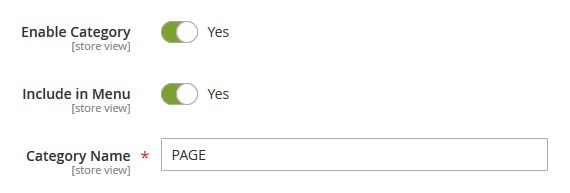
4. Enter the Category Name. The name will be used as the link label in the Main Menu.
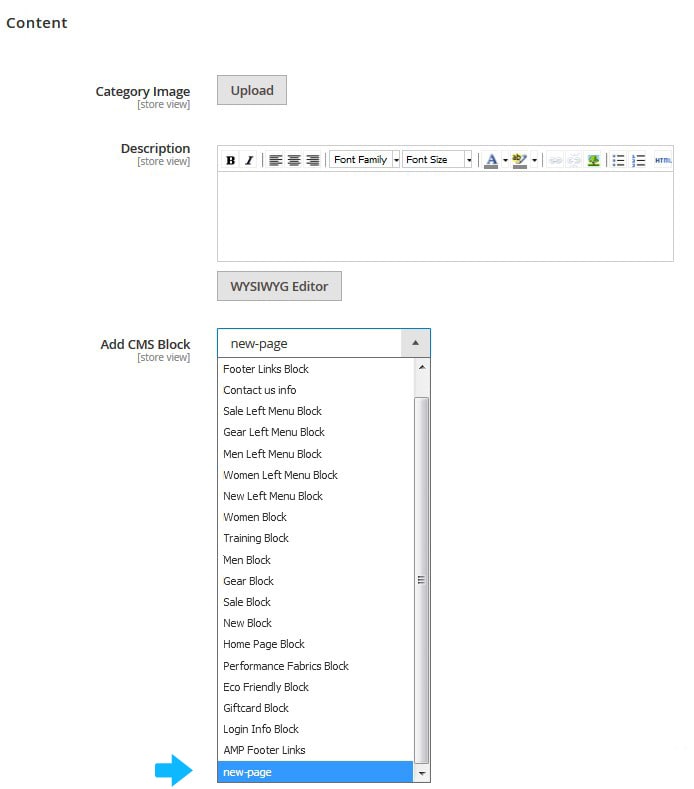
5. Open the Content tab and choose the newly added static block from the option dropdown (select the block with the duplicated page content).
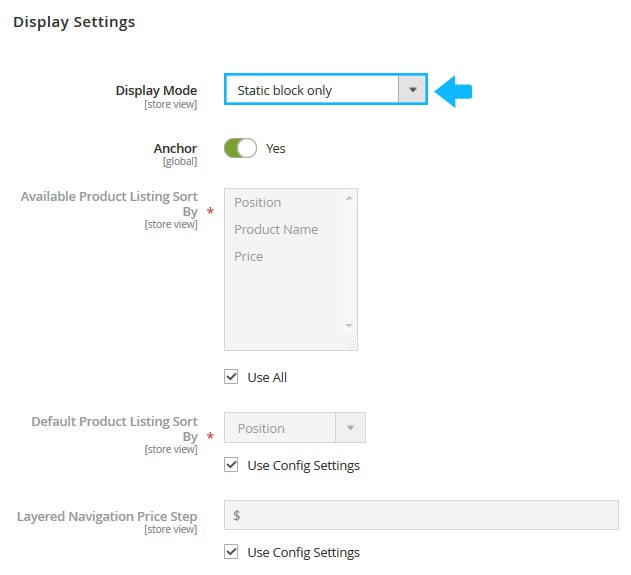
6. Expand the Display Settings tab.
7. Set Display Mode to “Static block only”.
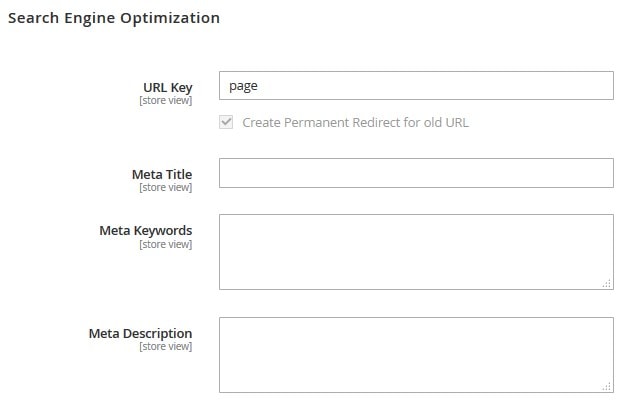
8. Go to the Search Engine Optimization tab to specify the URL Key, Meta Title, Meta Keywords, and Meta Description for the category.
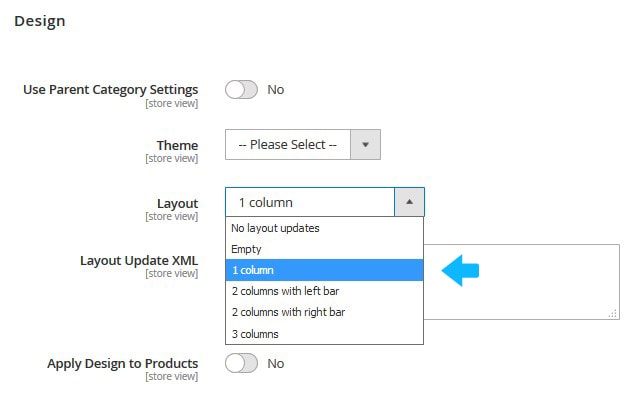
9. Move to the Design tab and set Layout to “1 column”.
10. Save the category.
11. Clear the Magento cache.
Result:


