⚑ Here you can find the instructions on how to change product image size (Product Page).
1. Navigate to the Stores > Settings > Configuration section.

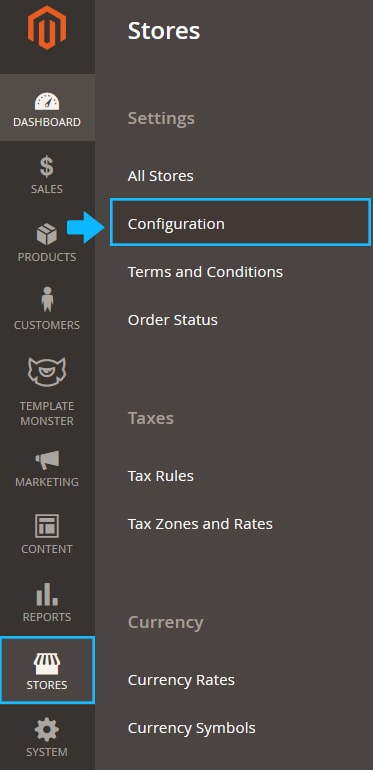
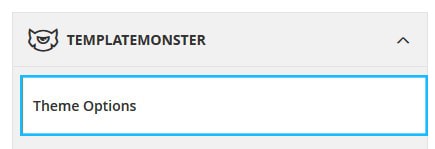
2. Then choose the TEMPLATEMONSTER > Theme Options in the left side menu and you’ll move to the module settings interface.
3. Click on the Store View: Default Config.

4. Select a Store View you want to modify from the option dropdown.
6. Confirm the scope switching in the pop-up window. Press “OK” to confirm.
7. Go to the Product Page section.
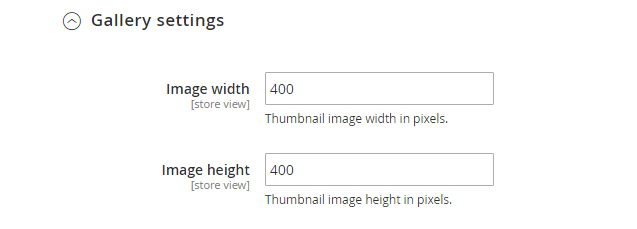
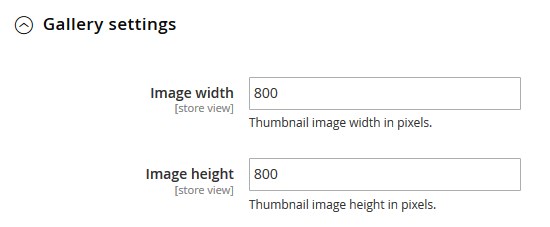
➤ Expand the Gallery settings tab.
- Image width — set thumbnail image width in pixels.
- Image height — set thumbnail image height in pixels.
✓ Click on the Save Config button and refresh the Magento cache.
Example (based on the Magetique template):
➥ If you want to reduce the main Product image size, do the following:
1. Navigate to the Stores > Settings > Configuration section.
2. Then choose the TEMPLATEMONSTER > Theme Options in the left side menu.
3. Click on the Store View: Default Config and select a Store View you want to modify.
4. Press “OK” to confirm.
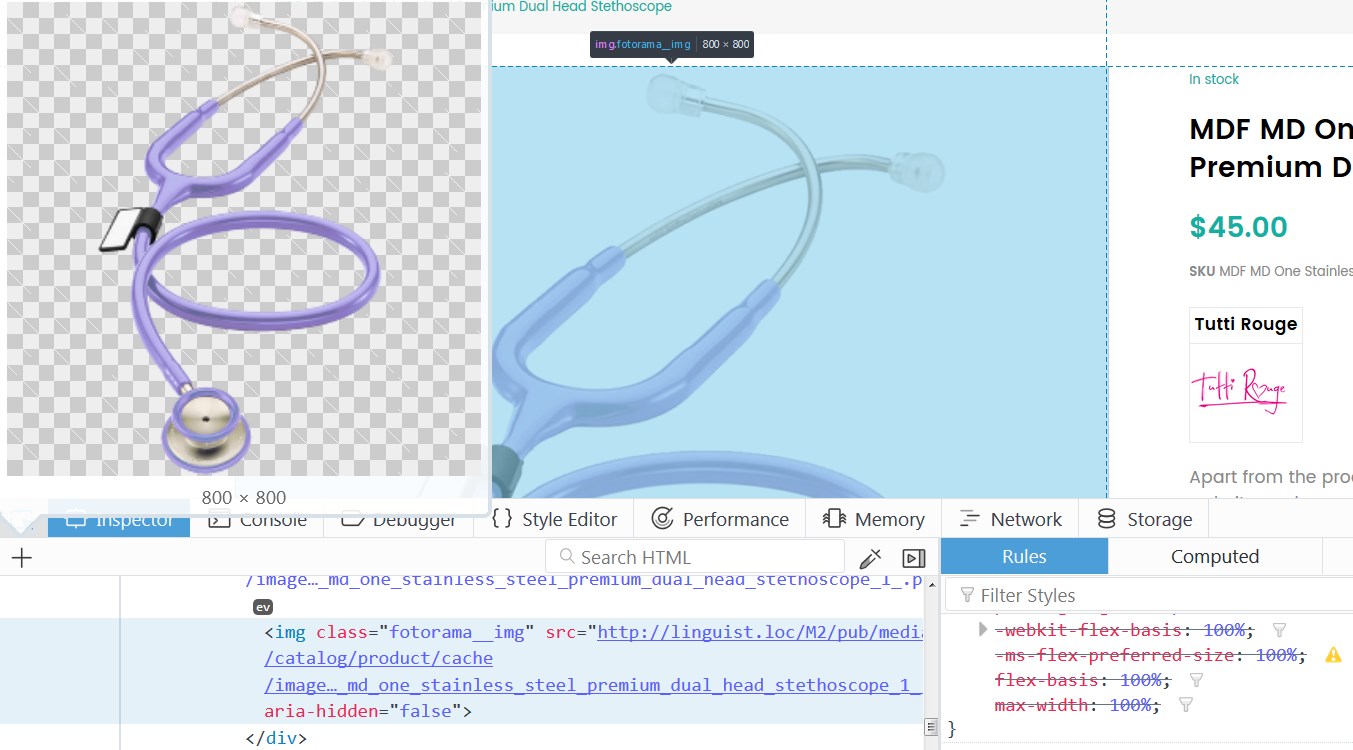
5. Move to the Product Page section and expand the Gallery settings tab.The default Product image size is 800 x 800 px.
6. Let’s reduce the Product image size to 400 x 400 px.
In order to do this enter 400 in the Image width and Image height options’ text fields.

7. Click on the Save Config button and refresh the Magento cache.
✓ Reload your store Product Page and you’ll see the Product image was reduced.