Whenever you need to install a theme manually, you can use the following guide, that will take you through all the process and will give you the full impression about how to install a theme without Cherry Theme Wizard plugin.
From this tutorial you’ll learn about manual template installation.
Theme Installation
- First, extract the template package. You can use any archive manager, that is convenient for you (WinRar, WinZip, StuffIt, etc.).
- Enter your website’s Dashboard. Type in wp-admin right after your website’s address in the address bar (e. g. http://mywebsite.com/wp-admin).
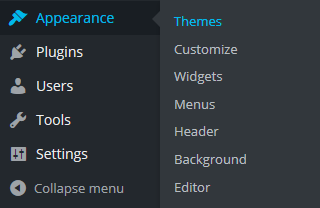
- Navigate to Appearance tab in the left column of Dashboard. Choose Themes sub menu. This section is responsible for your website’s themes and contains the full list of themes, that are available right now to be activated.

- Press on Add New button at the top of the themes list. Then left-click on Upload Theme button. A window will appear offering you to choose the theme from your hard drive. Choose the path to your theme (it is located in the template package, in the theme folder). It can be uploaded in the form of .zip format.
- Then click on Install Now button.

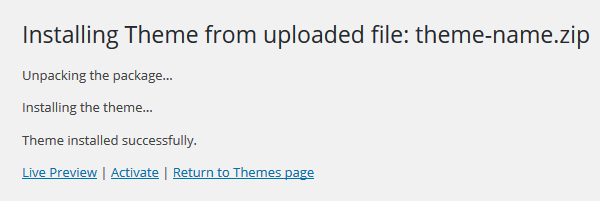
- When the theme is finally installed, you’ll be able to see it in the list of available themes. Click on Activate button below the theme, that you’ve installed.

Now the theme has been installed to your website and is ready to use!


